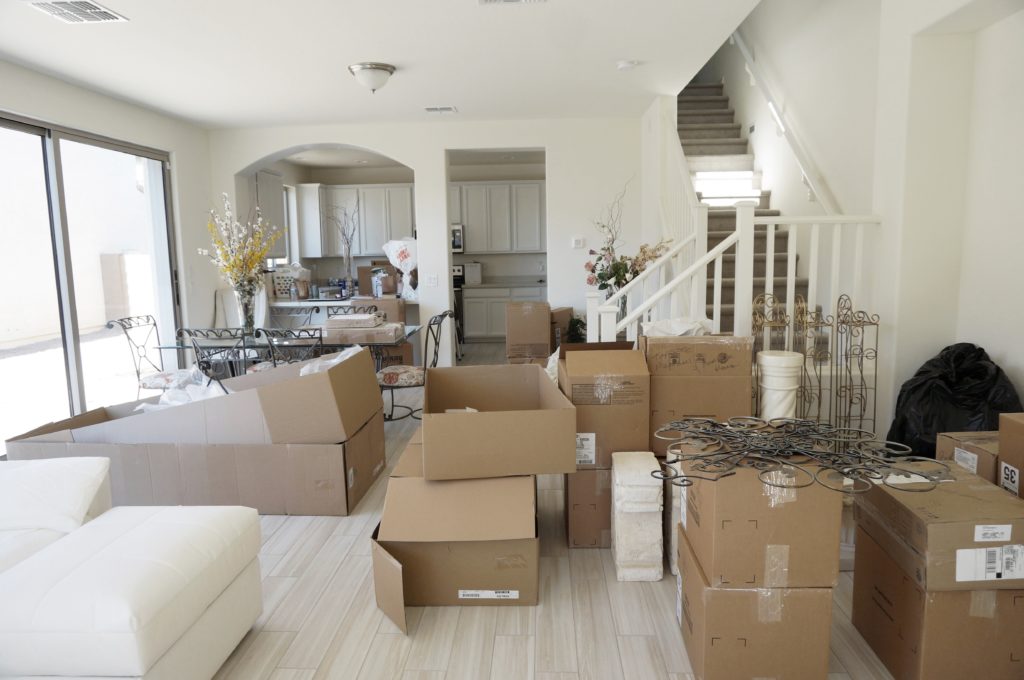
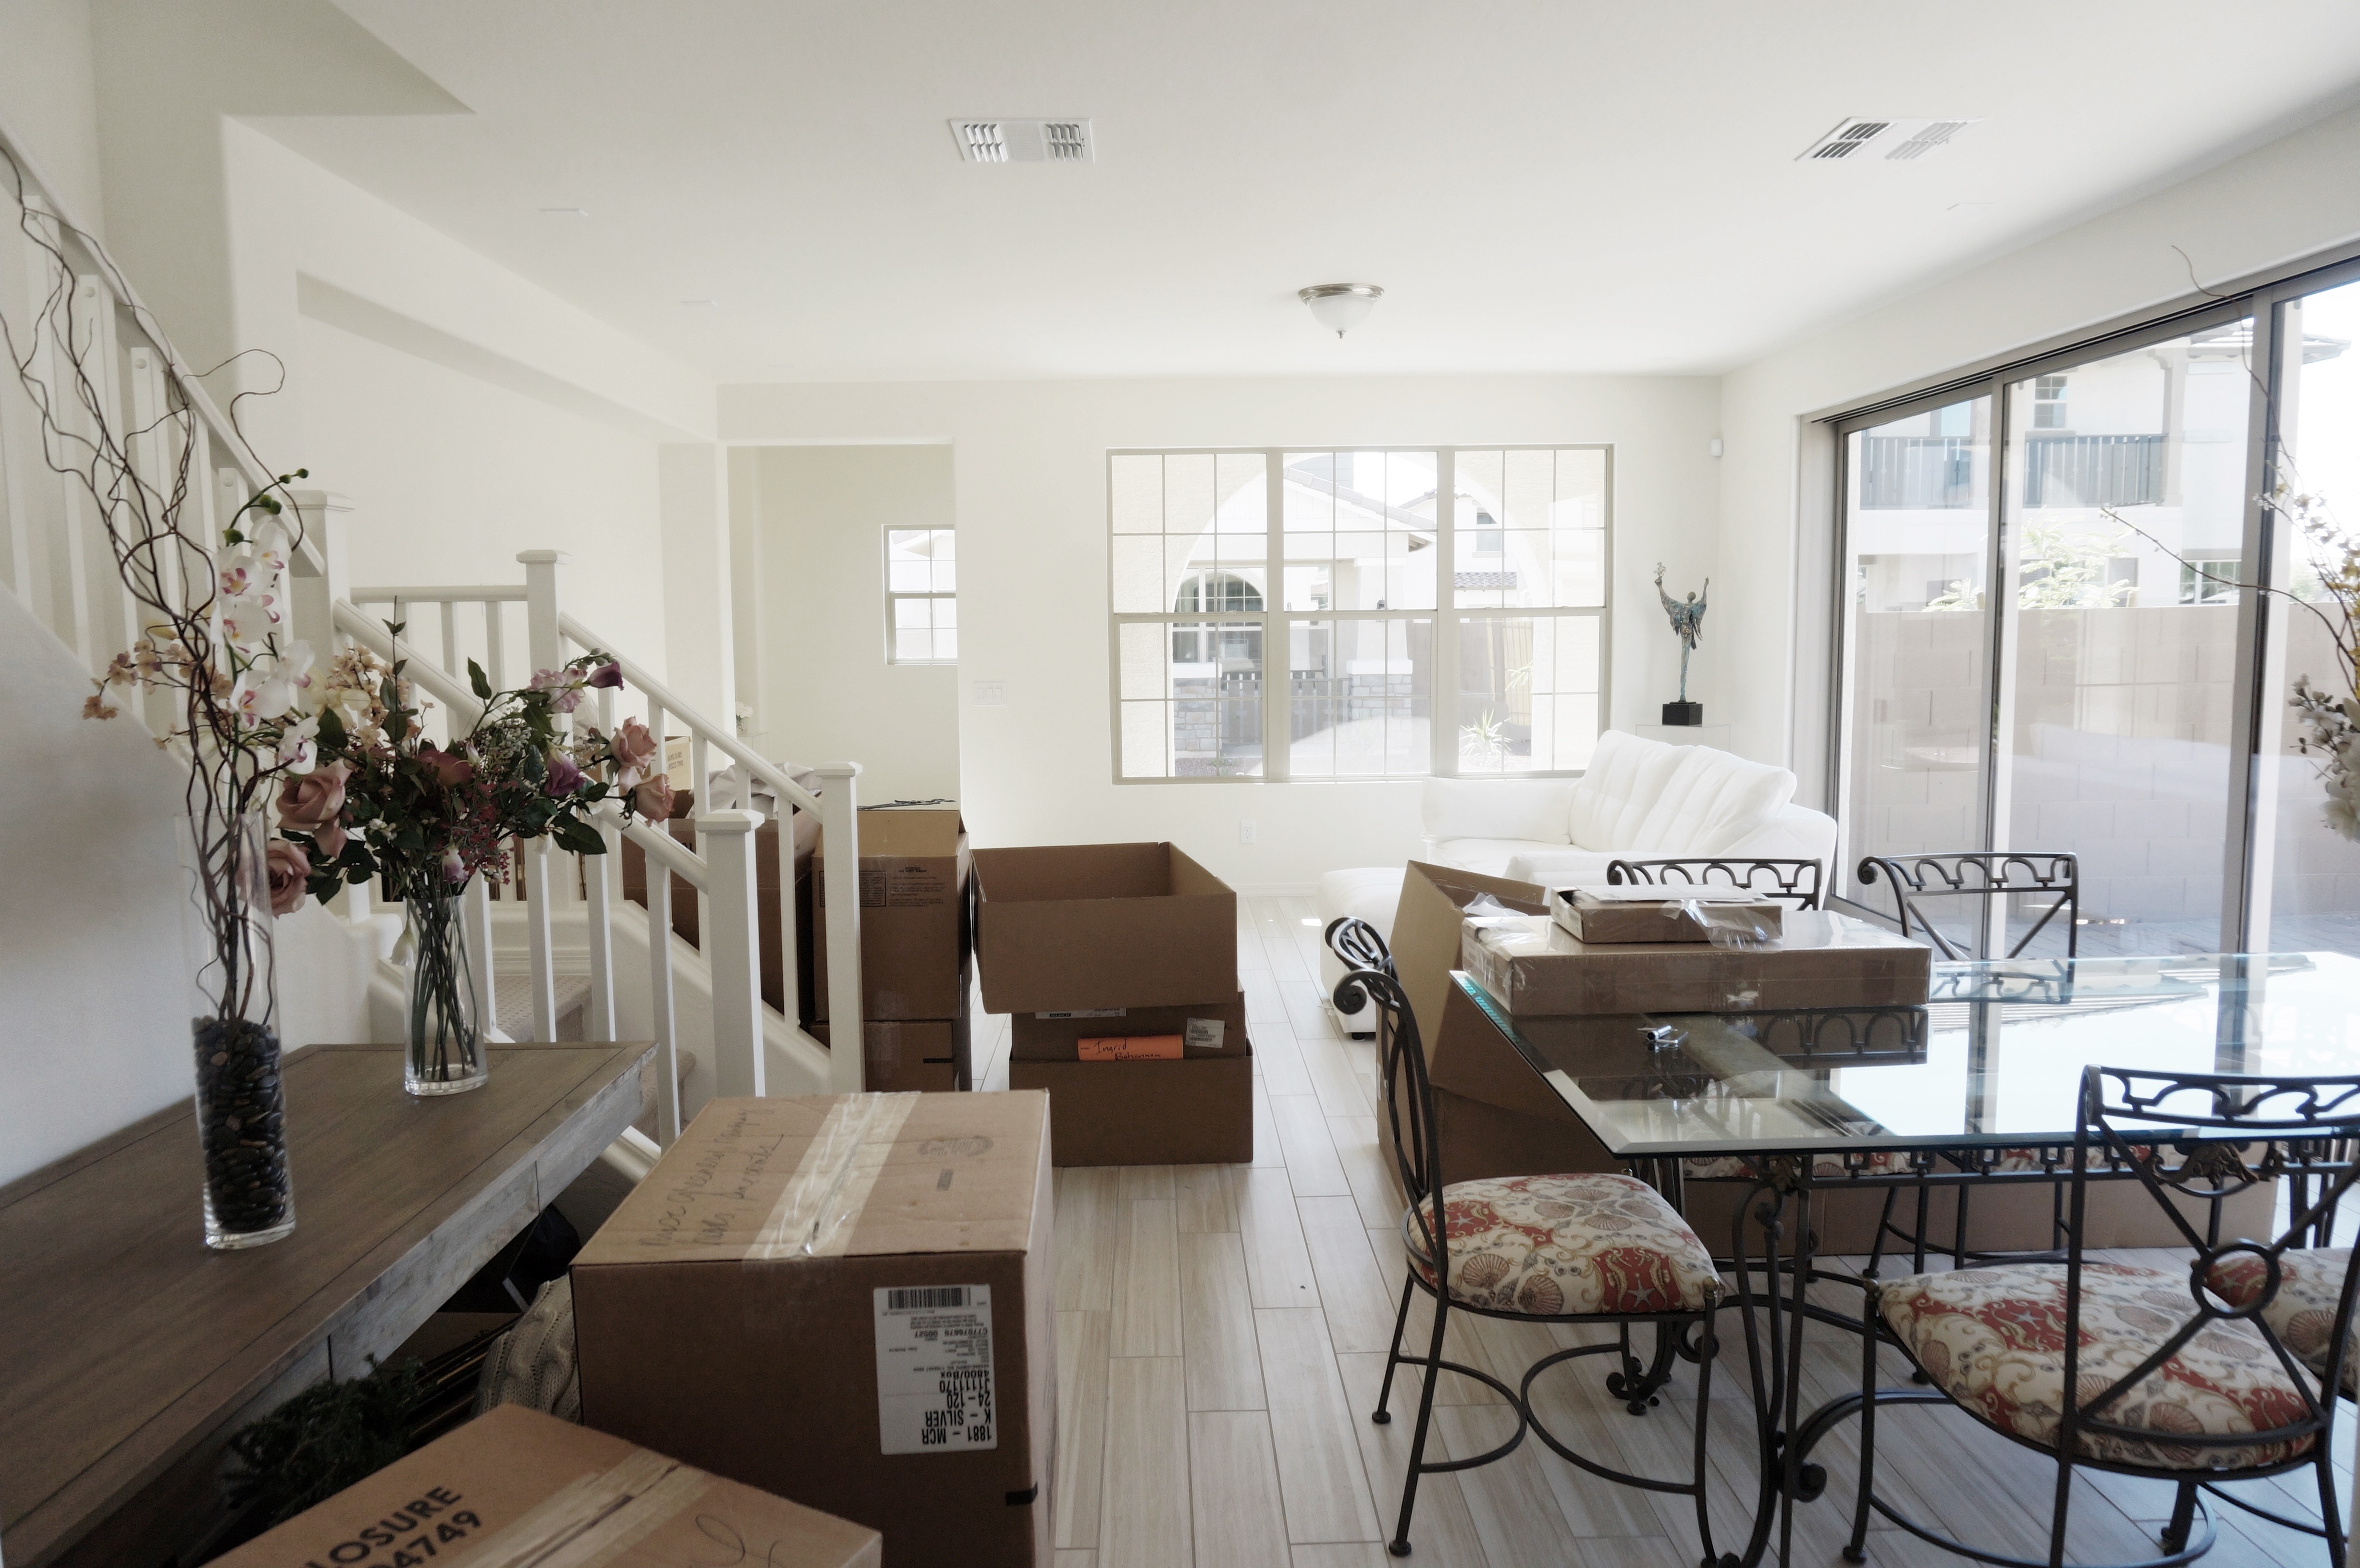
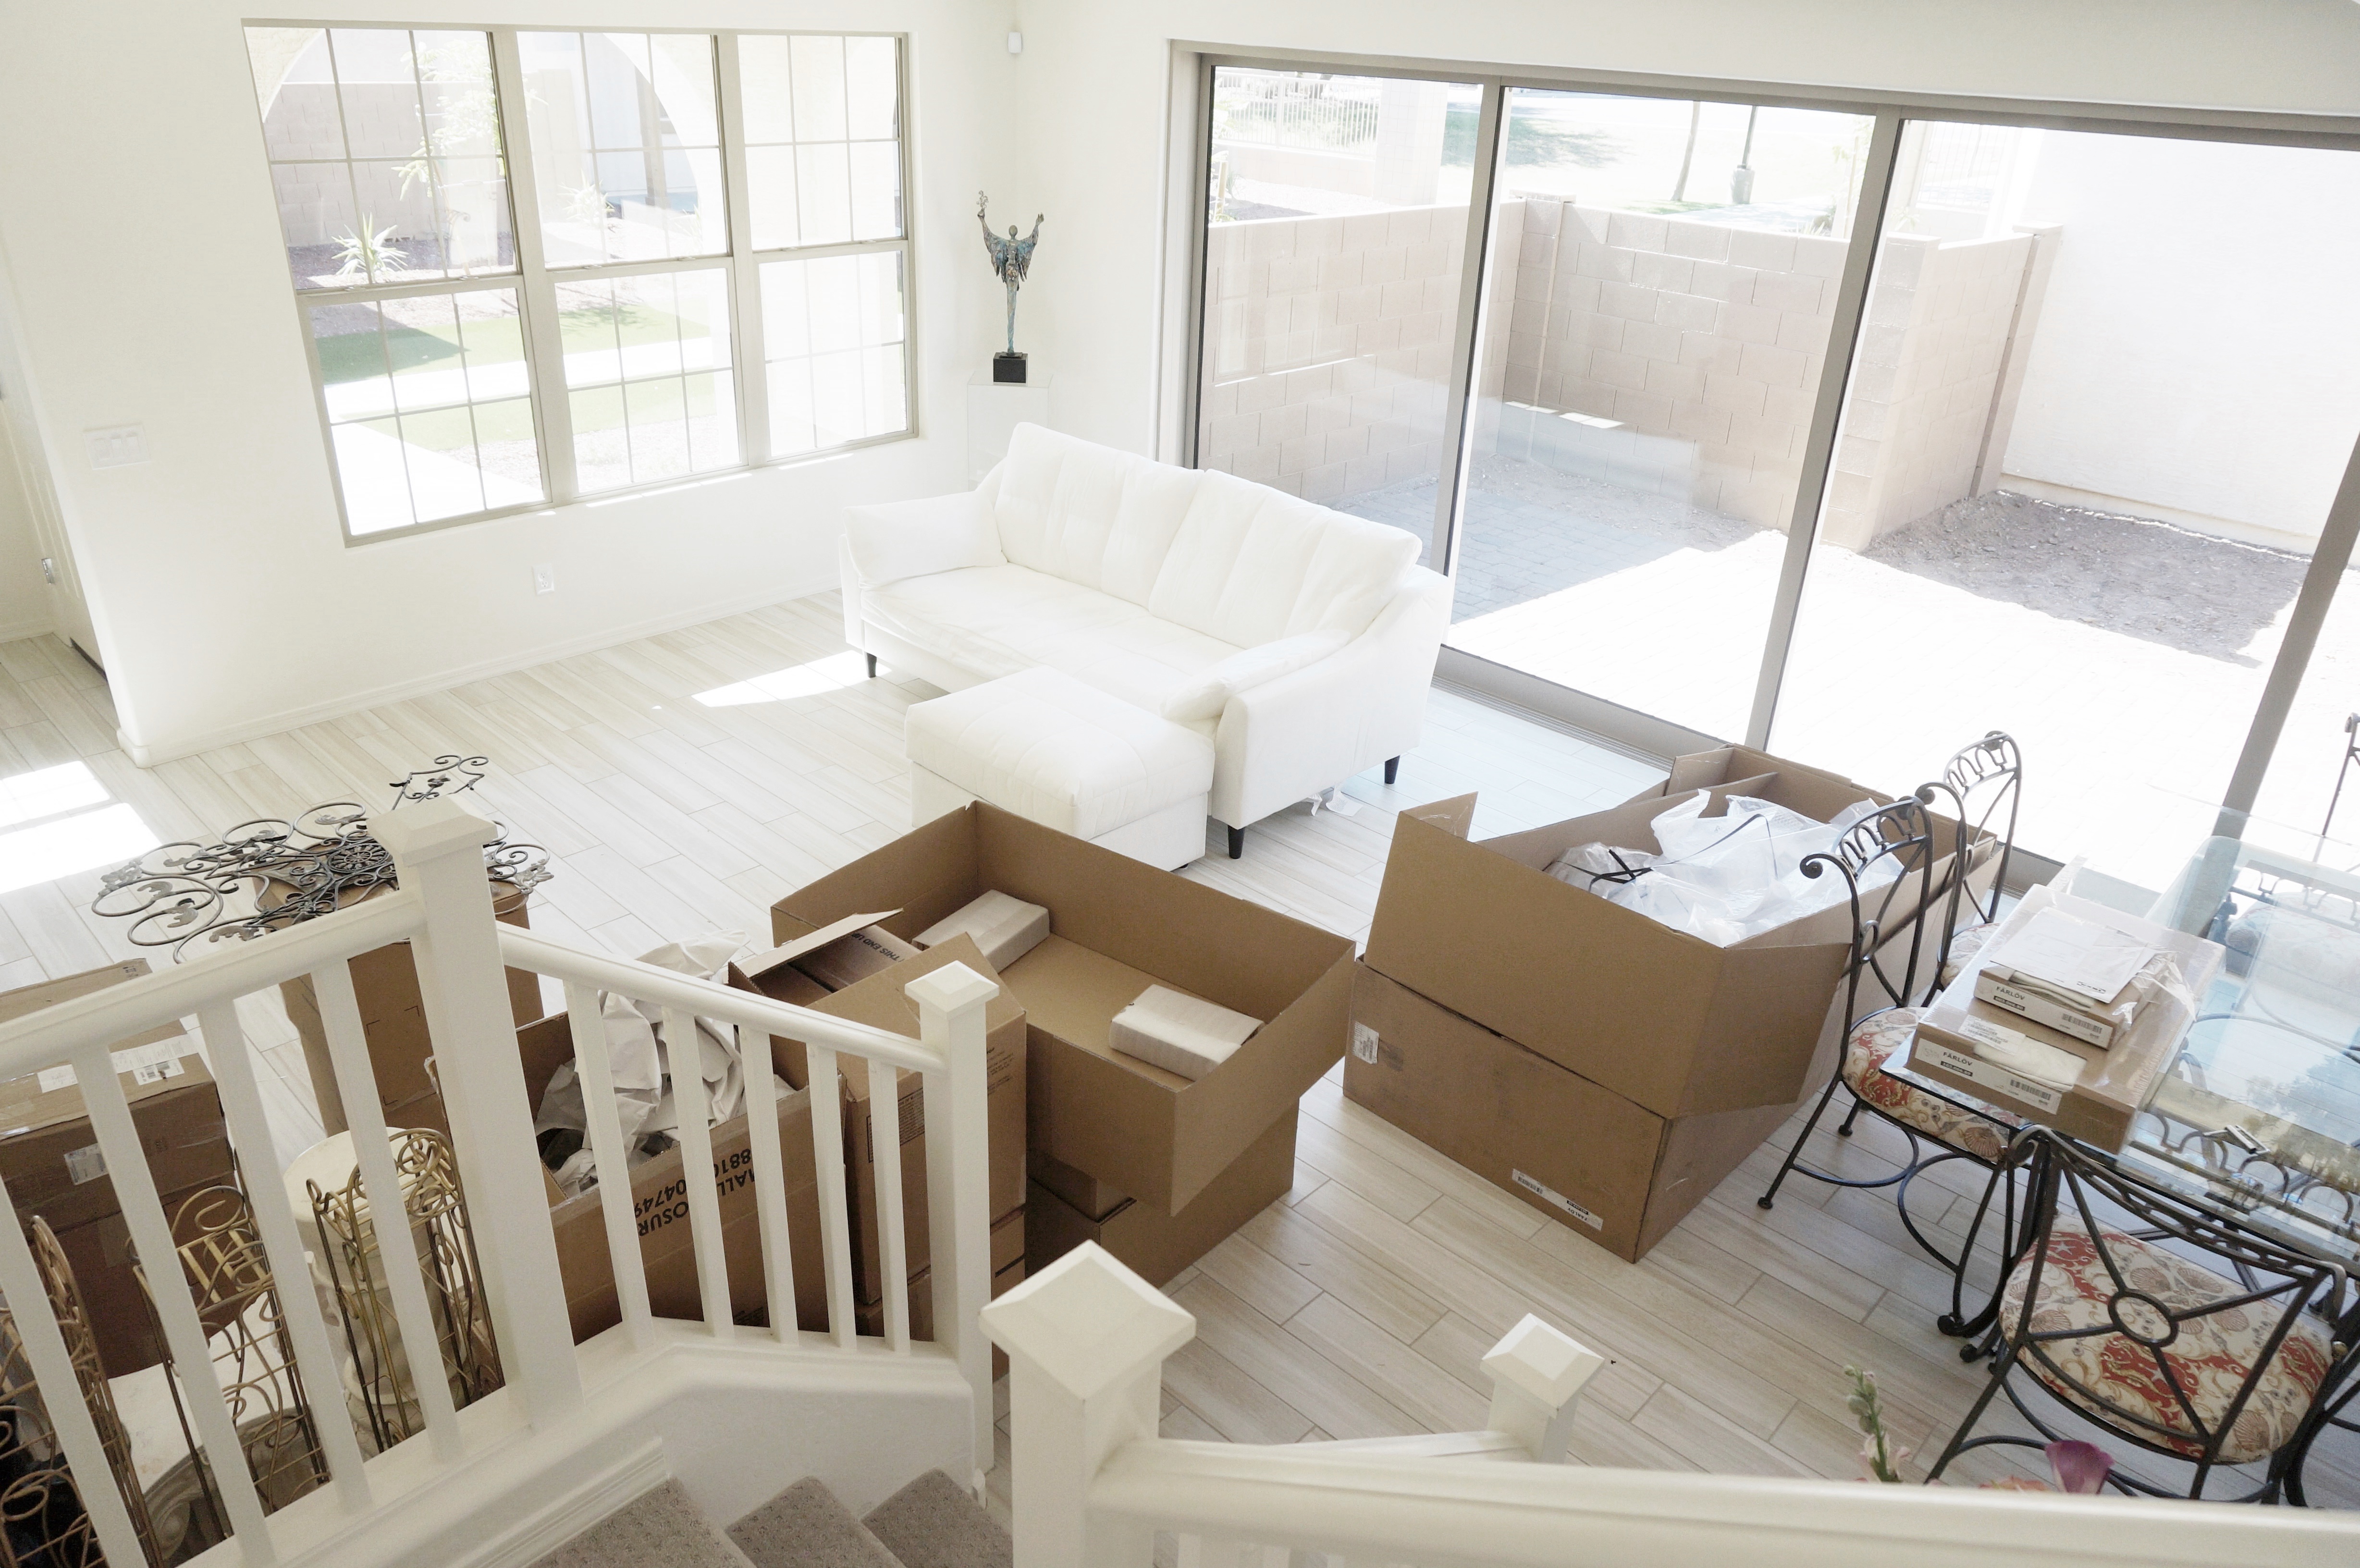
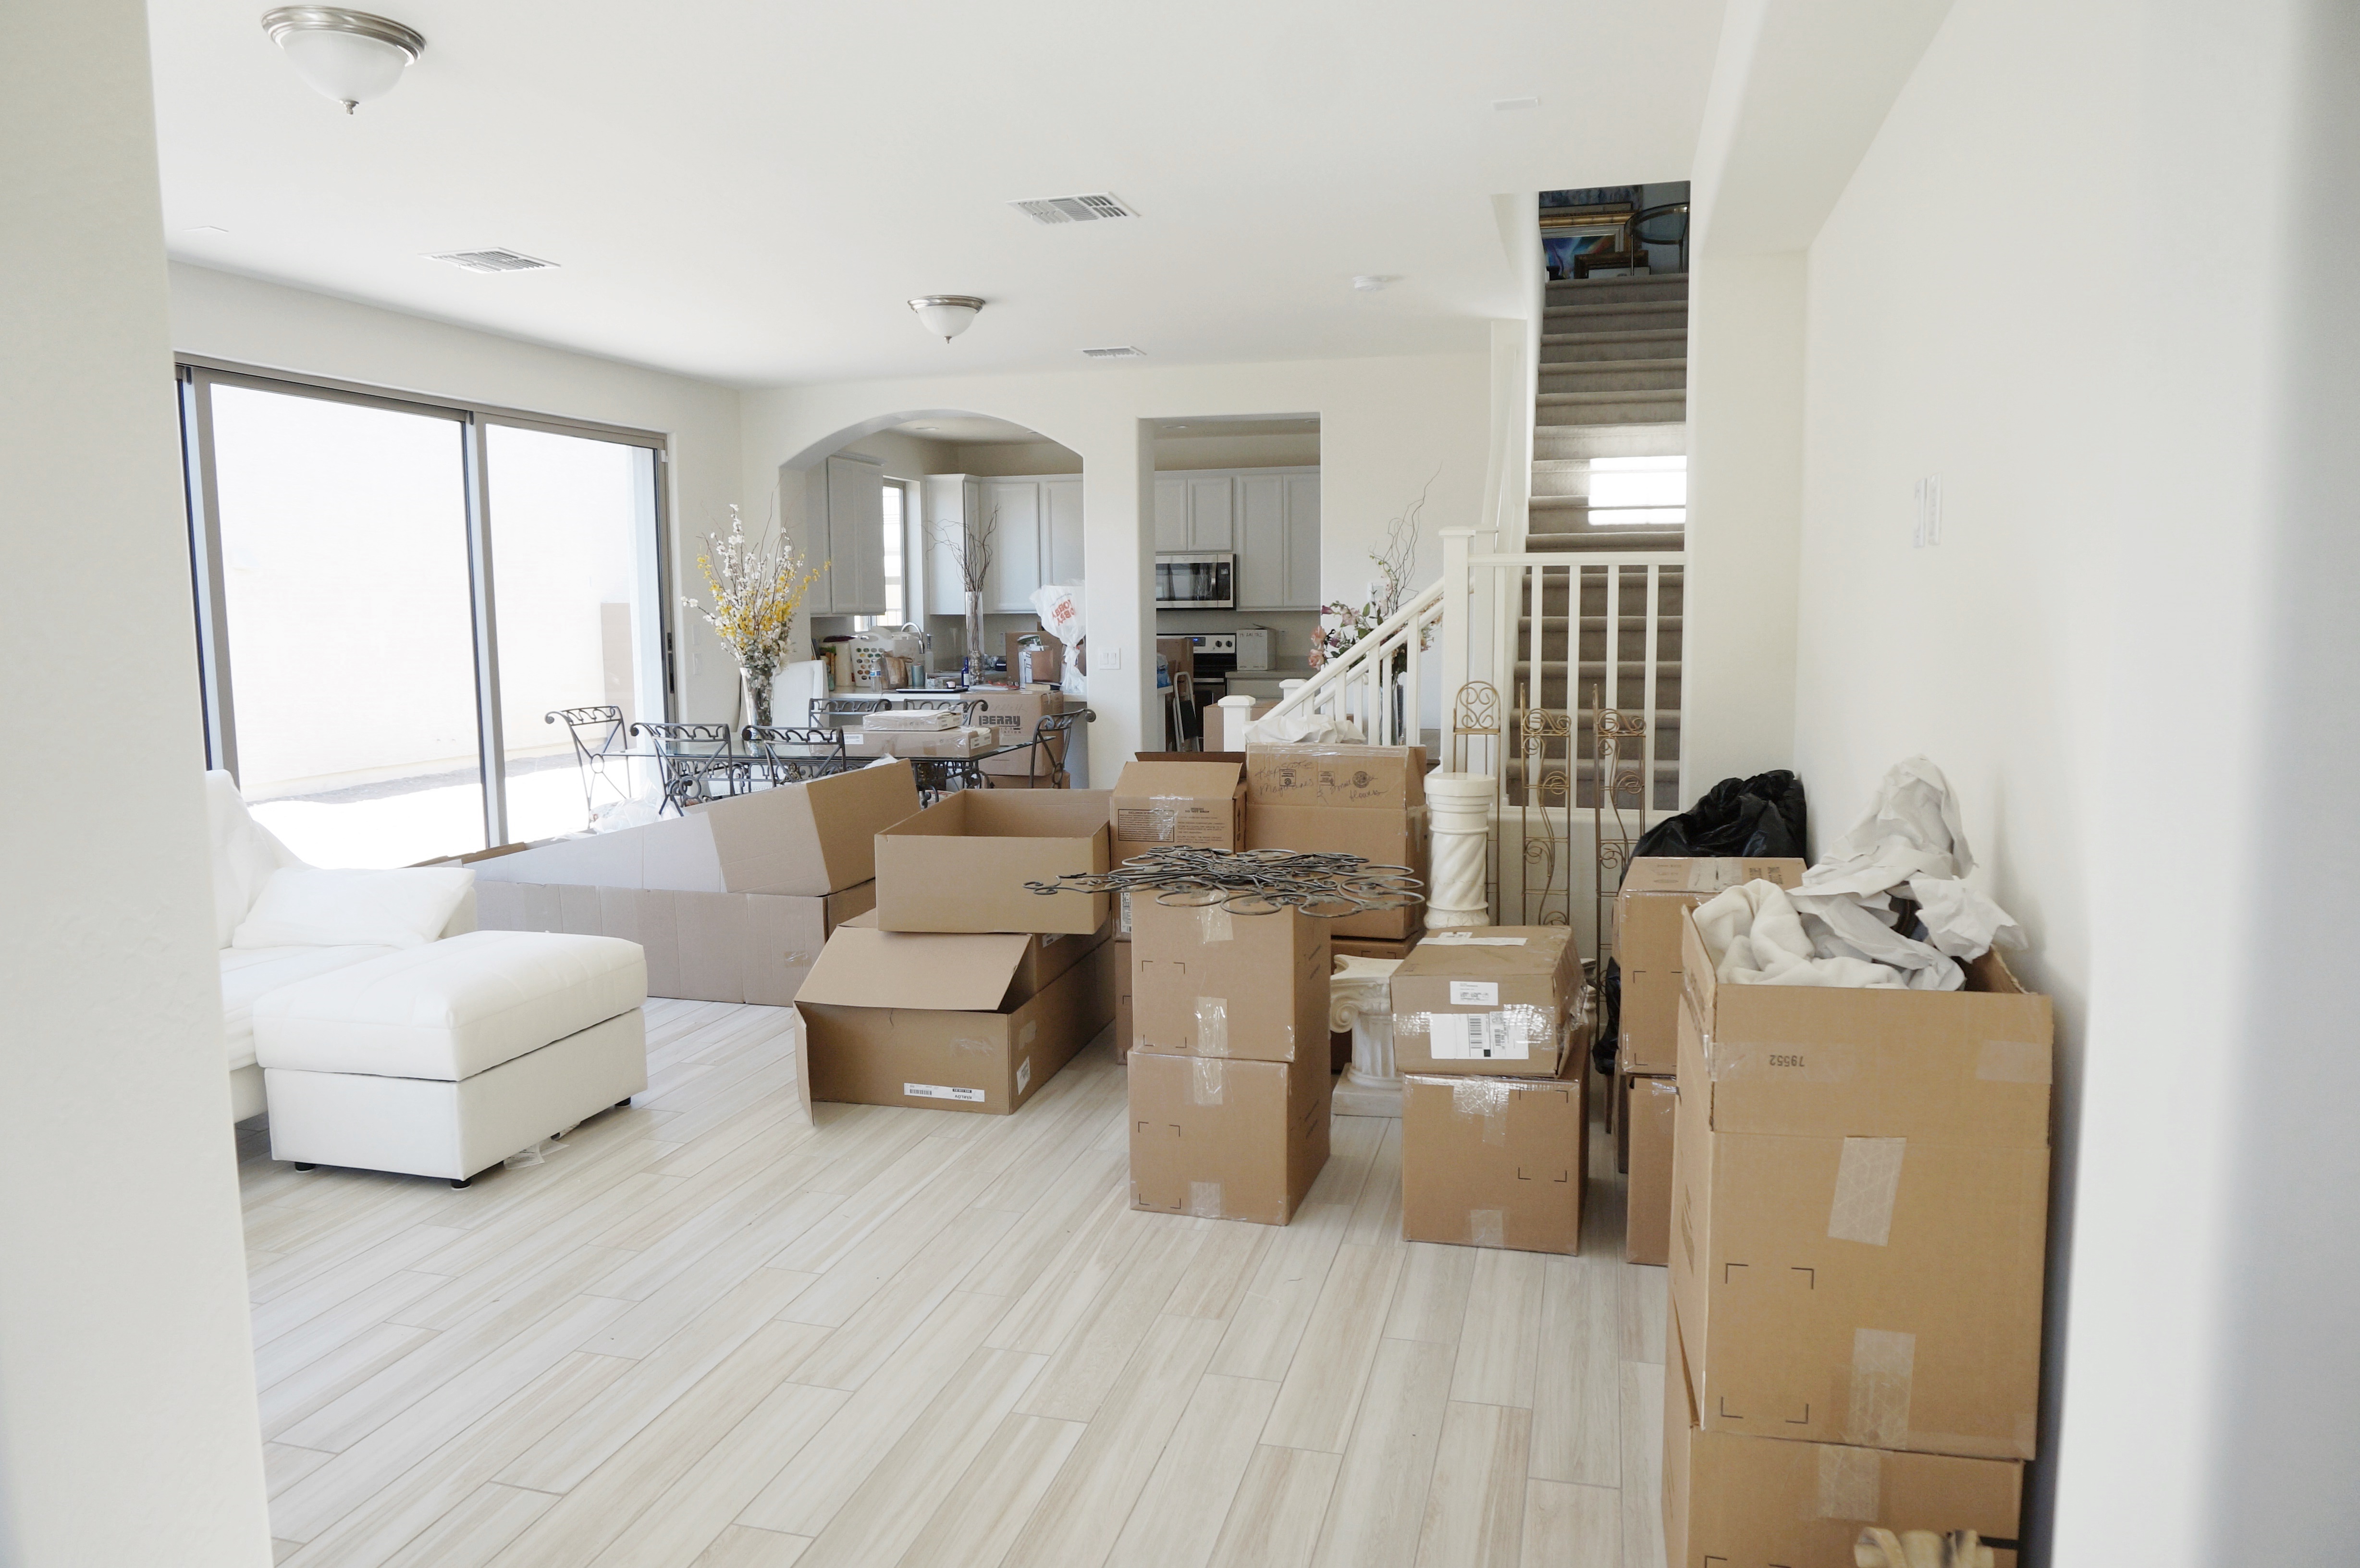
I moved into The Dollhouse a year and four months ago, and while others who are decor-driven, look to complete the common areas first, I’m the opposite. I have to have the private areas done before I can think about any other areas of the house. I talked about that in this post here, and here. Early in the decorating process of this home, I decided it was better to take my time to bring each room to life. The last thing I wanted to do was hurry to finish a room and say “Hey everybody, come check out my Living Room reveal”, only to have a reveal do-over three months later when I’d changed my mind, and wasted money and time no doubt. This room is by no means “finished”. There are only a few… ok, several things I still have to/want to do in the space. Here’s what the space looked like the first week in…
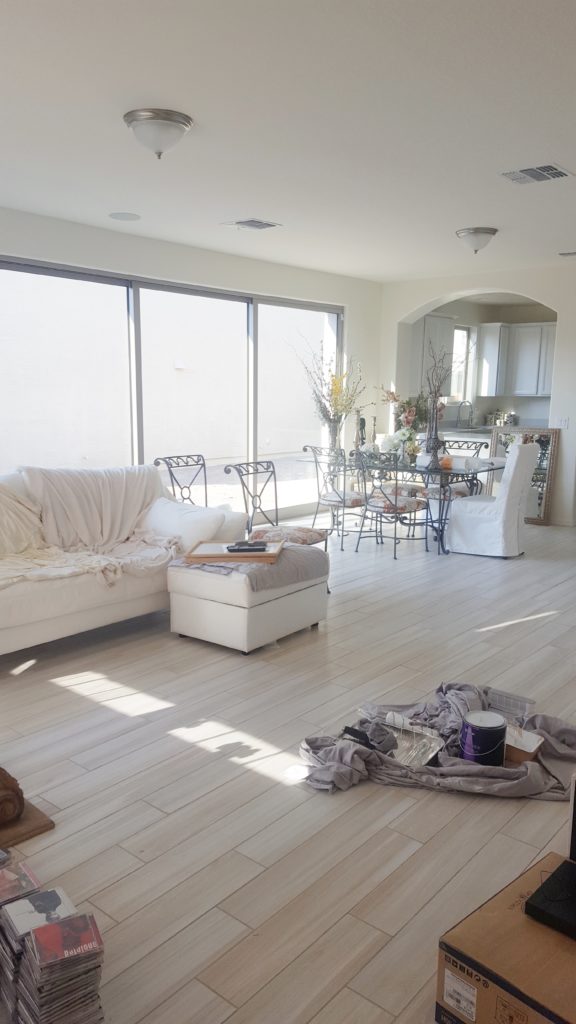
After living here for a month or so, I decided to paint the whole house a brighter shade of white, and I still hadn’t put the slip covers on the sofa yet, so as you can see in the photo below, I just grabbed a couple throws to place over it so I wouldn’t get it dirty, and then I just left them there. I know, just lazy, right?! Haha!!! And those two boob lights just about drove me crazy!!!
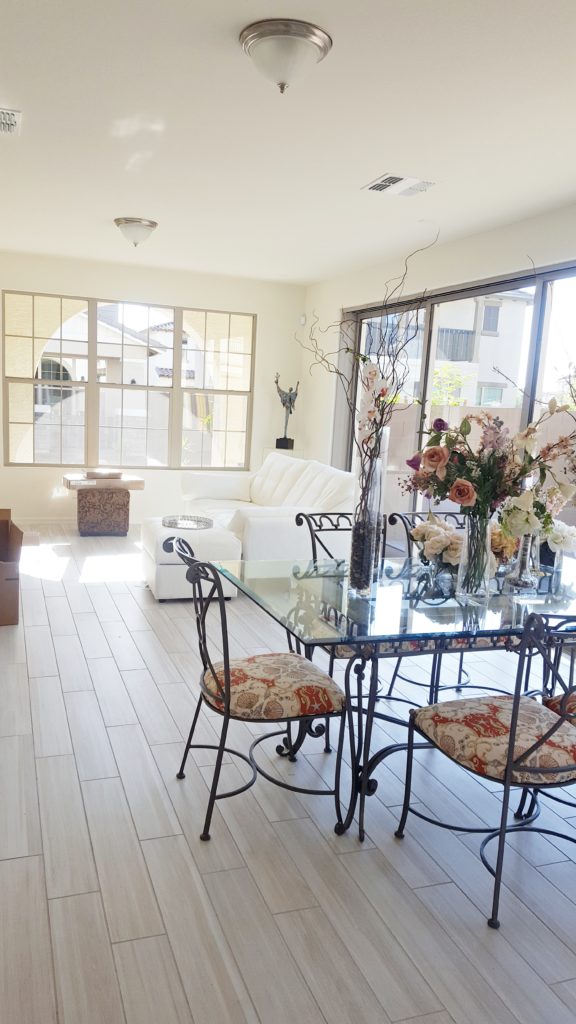
Once it was all painted, I started my decorating with the smallest part of the space, the front entrance way…
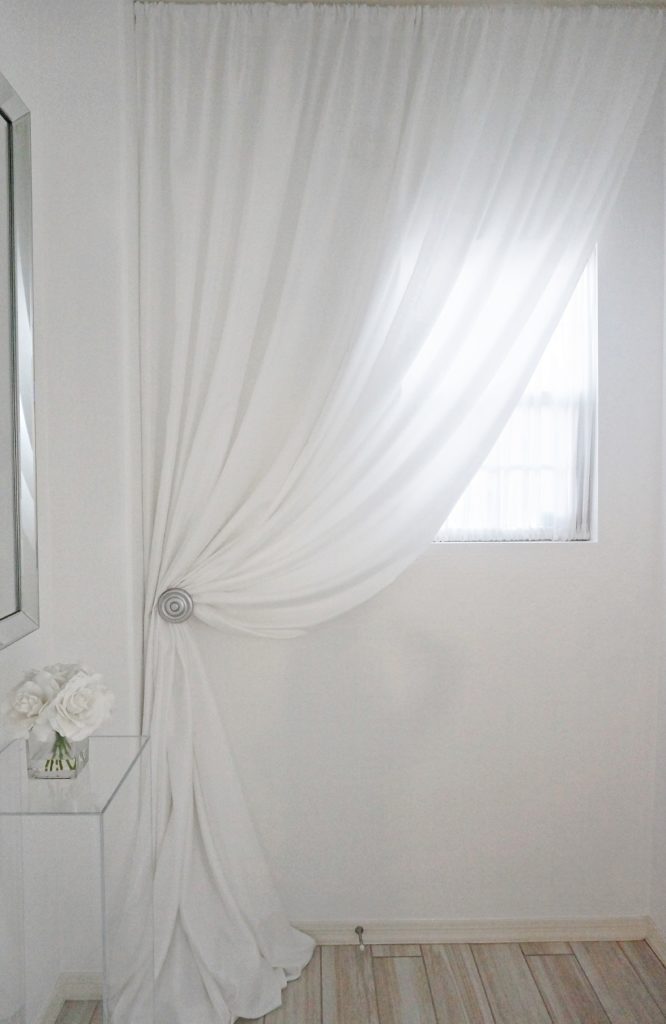
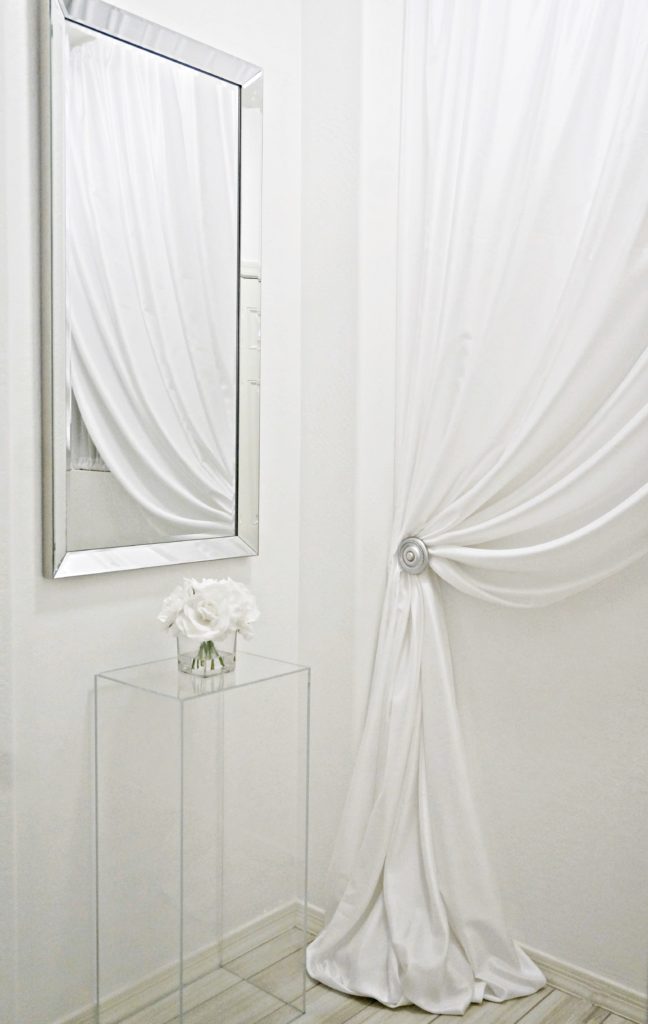
I love the bright, clean, minimalistic, simplicity of my front entrance way. I didn’t want it to look over-crowded or washed out. Now I still need to switch out one of the 5 remaining boob lights that’s in the space. If you’re unsure of what I mean by “boob light”, check out this post here. What I didn’t realize until way after the fact, was that there is no hall closet on the first level in this house. So I’ll eventually add a decorative coat tree in the corner there behind the door. So let’s just have a look at the rest of the space. Here’s a “before” shot that I posted on Instagram months ago…
And the after…


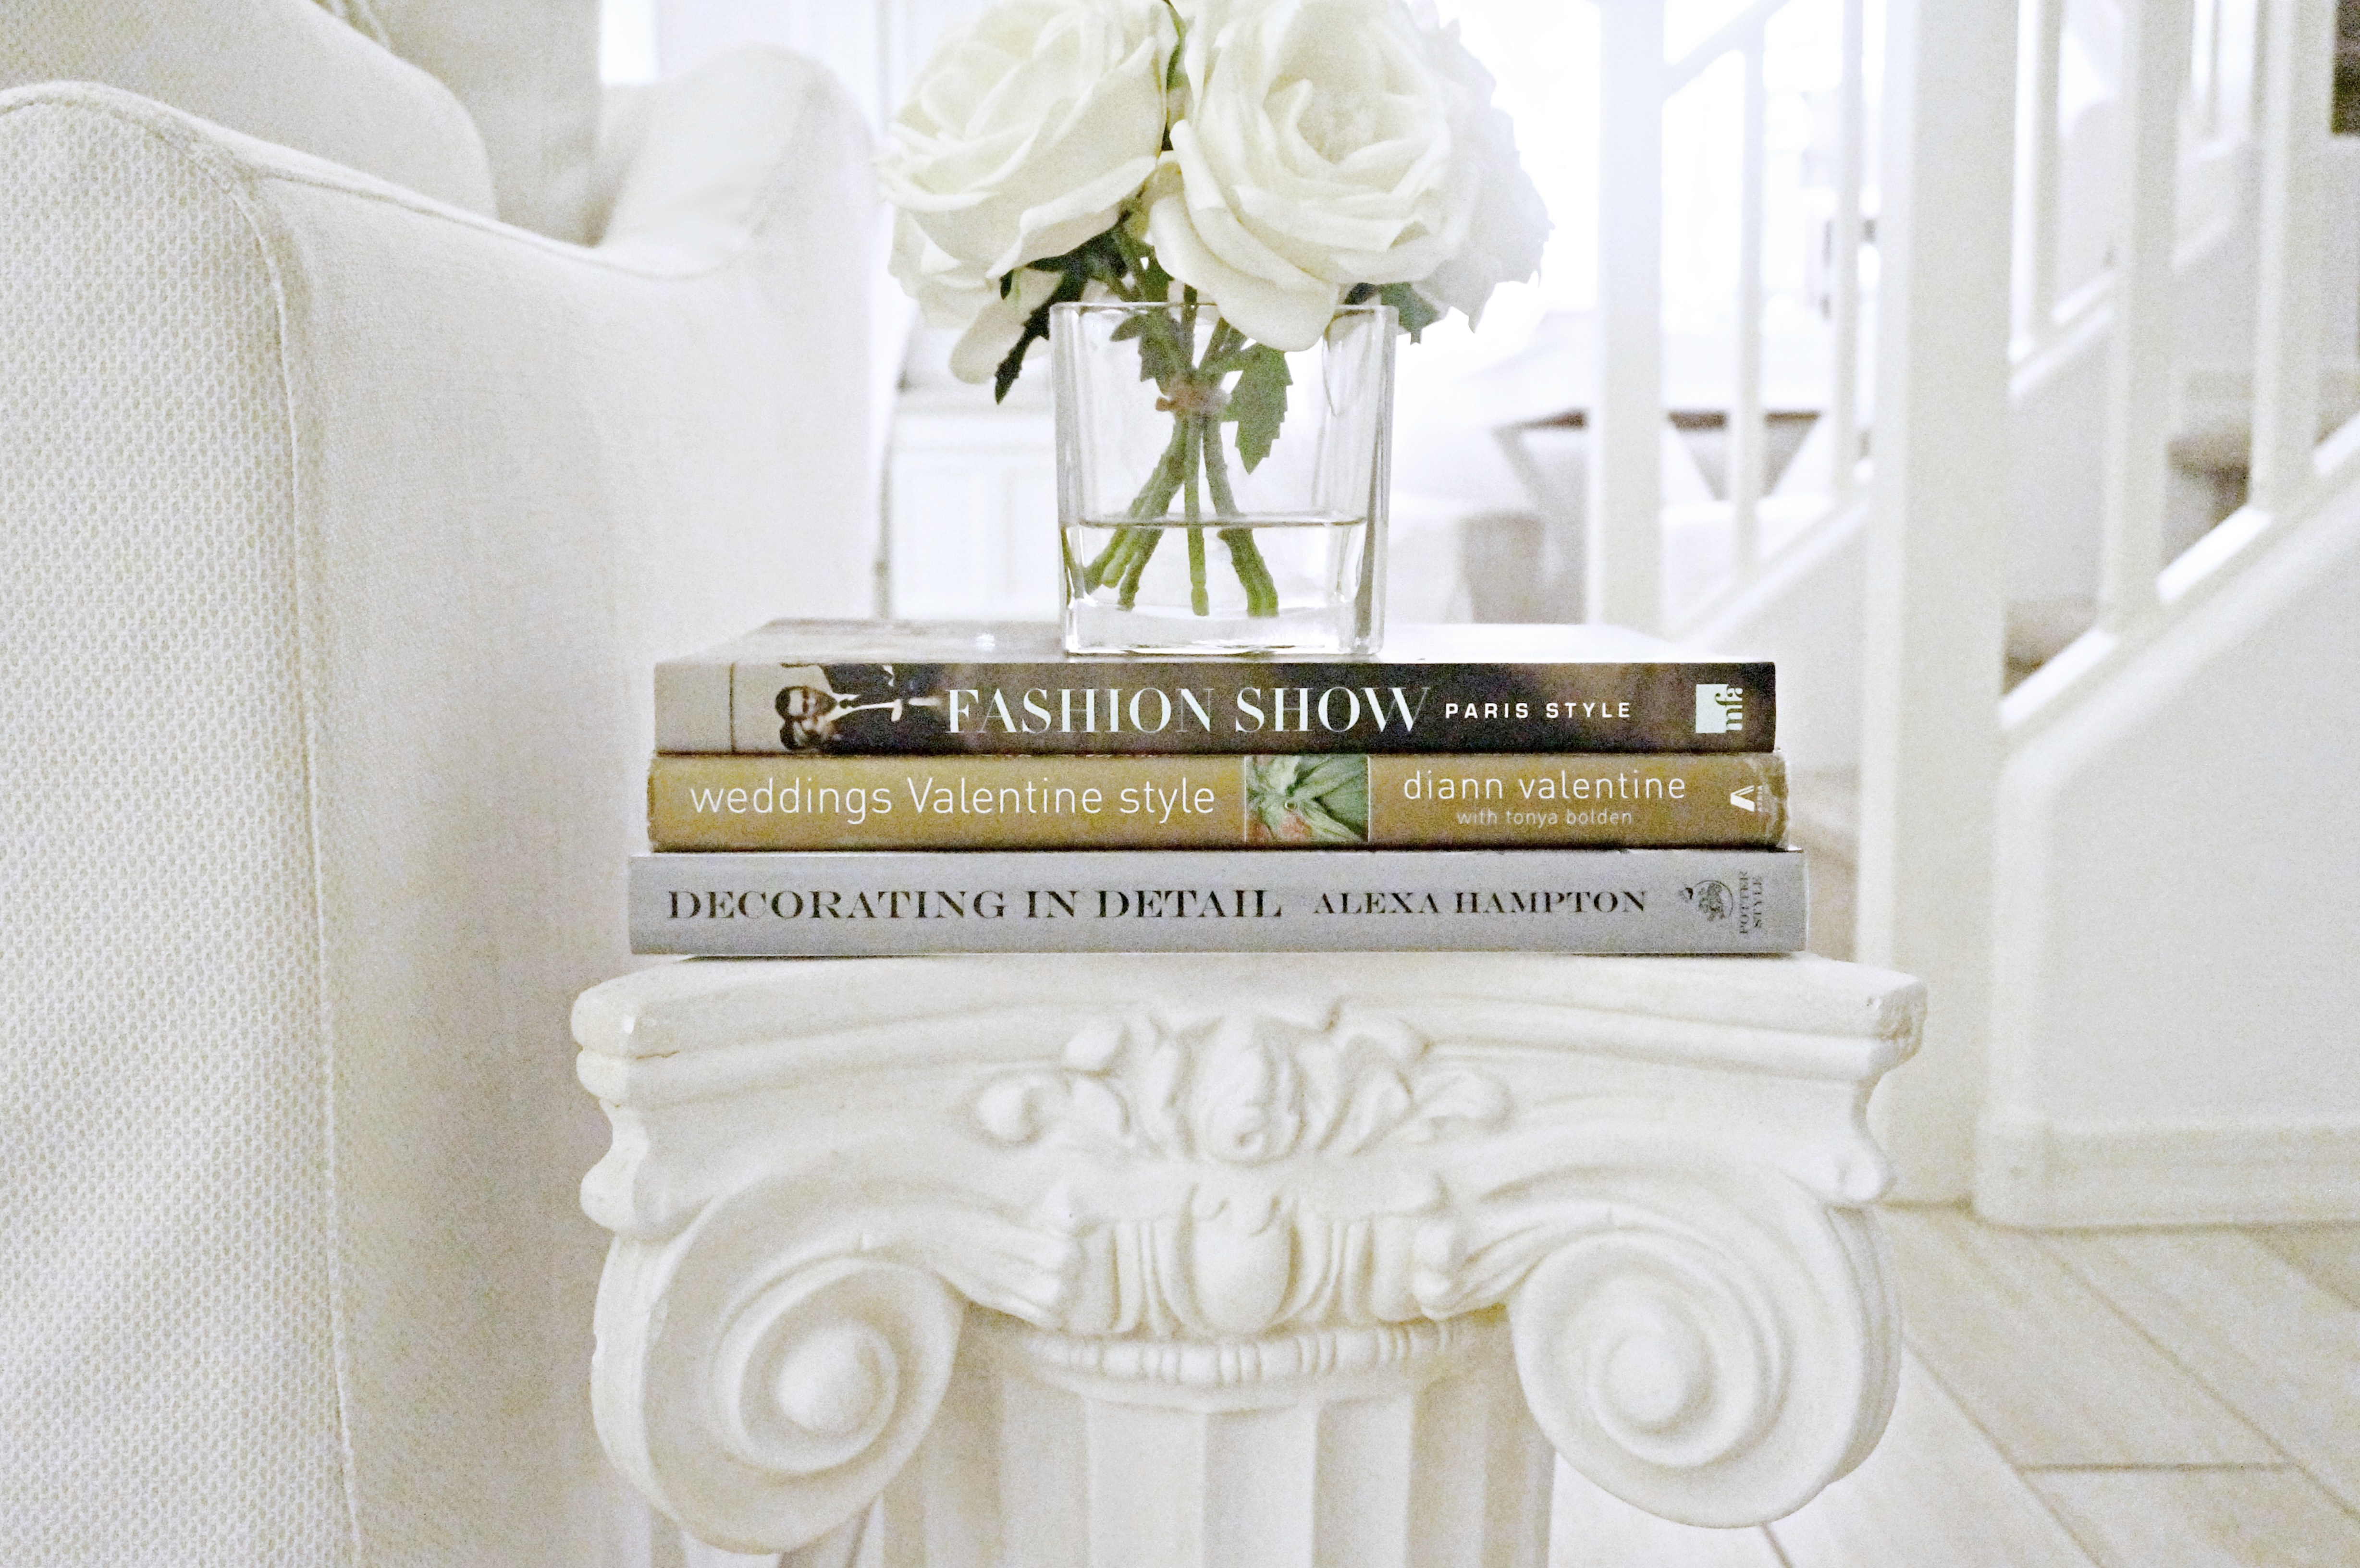
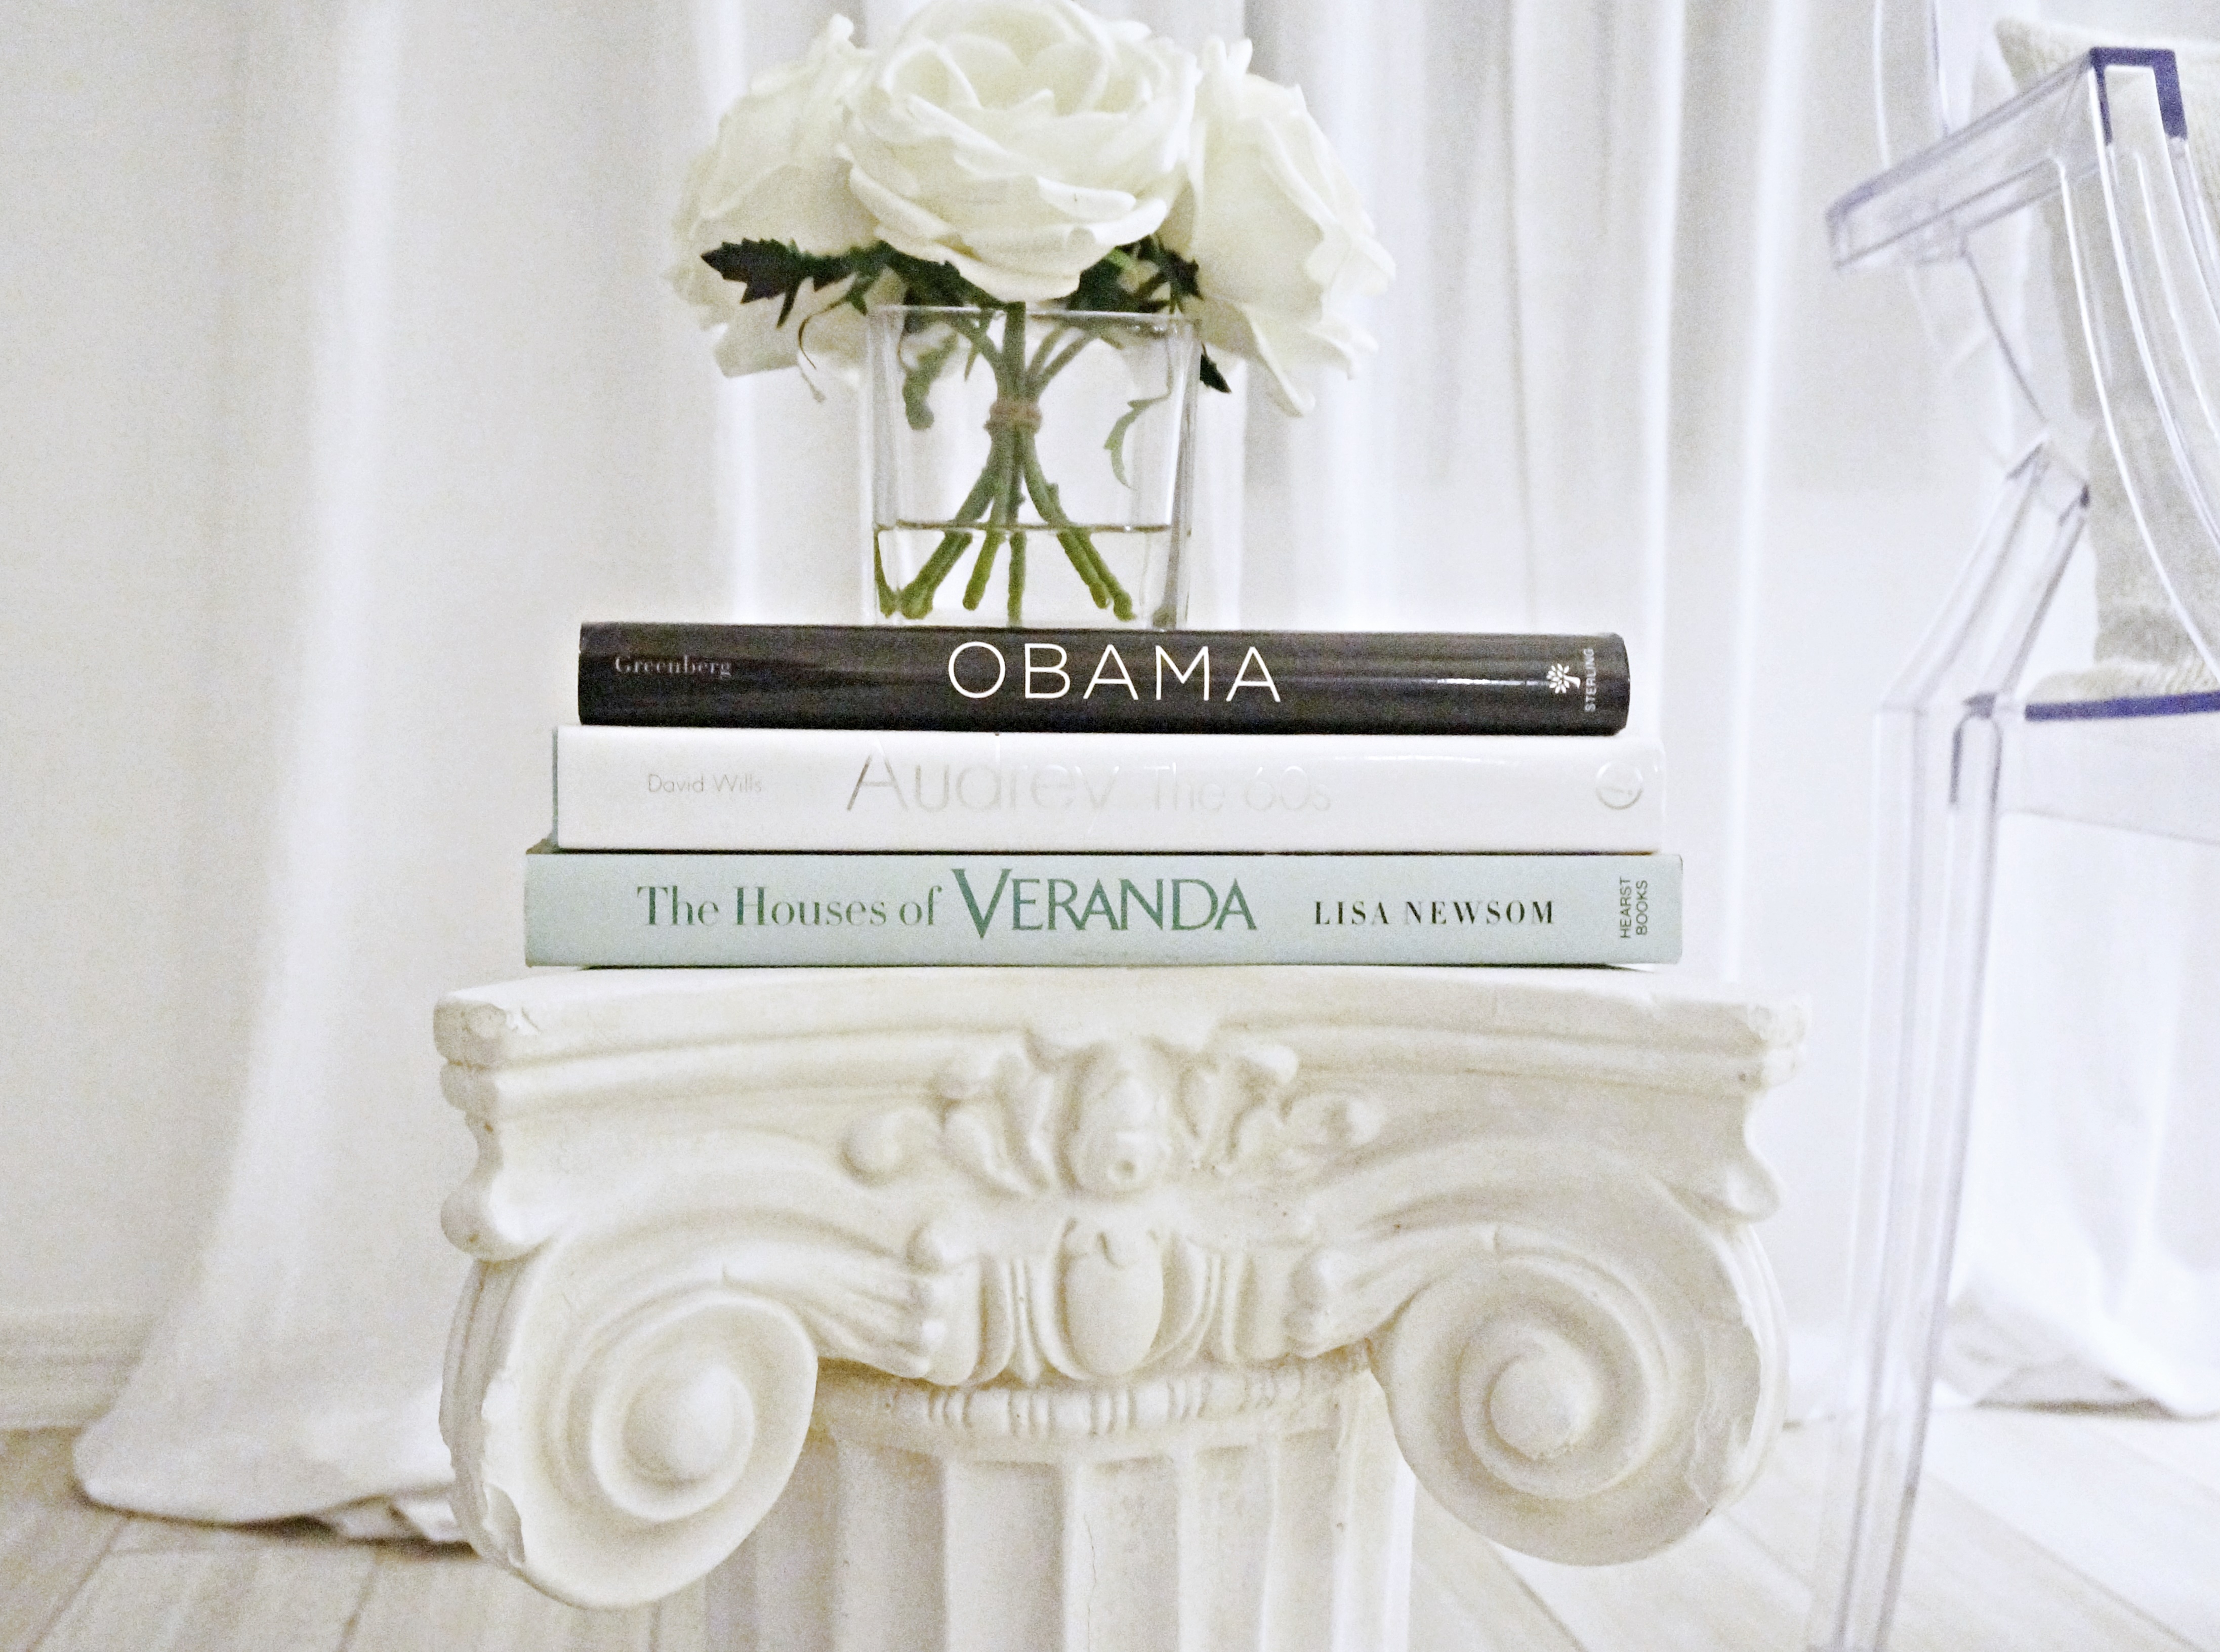
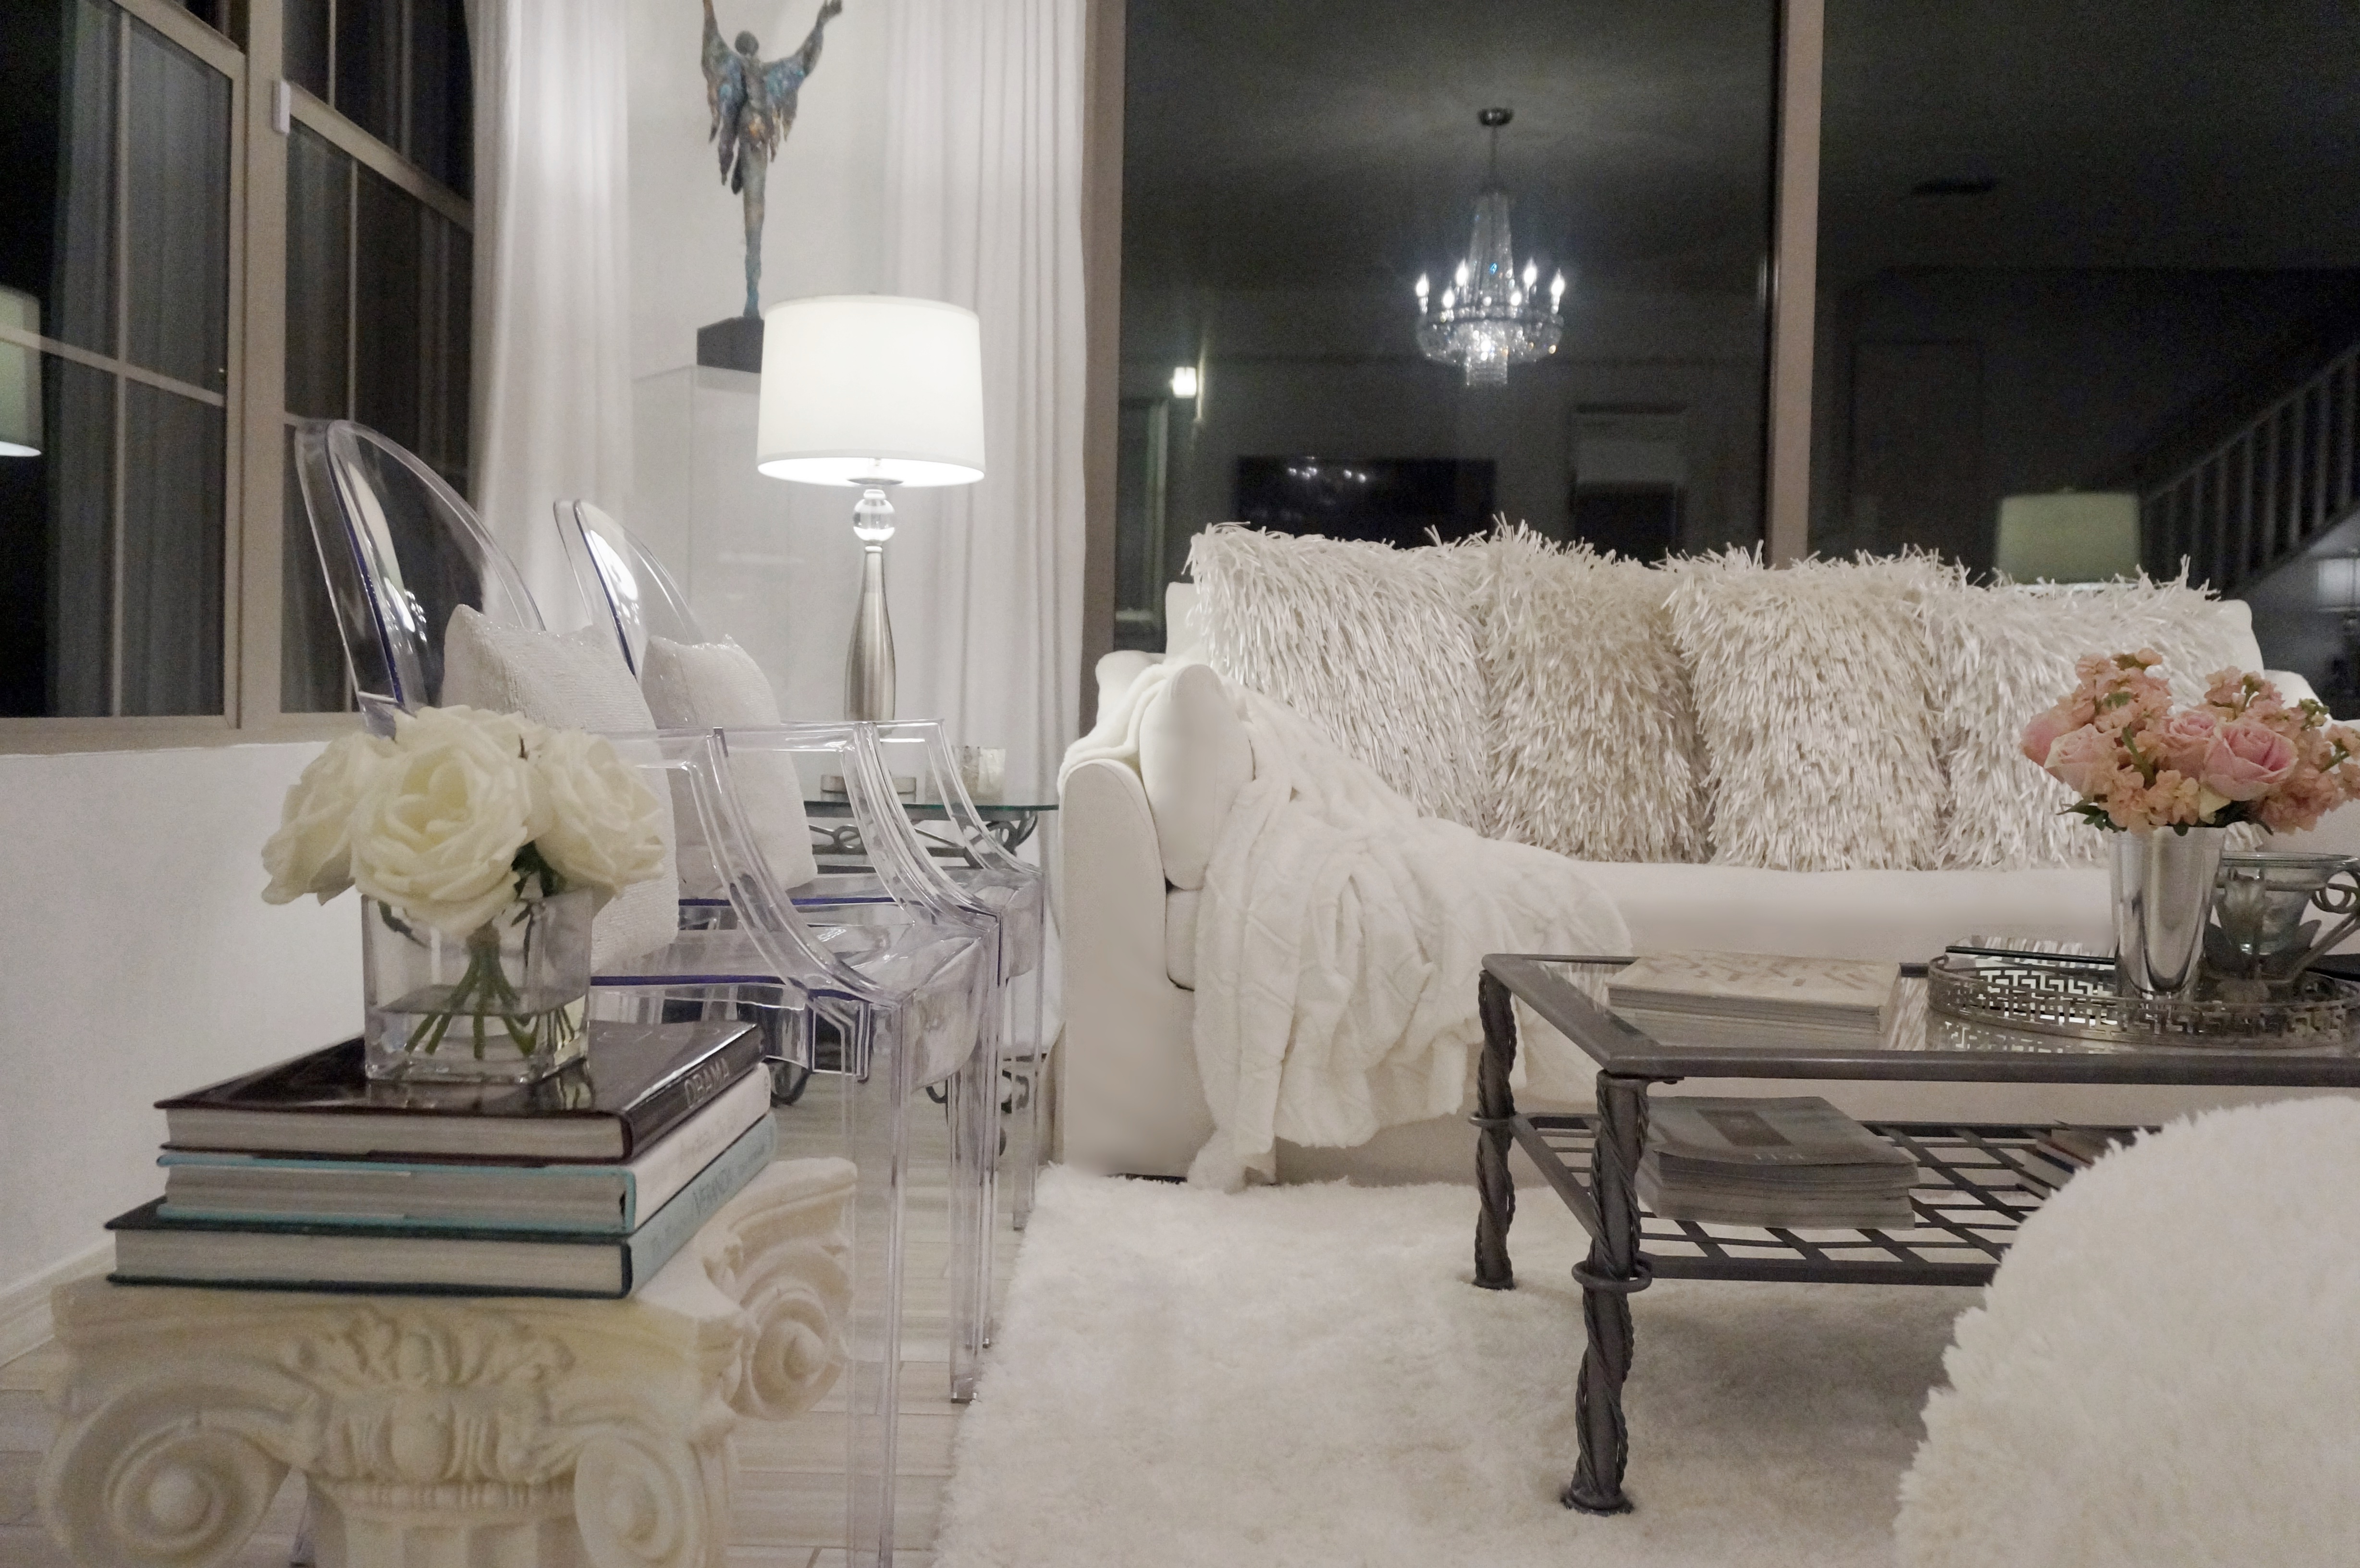
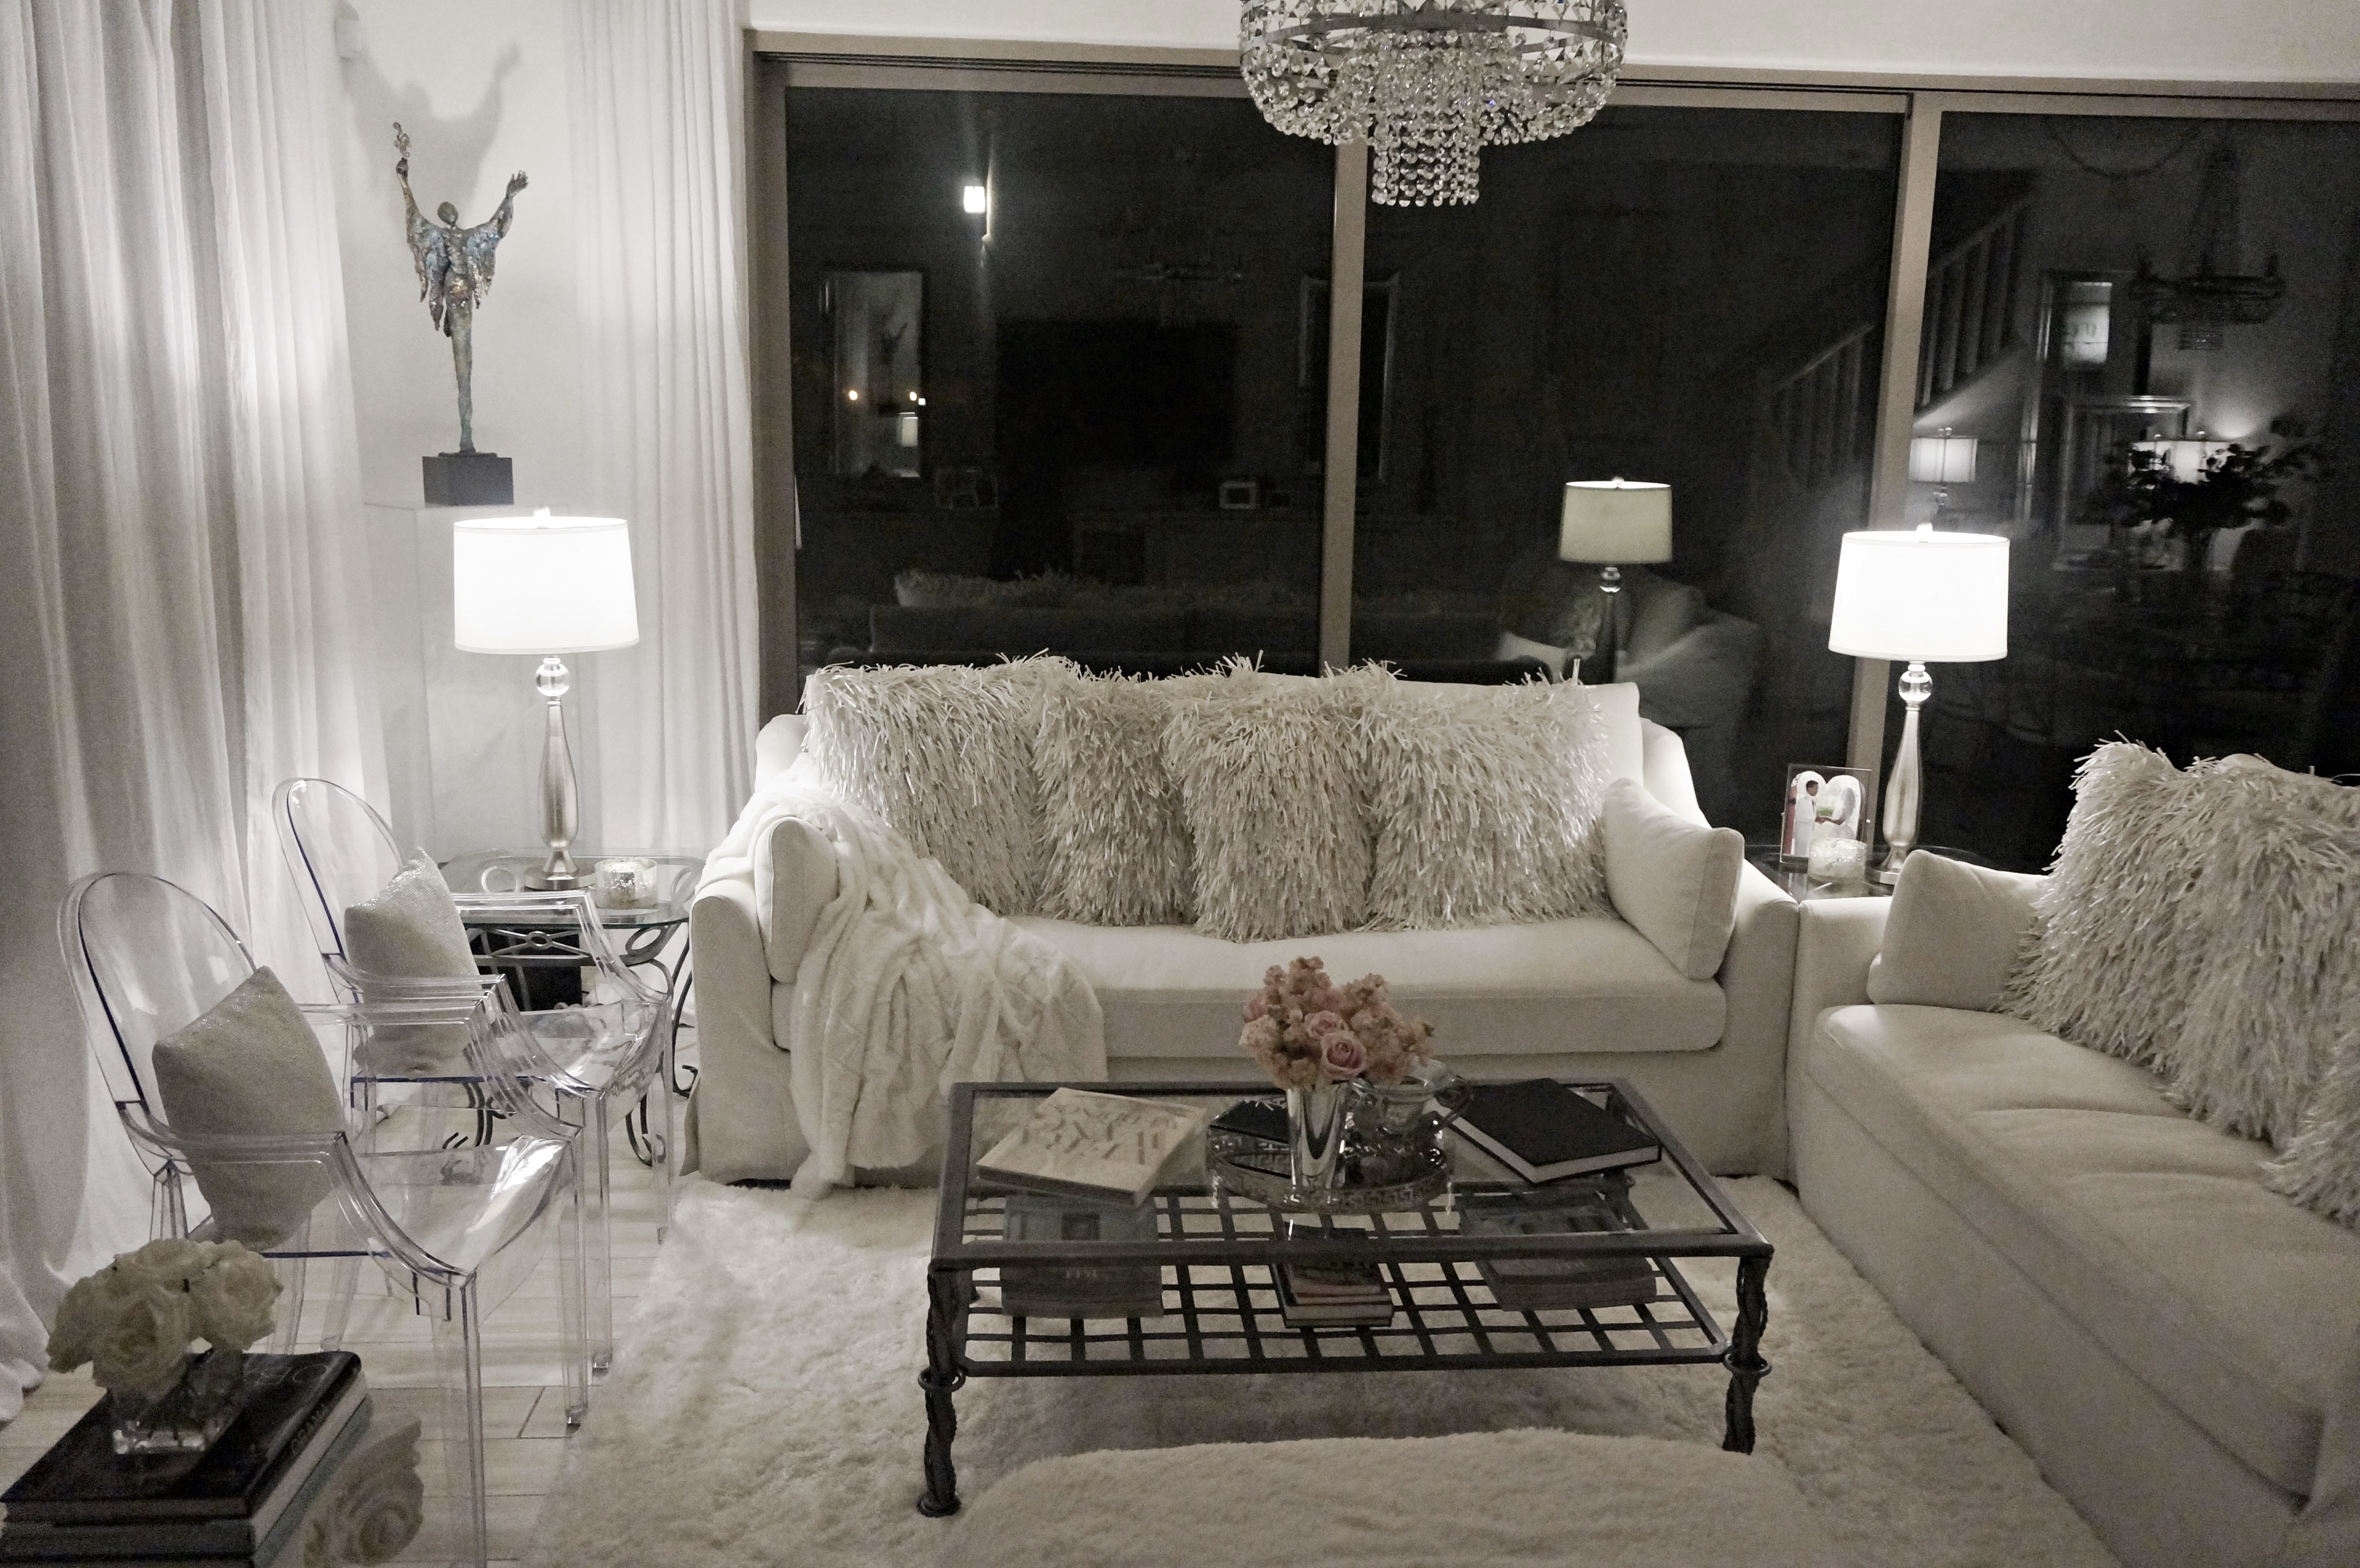
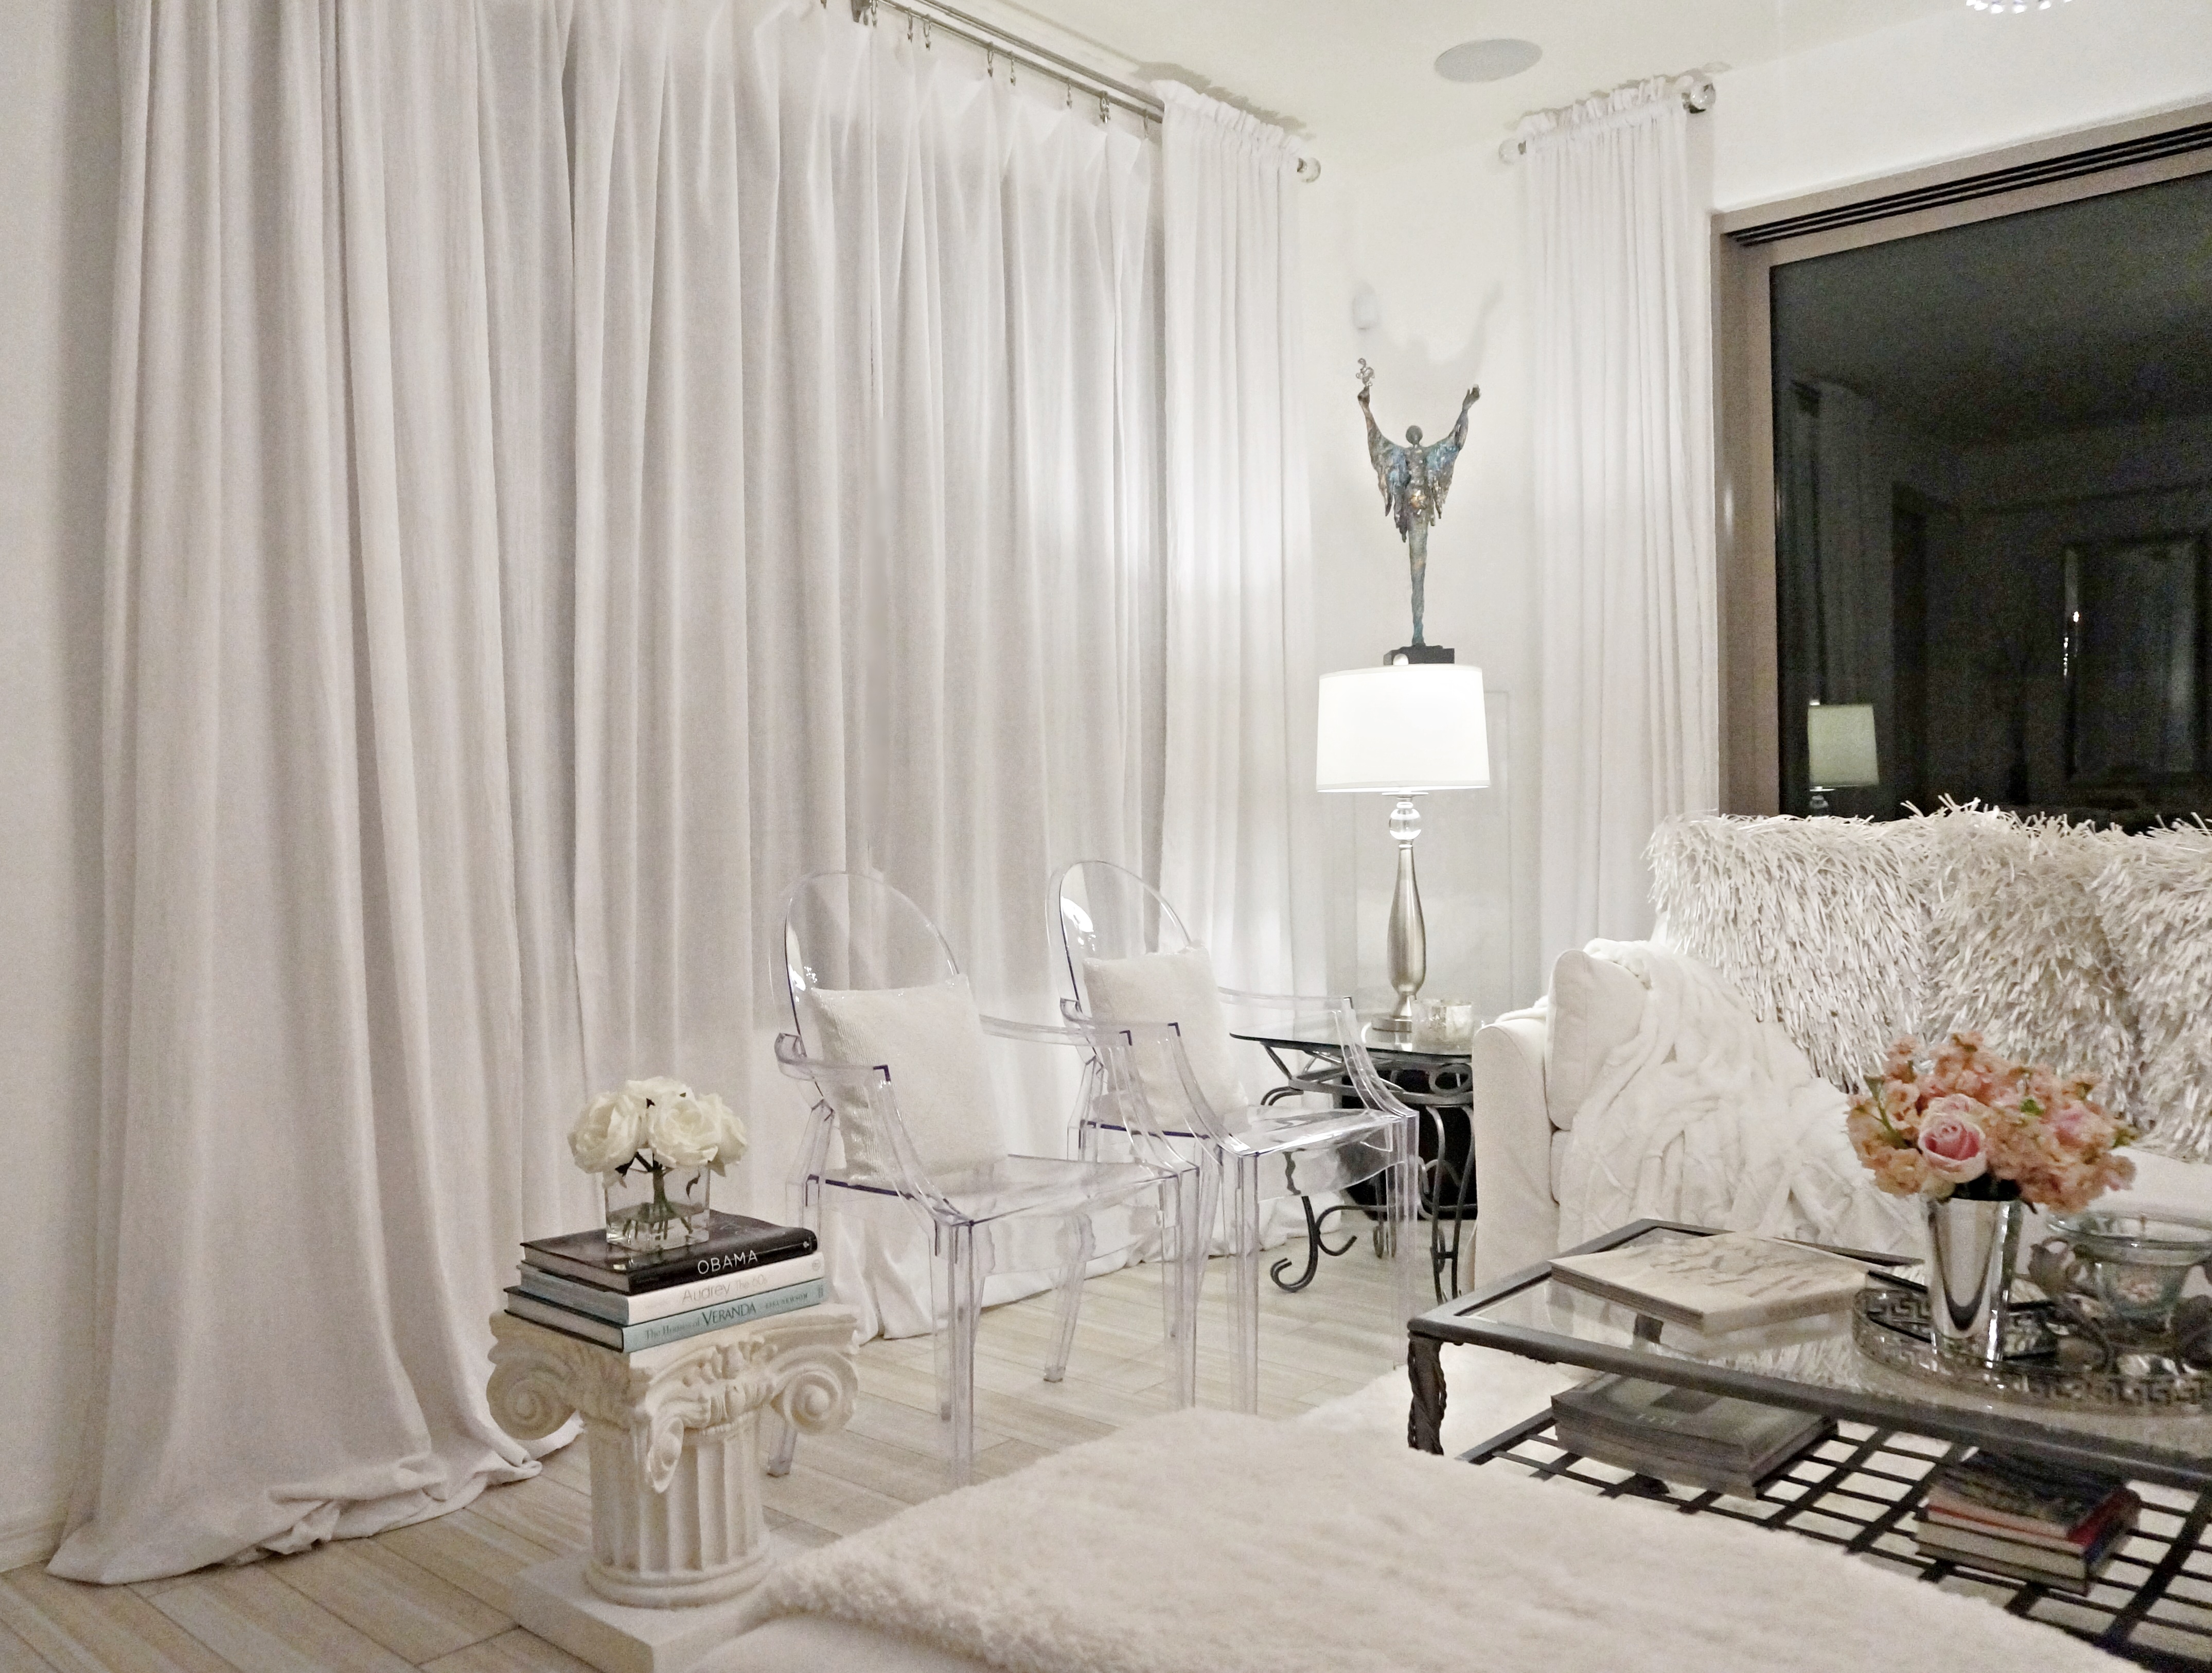
The only large expense for this space was the sofa and loveseat. I did purchase the coffee/end tables and the lamps, but at tremendous deals. The lamps were found at HomeGoods on clearance for $30 a piece, and the coffee and end tables were purchased off Craigslist for a whopping $75 total. Of course I pulled out my trusty can of spray paint and got to re-purposing for a shade of gray that matched the dining room table, which I already had from my previous home. And I can’t forget about my coffee table books and other decor-oriented books. I have a couple stacks of them on my built-in cabinets also, which you’ll see in a moment. Some books I already had, a few were purchased, but the majority of them came from Goodwill, priced at no more than $3.99 each. The two books on the coffee table are the Vera Wang Wedding Book, and the Vogue Covers book (I just took the jacket flap off. I didn’t really care for how it looked on the table.)
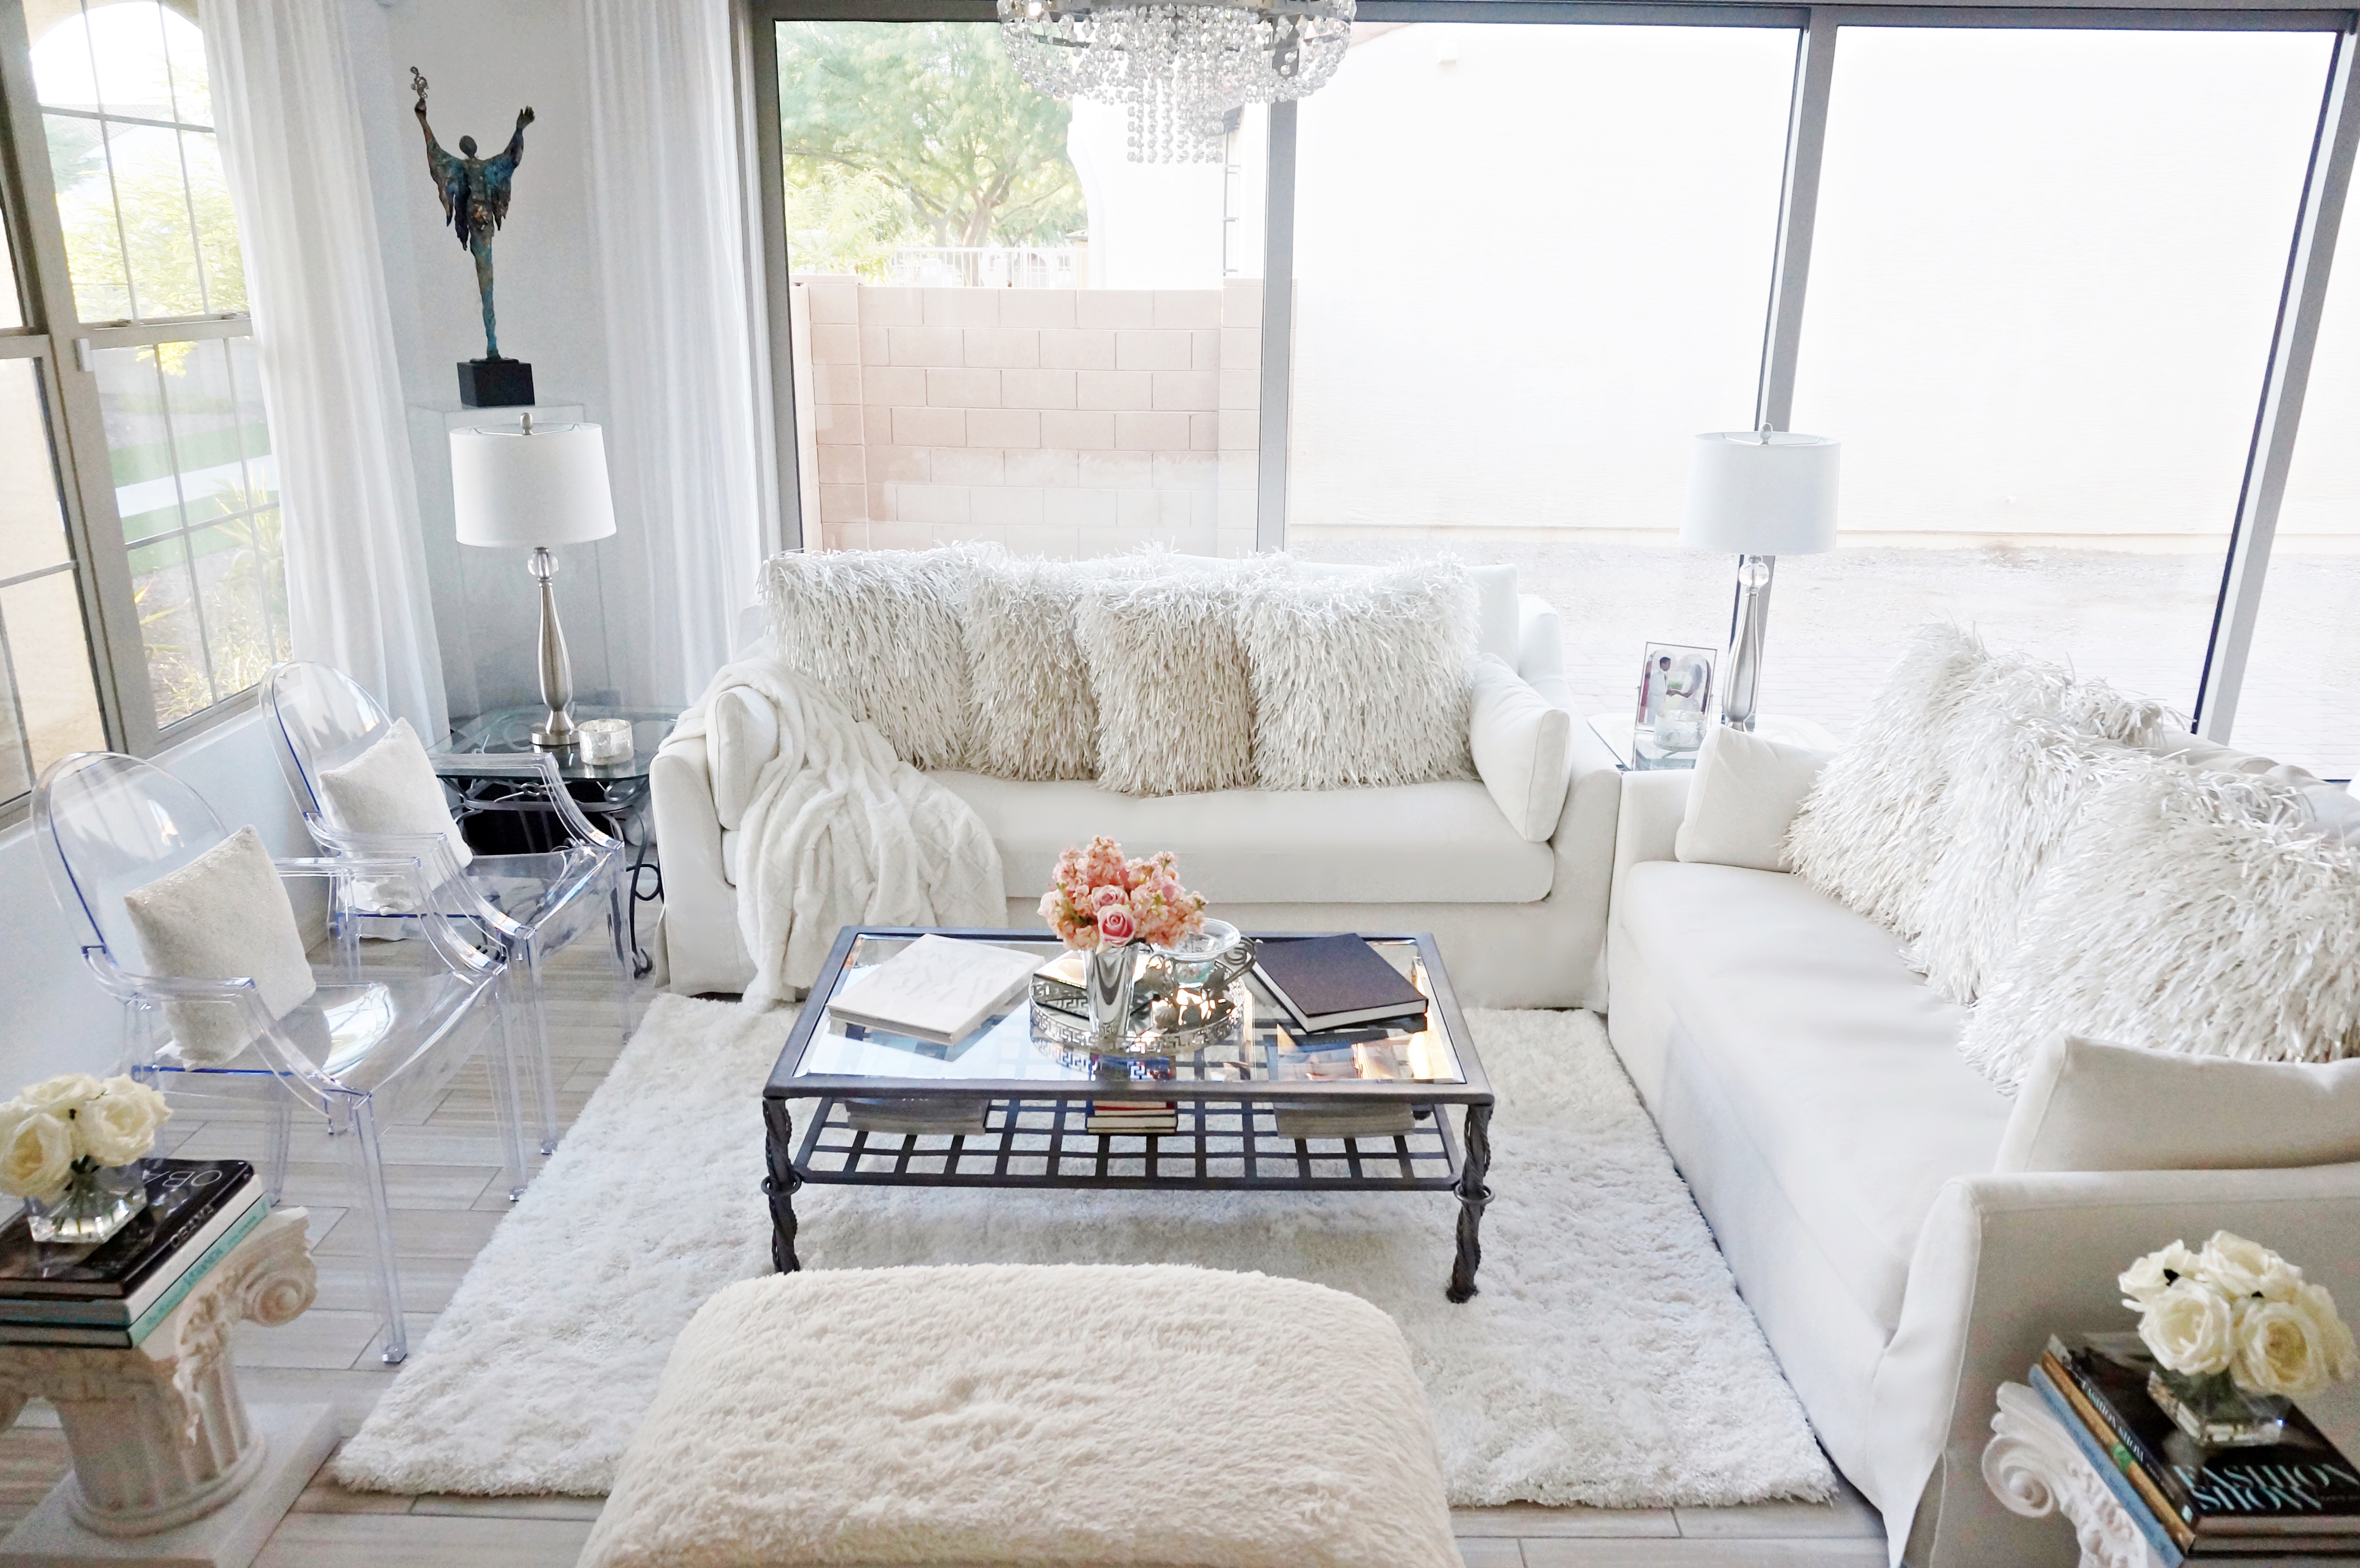

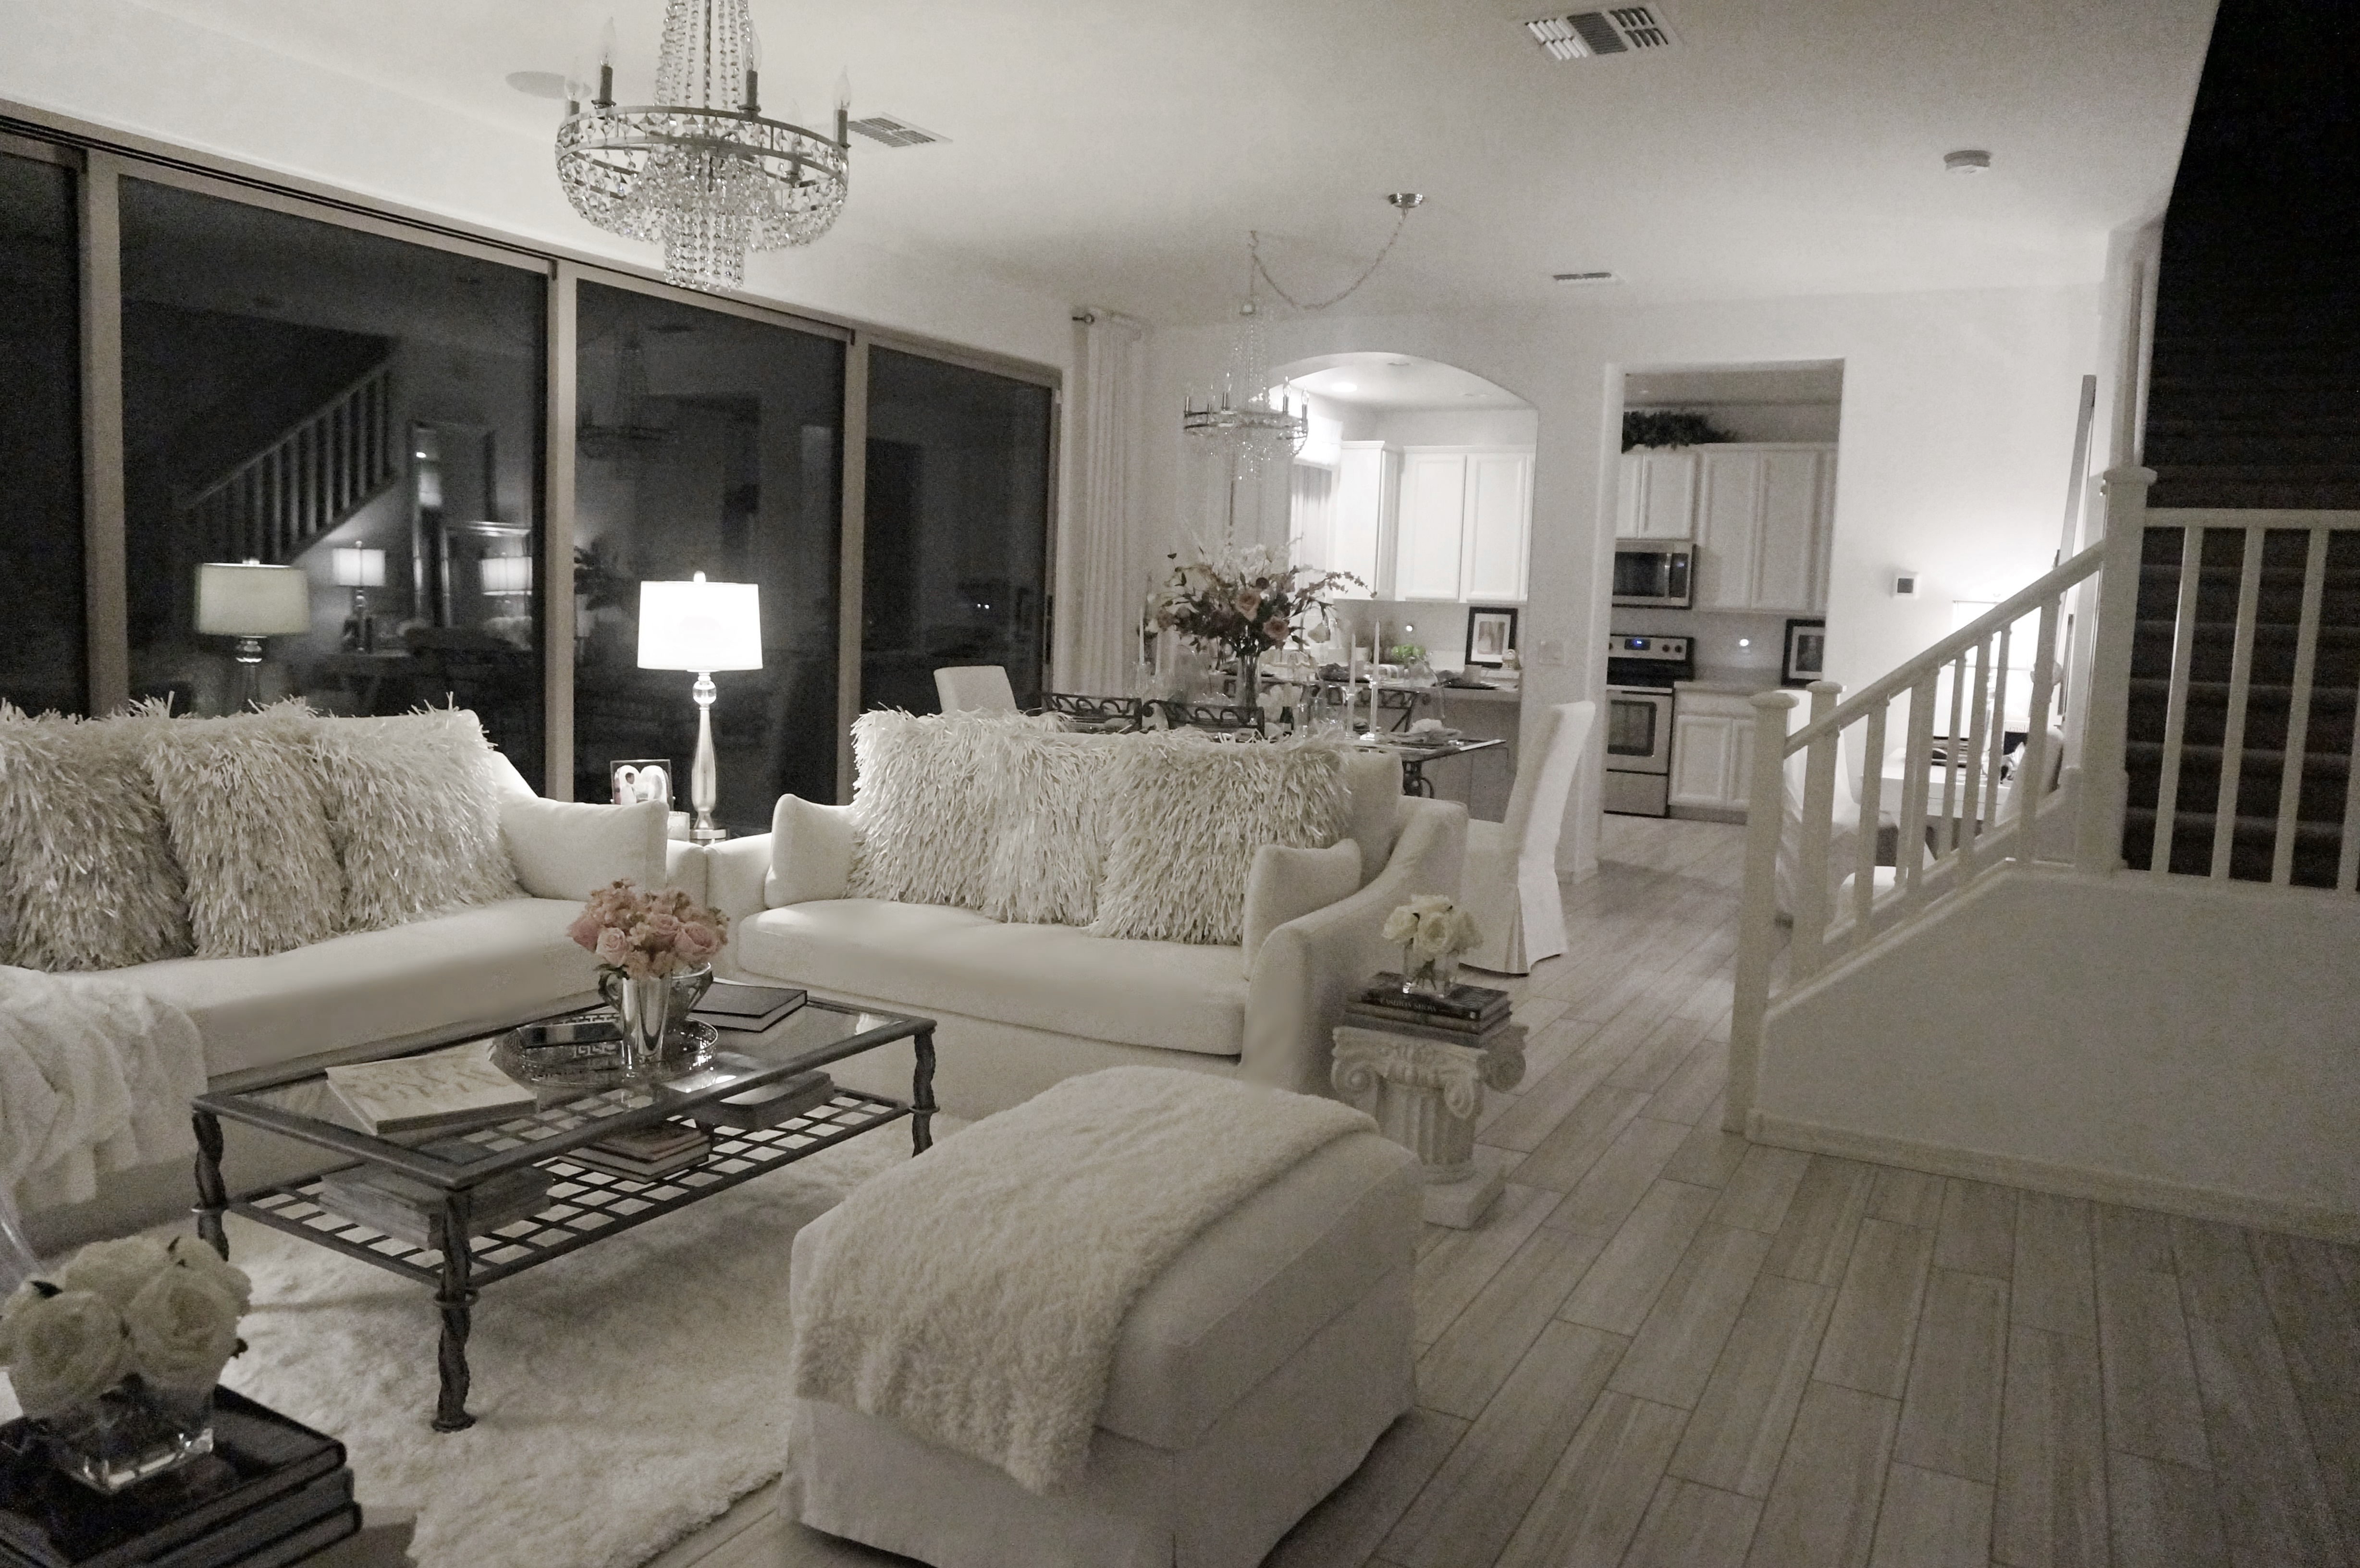
One of the things that I love most about the space is the tremendous amount of light I get. I always wanted a light, bright and airy space and now I have one. I’m so thankful. I have to be a tad bit more careful, but that’s ok, I don’t mind. And so far, all the white has been just fine when entertaining. The sofa, loveseat and ottoman are from Ikea’s Farlov slipcover collection and I absolutely love this line. I originally wanted a sectional and this line didn’t feature one. But guess what? Shortly after my purchase they DID! Oh well, no use fussing over it after the fact, right? I recently washed the slipcovers and they turned out beautifully. People ask me all the time if I’m concerned with the white getting dirty or ruined quickly, and the answer is “no,” because it’s slipcover furniture, and when the slipcovers no longer wash well, I can still purchase new ones.

I did have an incident with one of my dining chairs (not the white slipcover ones, also from Ikea), but the rod iron ones. There was a little red wine spilled but I didn’t stress about it. I re-upholstered those chairs and kept extra material for just this reason; to be able to fix the chairs after accidents such as this. Easy Peazy 🙂

And of course, those of you who have read my past decor blogs, know how much I love, love, love my ghost chairs!


“Before” view from the stairs…
And after…

The elevated sculpture in the corner was created by Pabell Studios, otherwise known as The Momster, or just Mom 🙂
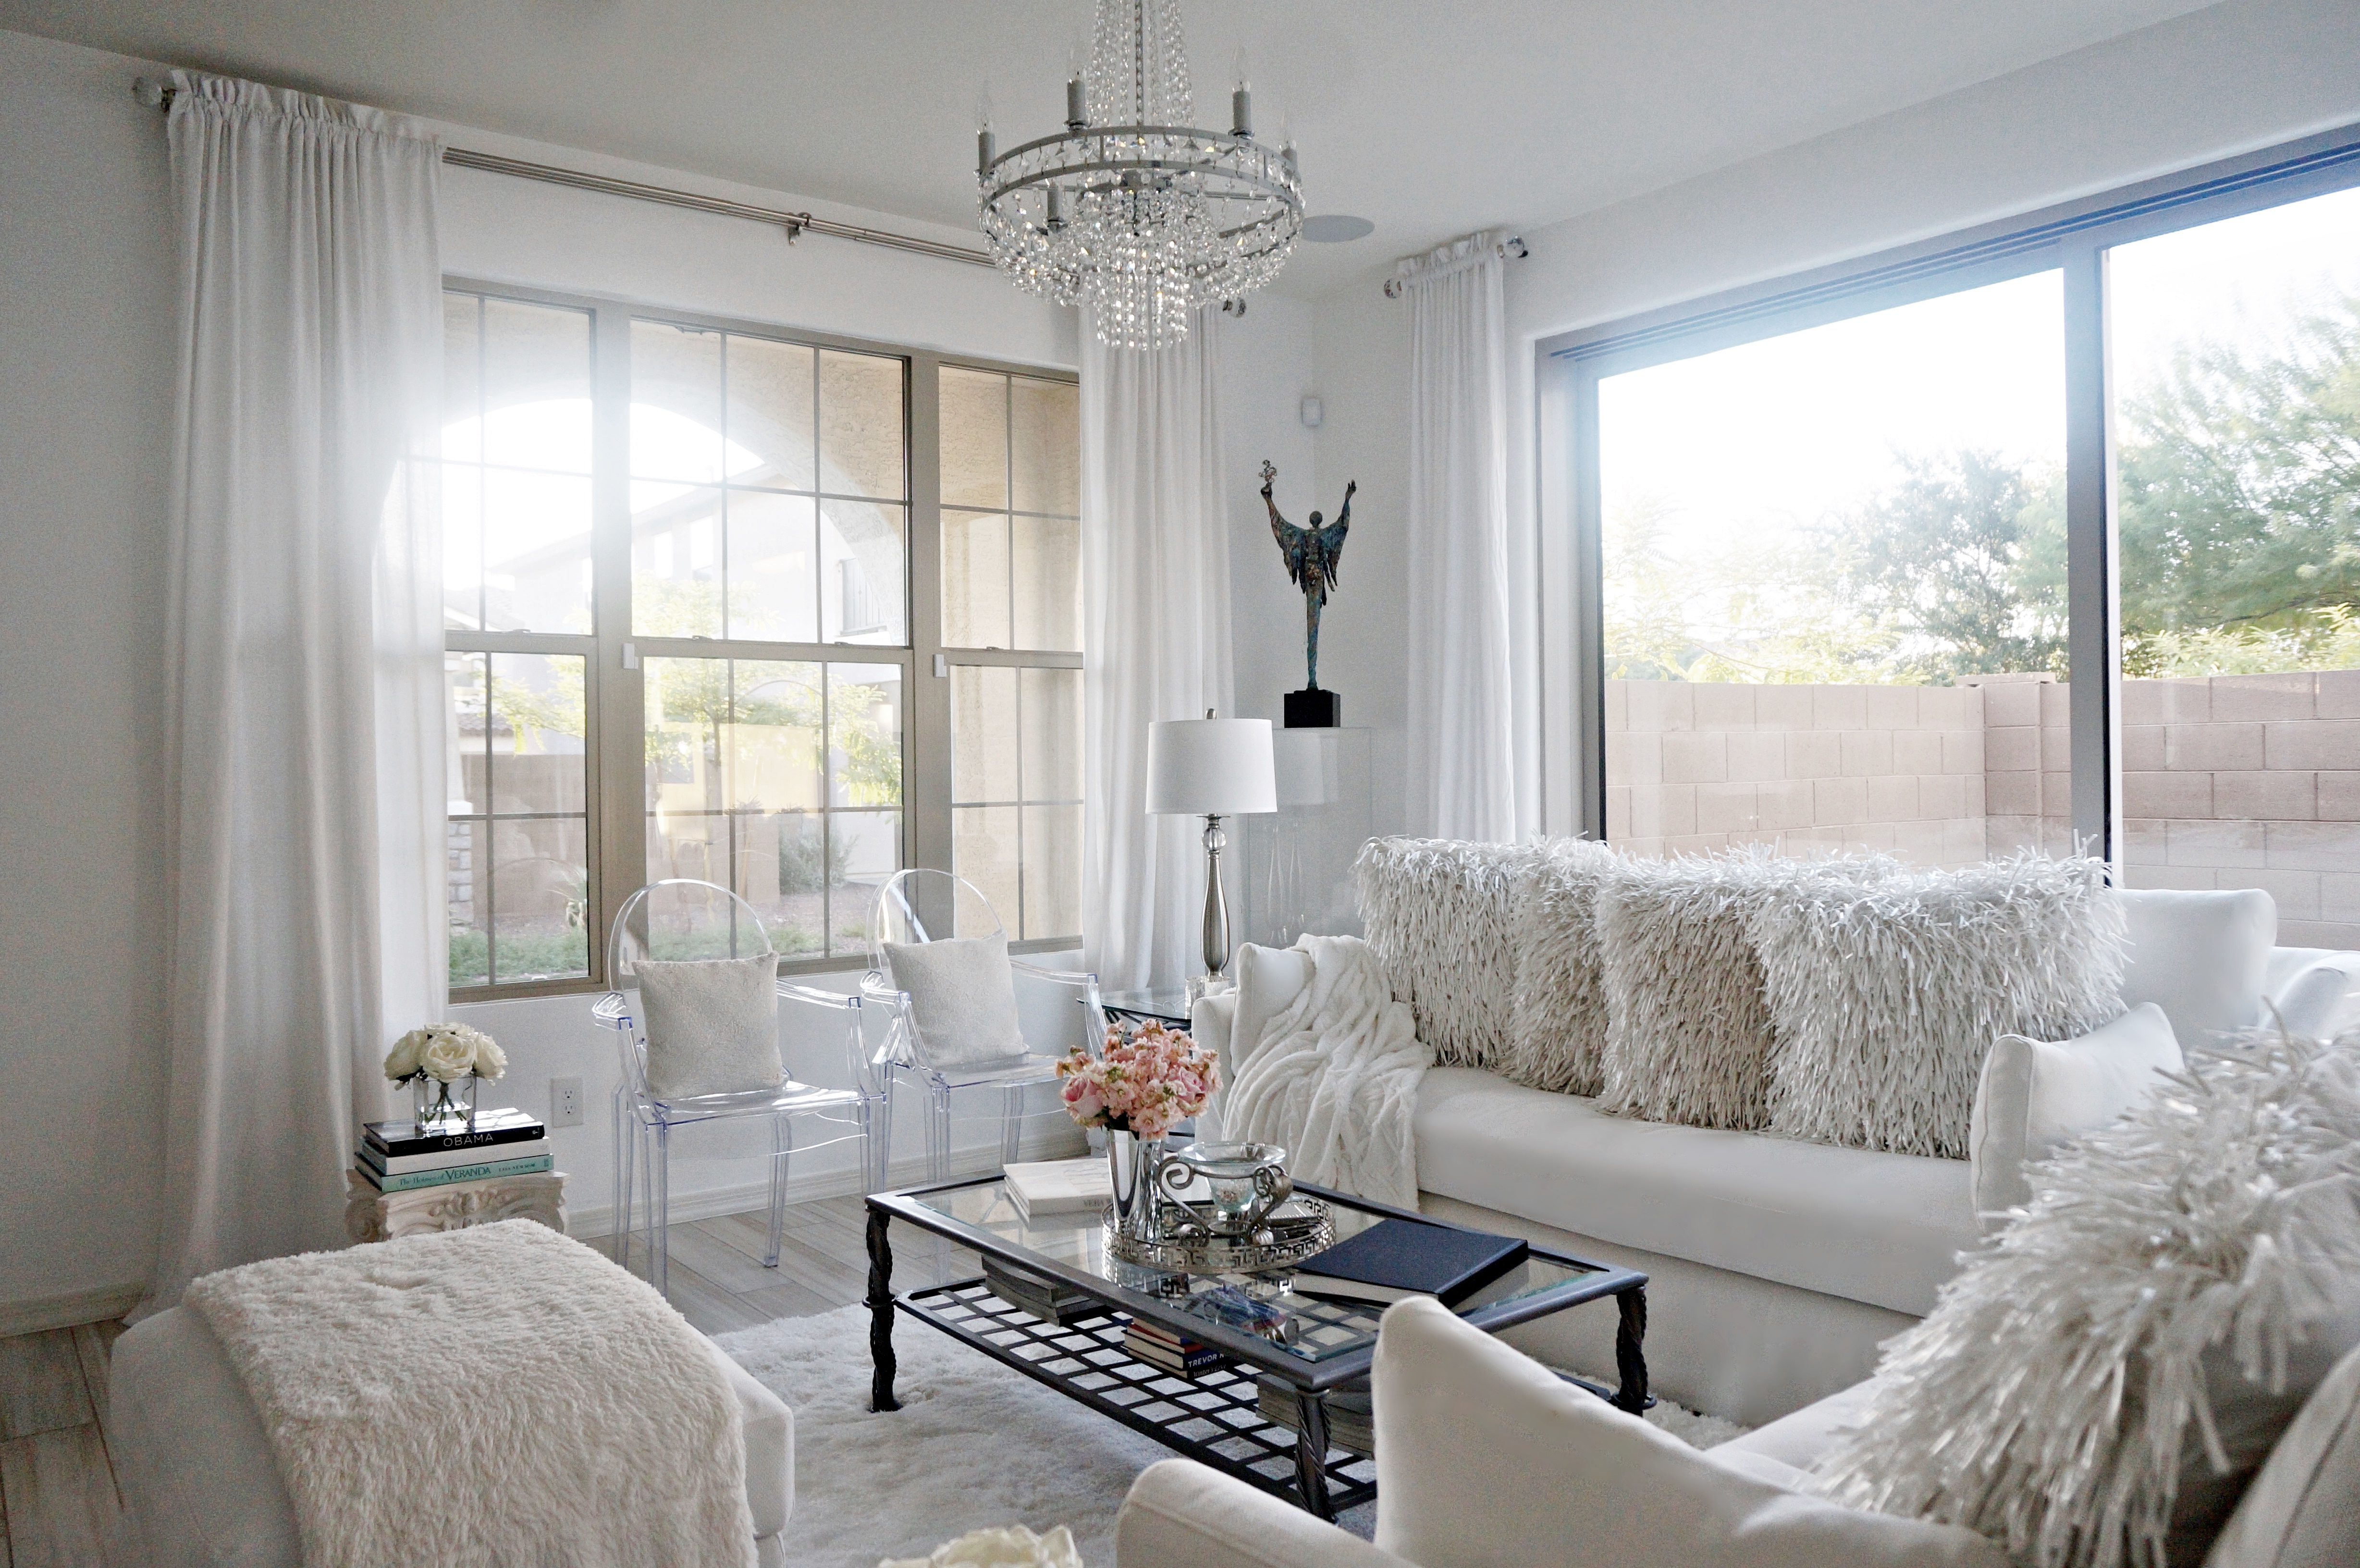
And my chandeliers… hands down, one of my favorite decor features in this space.

Surprisingly they were found on Home Depot’s website. I didn’t care for the small dish-like pieces that came with it for the base of the candle/lights so I simply removed them. And I needed two chandeliers that were the same since they’re basically in the same room, and would be so close together. One of the things that irritated me about the layout of the space is that, while the placement of the ceiling electrical boxes line up, they don’t line up according to sight lines or any other builder elements, like the front window or the kitchen cut-out. The outlets were installed according to the dimensions of the space designated on the blueprints. The one in the living room area is fine and livable, but the other one, without the chain loop over to the center of the table, the chandelier would be hanging over the end of the table near the walkway. Oh well, something else to add to my “list”; for an electrician to move the ceiling boxes. With everything decorated now, it seems less noticeable and doesn’t bother me nearly as much. Or maybe I was just elated to have those boob lights gone! Oh and just so you know, my community is one of the “cottage homes” by CalAtlantic, which feature side yards and rear-entry garages with no street in front, just a walkway. That’s why the house appears to be so close to the one in front…. because it is, haha!!! But you can’t really see in when you’re outside unless you walk right up to the door or it’s night time, so I’m fine with it. Trust me, I checked all angles, at all times of day and night. And because I was one of the first to move into my home, I was able to go into the surrounding homes, front, sides and back, to check out sight lines from their second level windows into my home.
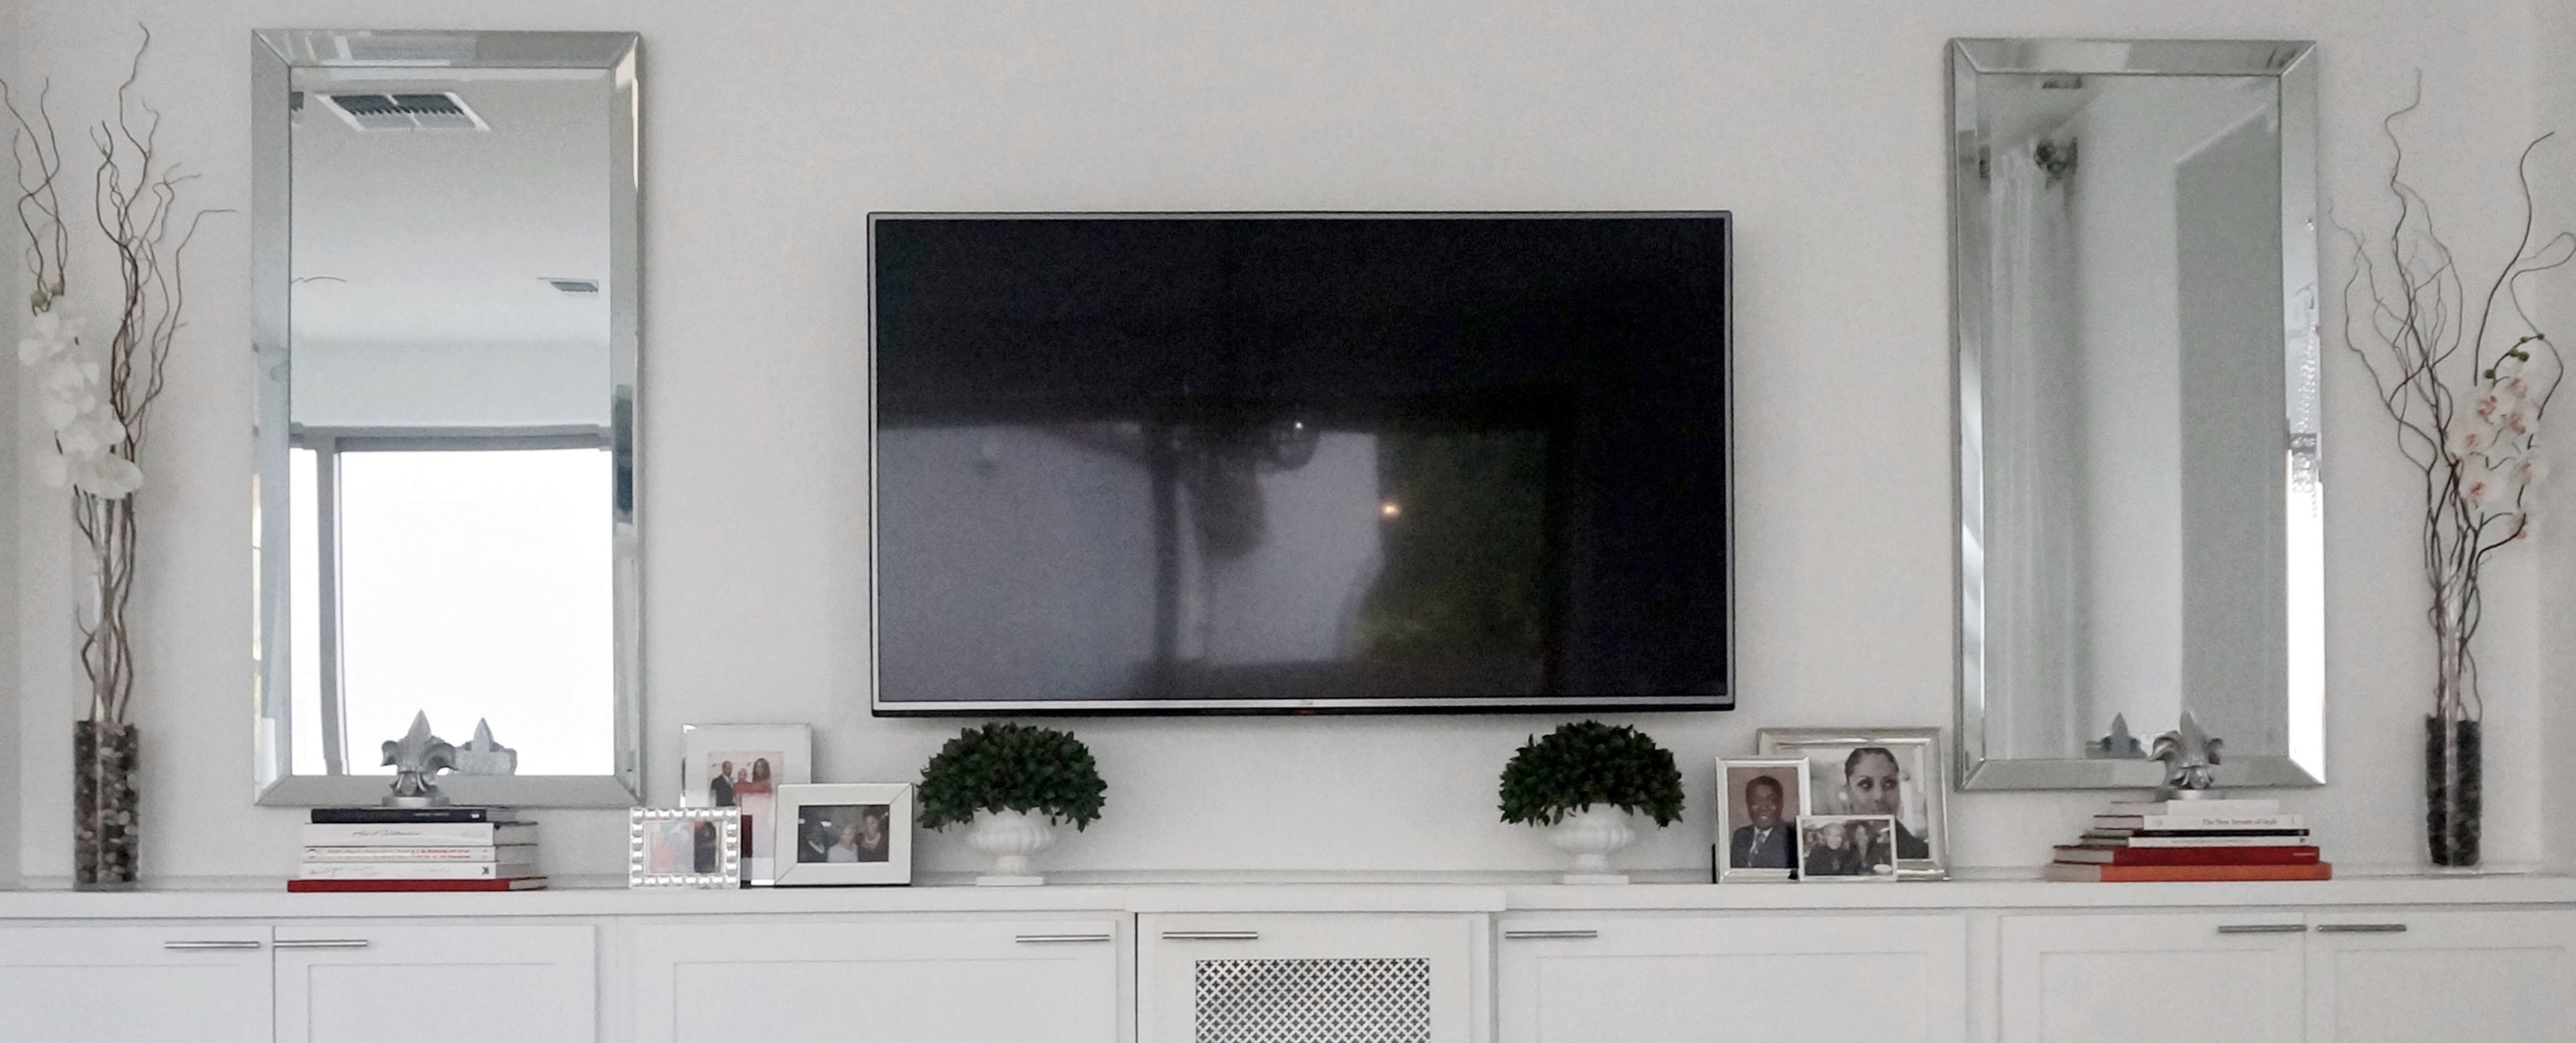
Moving on… Let’s talk about built-ins. Here’s the “before” view. That black inset wall to the right…
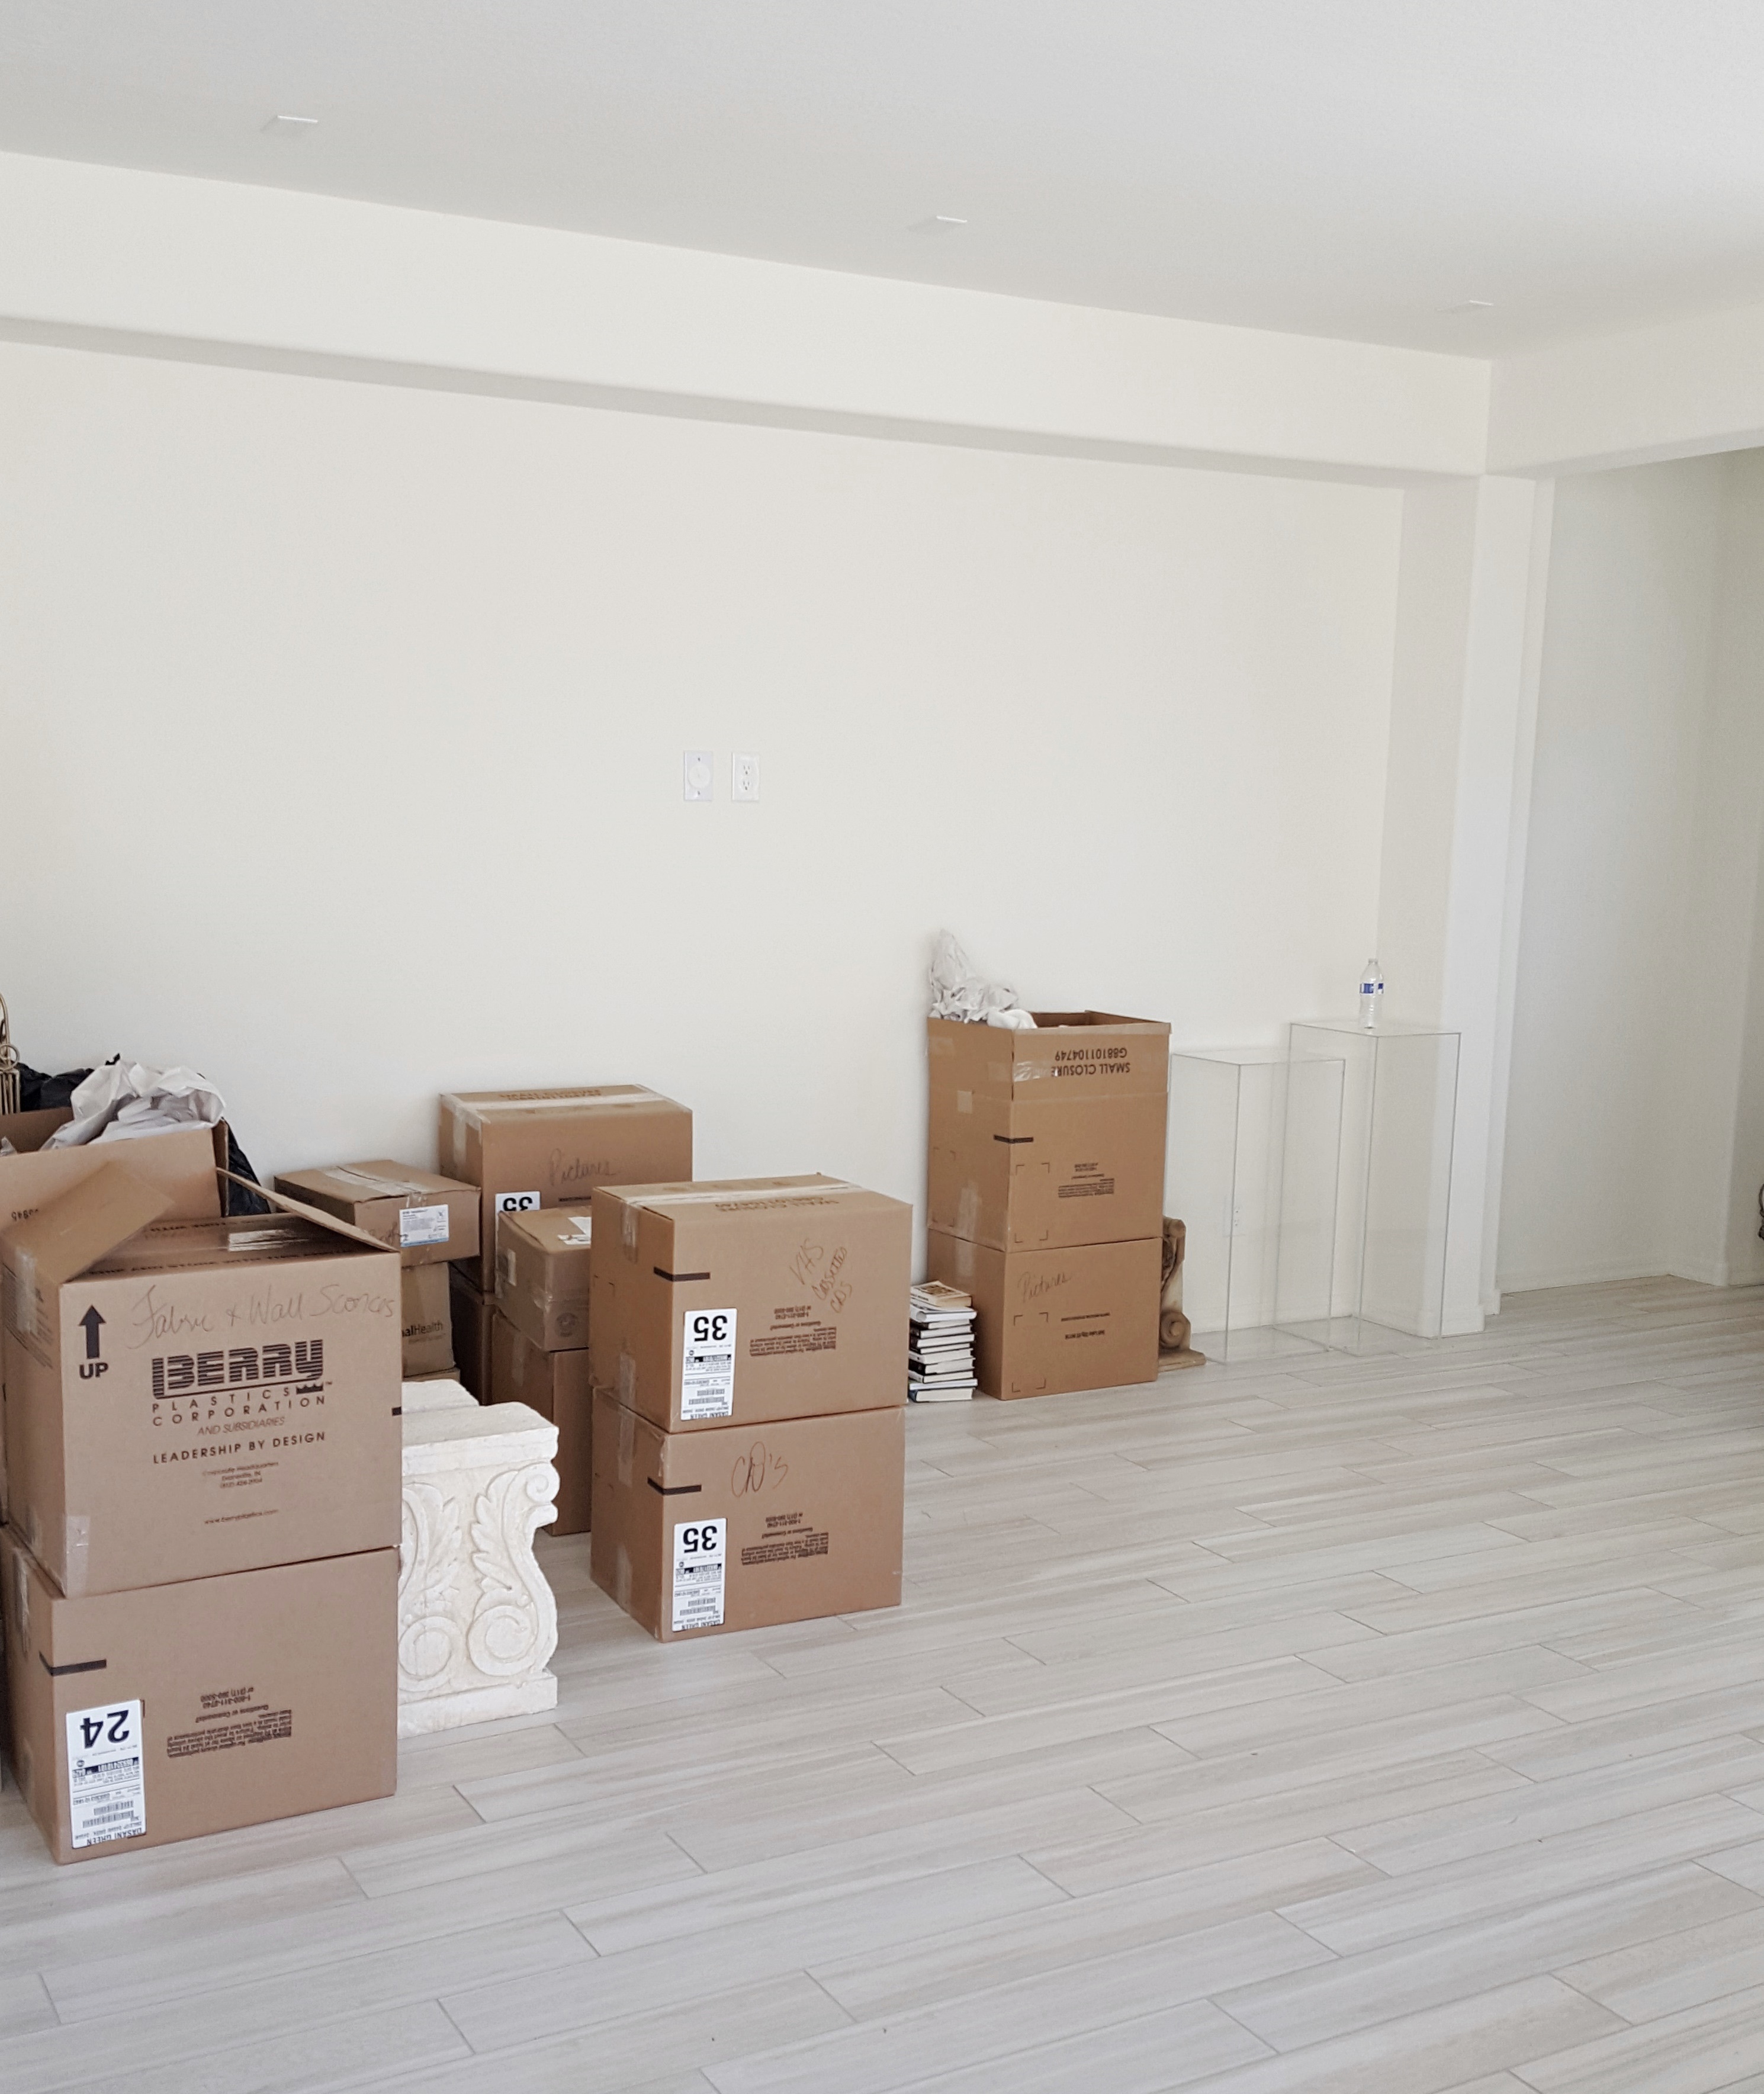
There were these beautiful built-in cabinets along that wall in the model home. Oddly, the builder didn’t offer those in any of their design options. So why were they featured in the model? That is a question for the ages. But my dear, sweet friend and salesperson, Dahlia Feiter, put me in touch with a company that could do it. Their prices were a little too steep for The Dollhouse budget, but I definitely wanted built-ins in that space, and it was one of the first “additions” I tackled after moving in. You can read about the other addition here. Getting them installed was a whole other nightmare that I may blog about later, and there were definitely lessons learned there. I am thankful they turned out as well as they did, and overall, I’m happy with how they look… at the moment, haha!!! There are still a couple areas that need to be addressed, but they’re not particularly obvious so I’ll get around to them eventually. It’s on “the list.” I actually added the hardware myself and I’m pretty proud about it. You’ll notice the middle cabinet has a decorative mesh front so the surround sound equipment can breathe. This is what the finished area looks like…

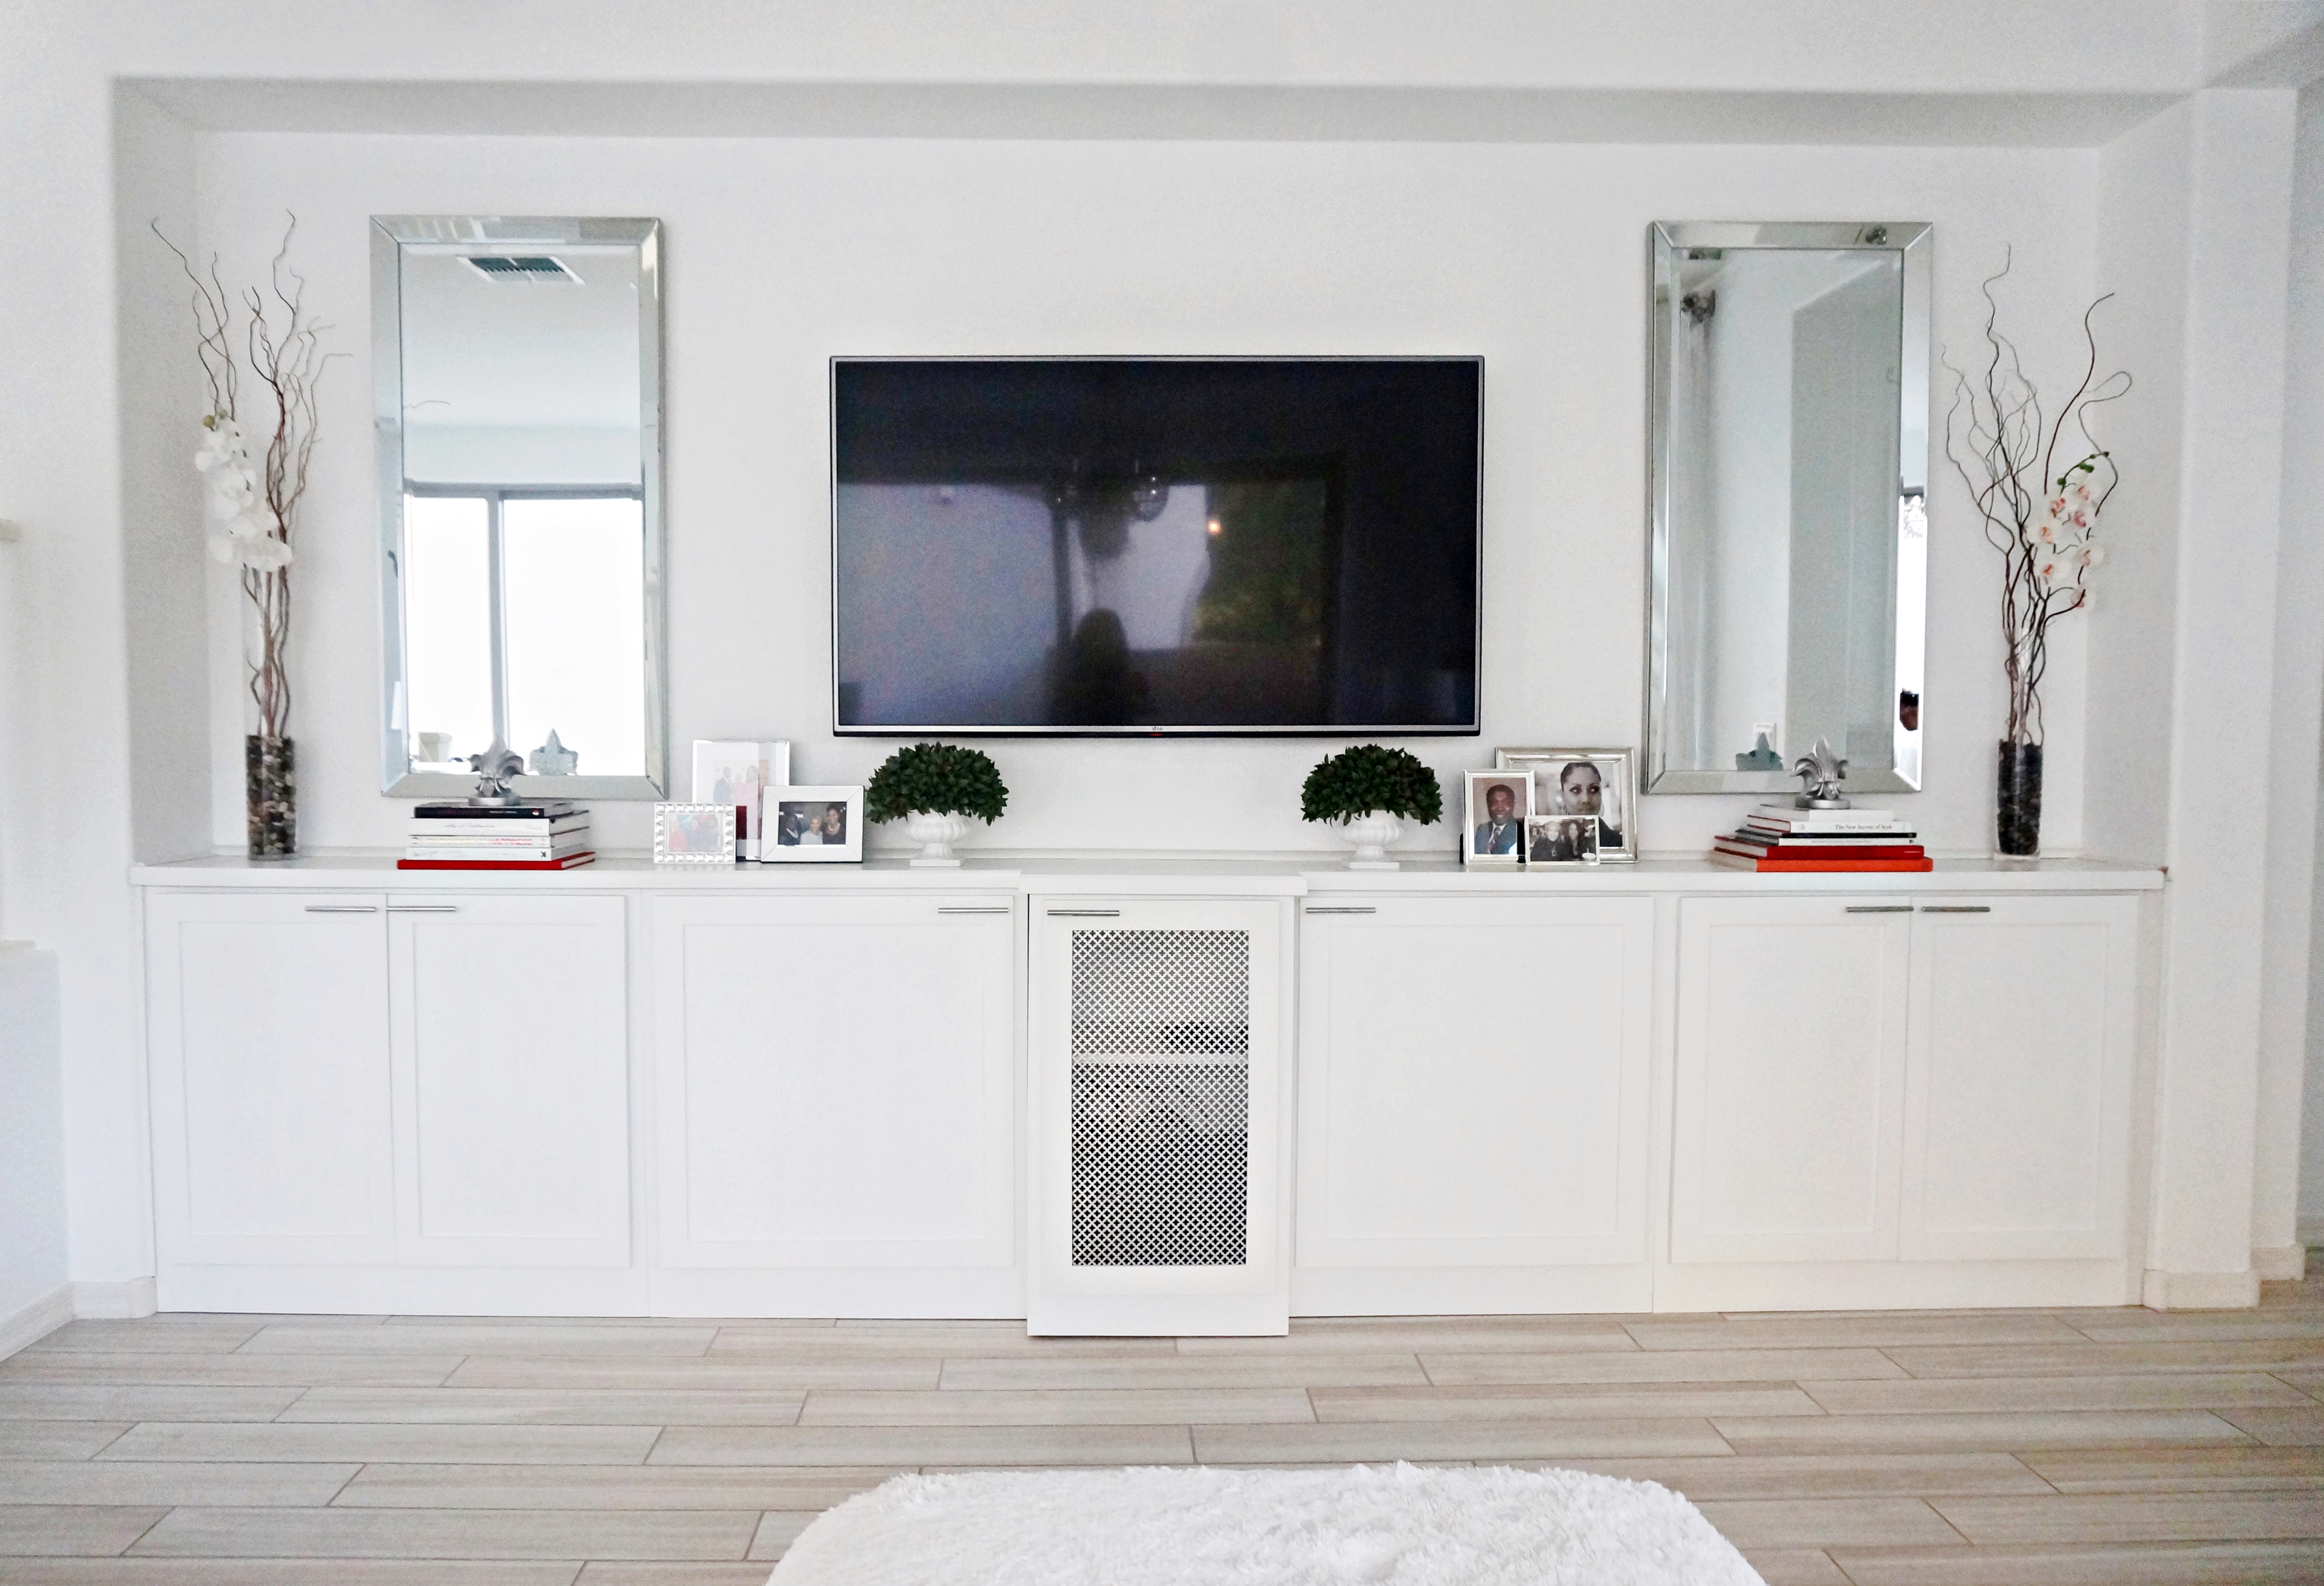
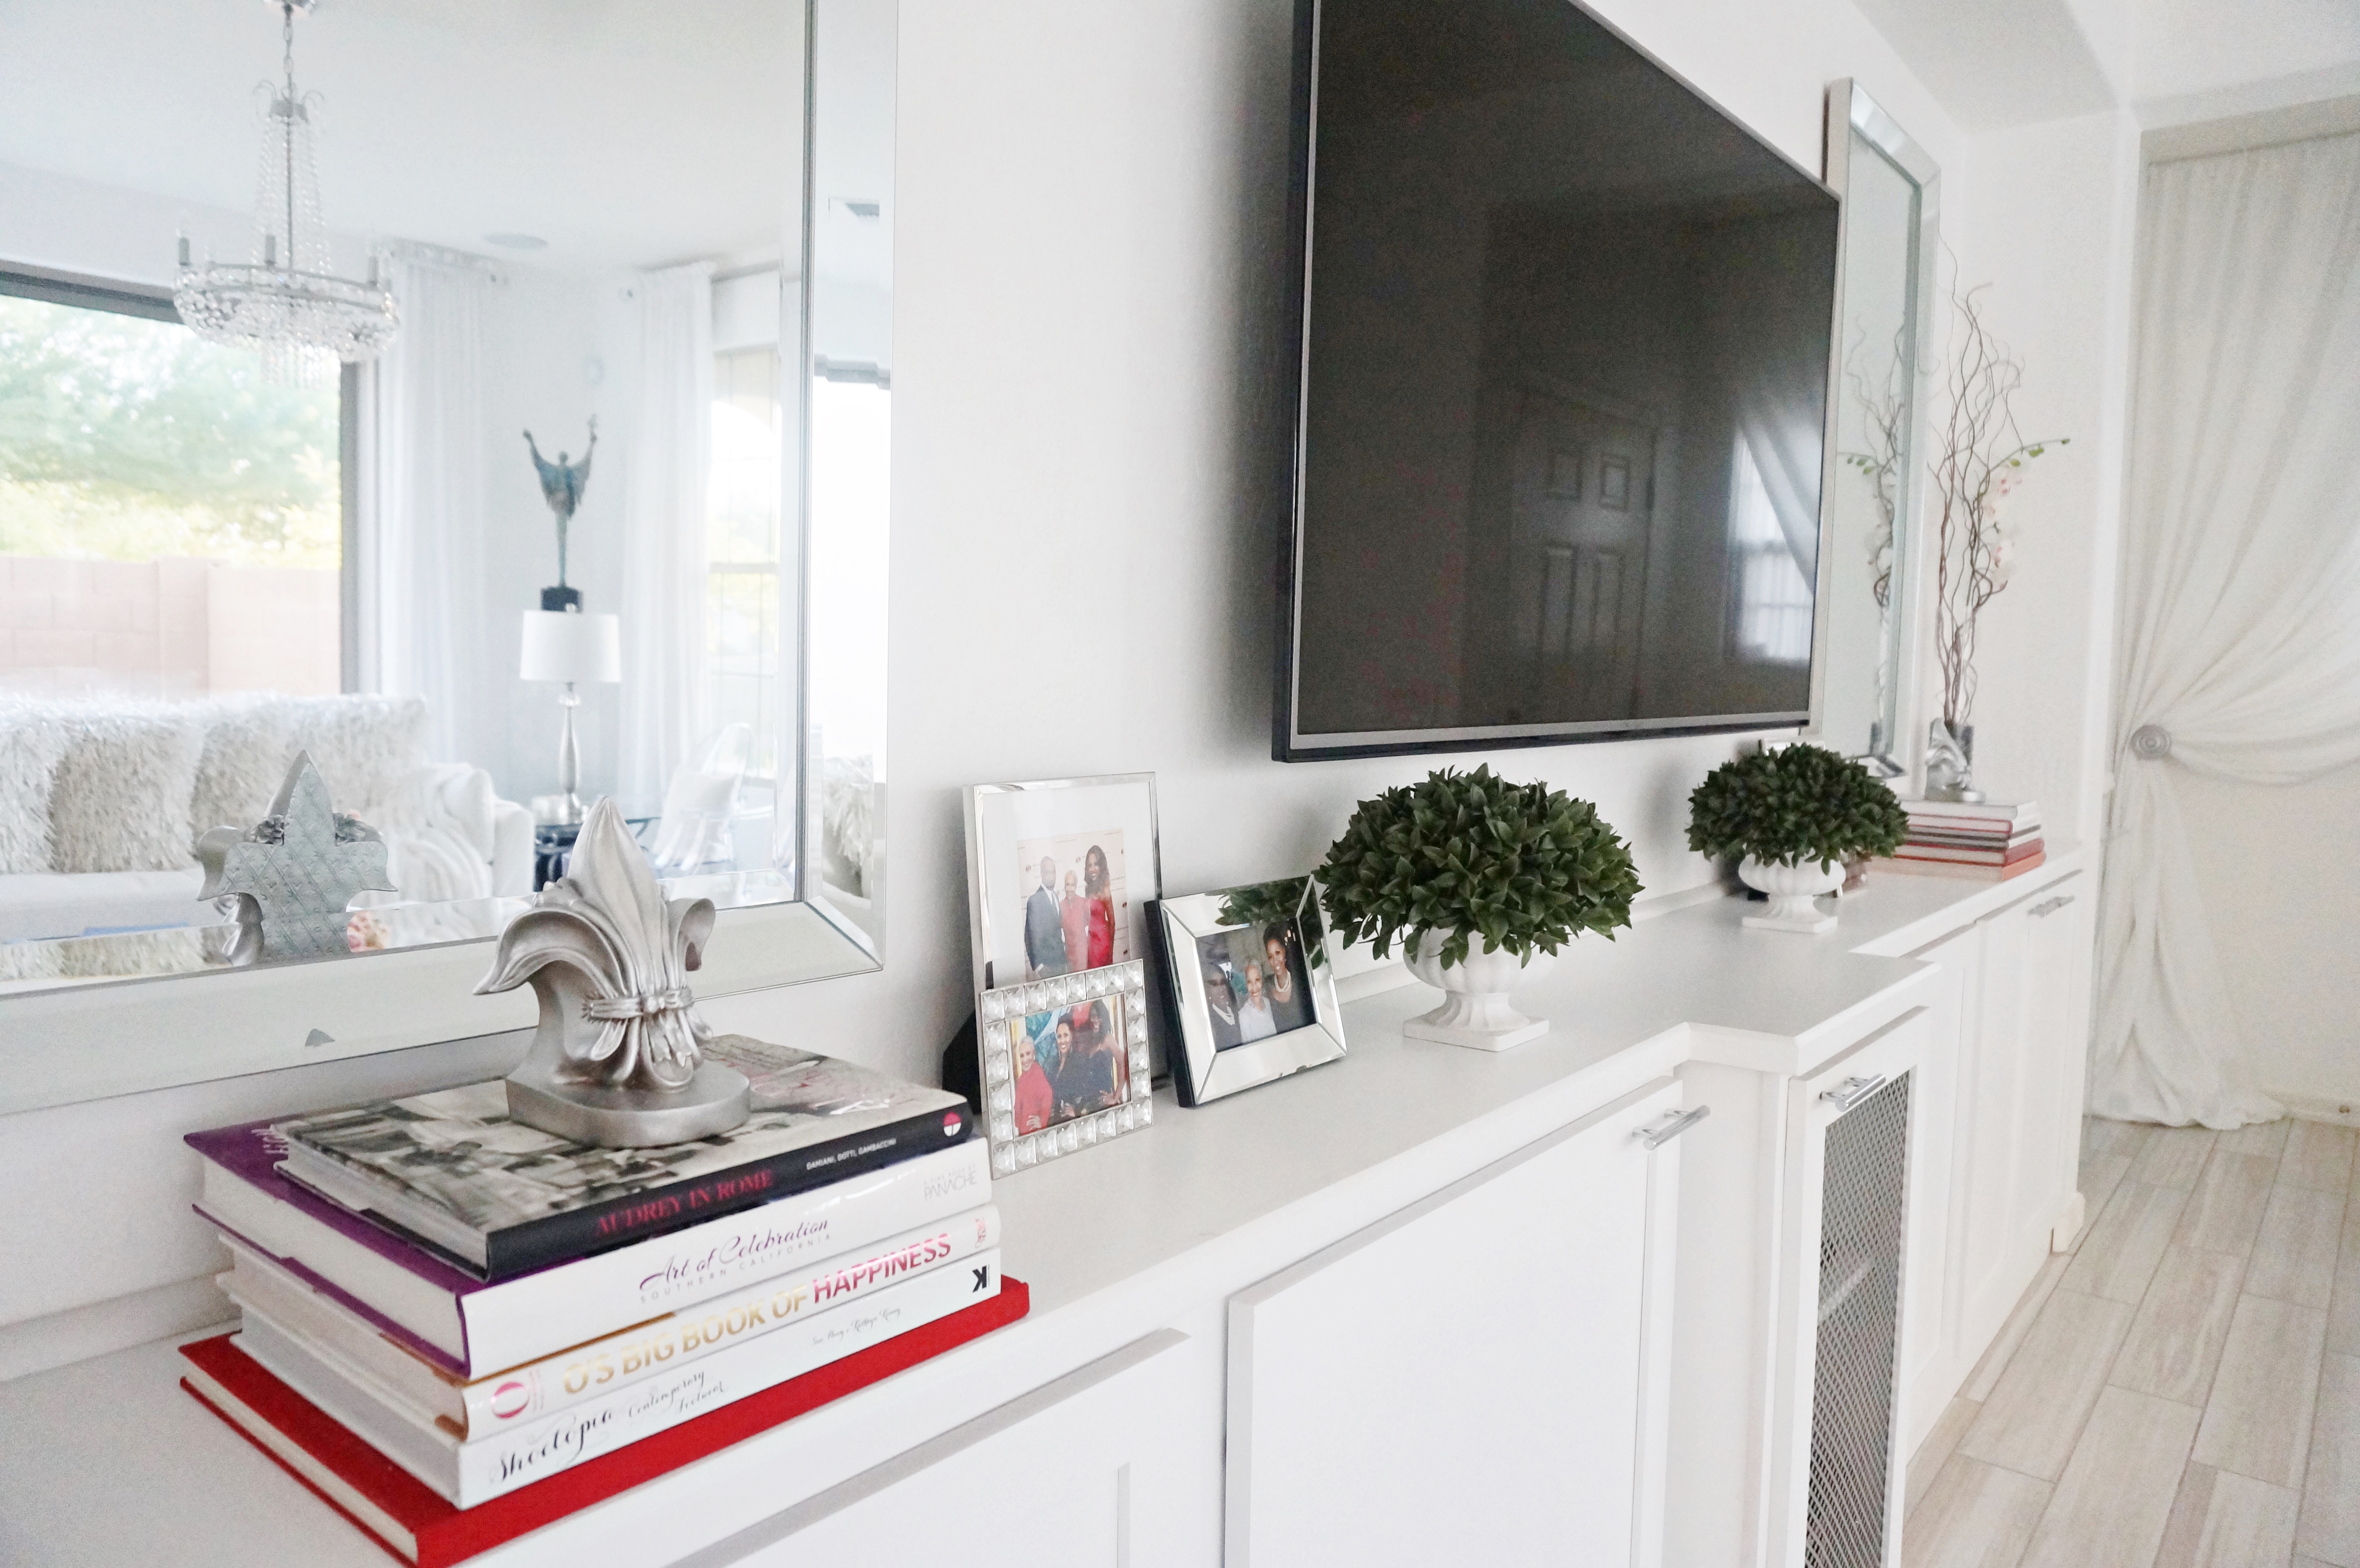
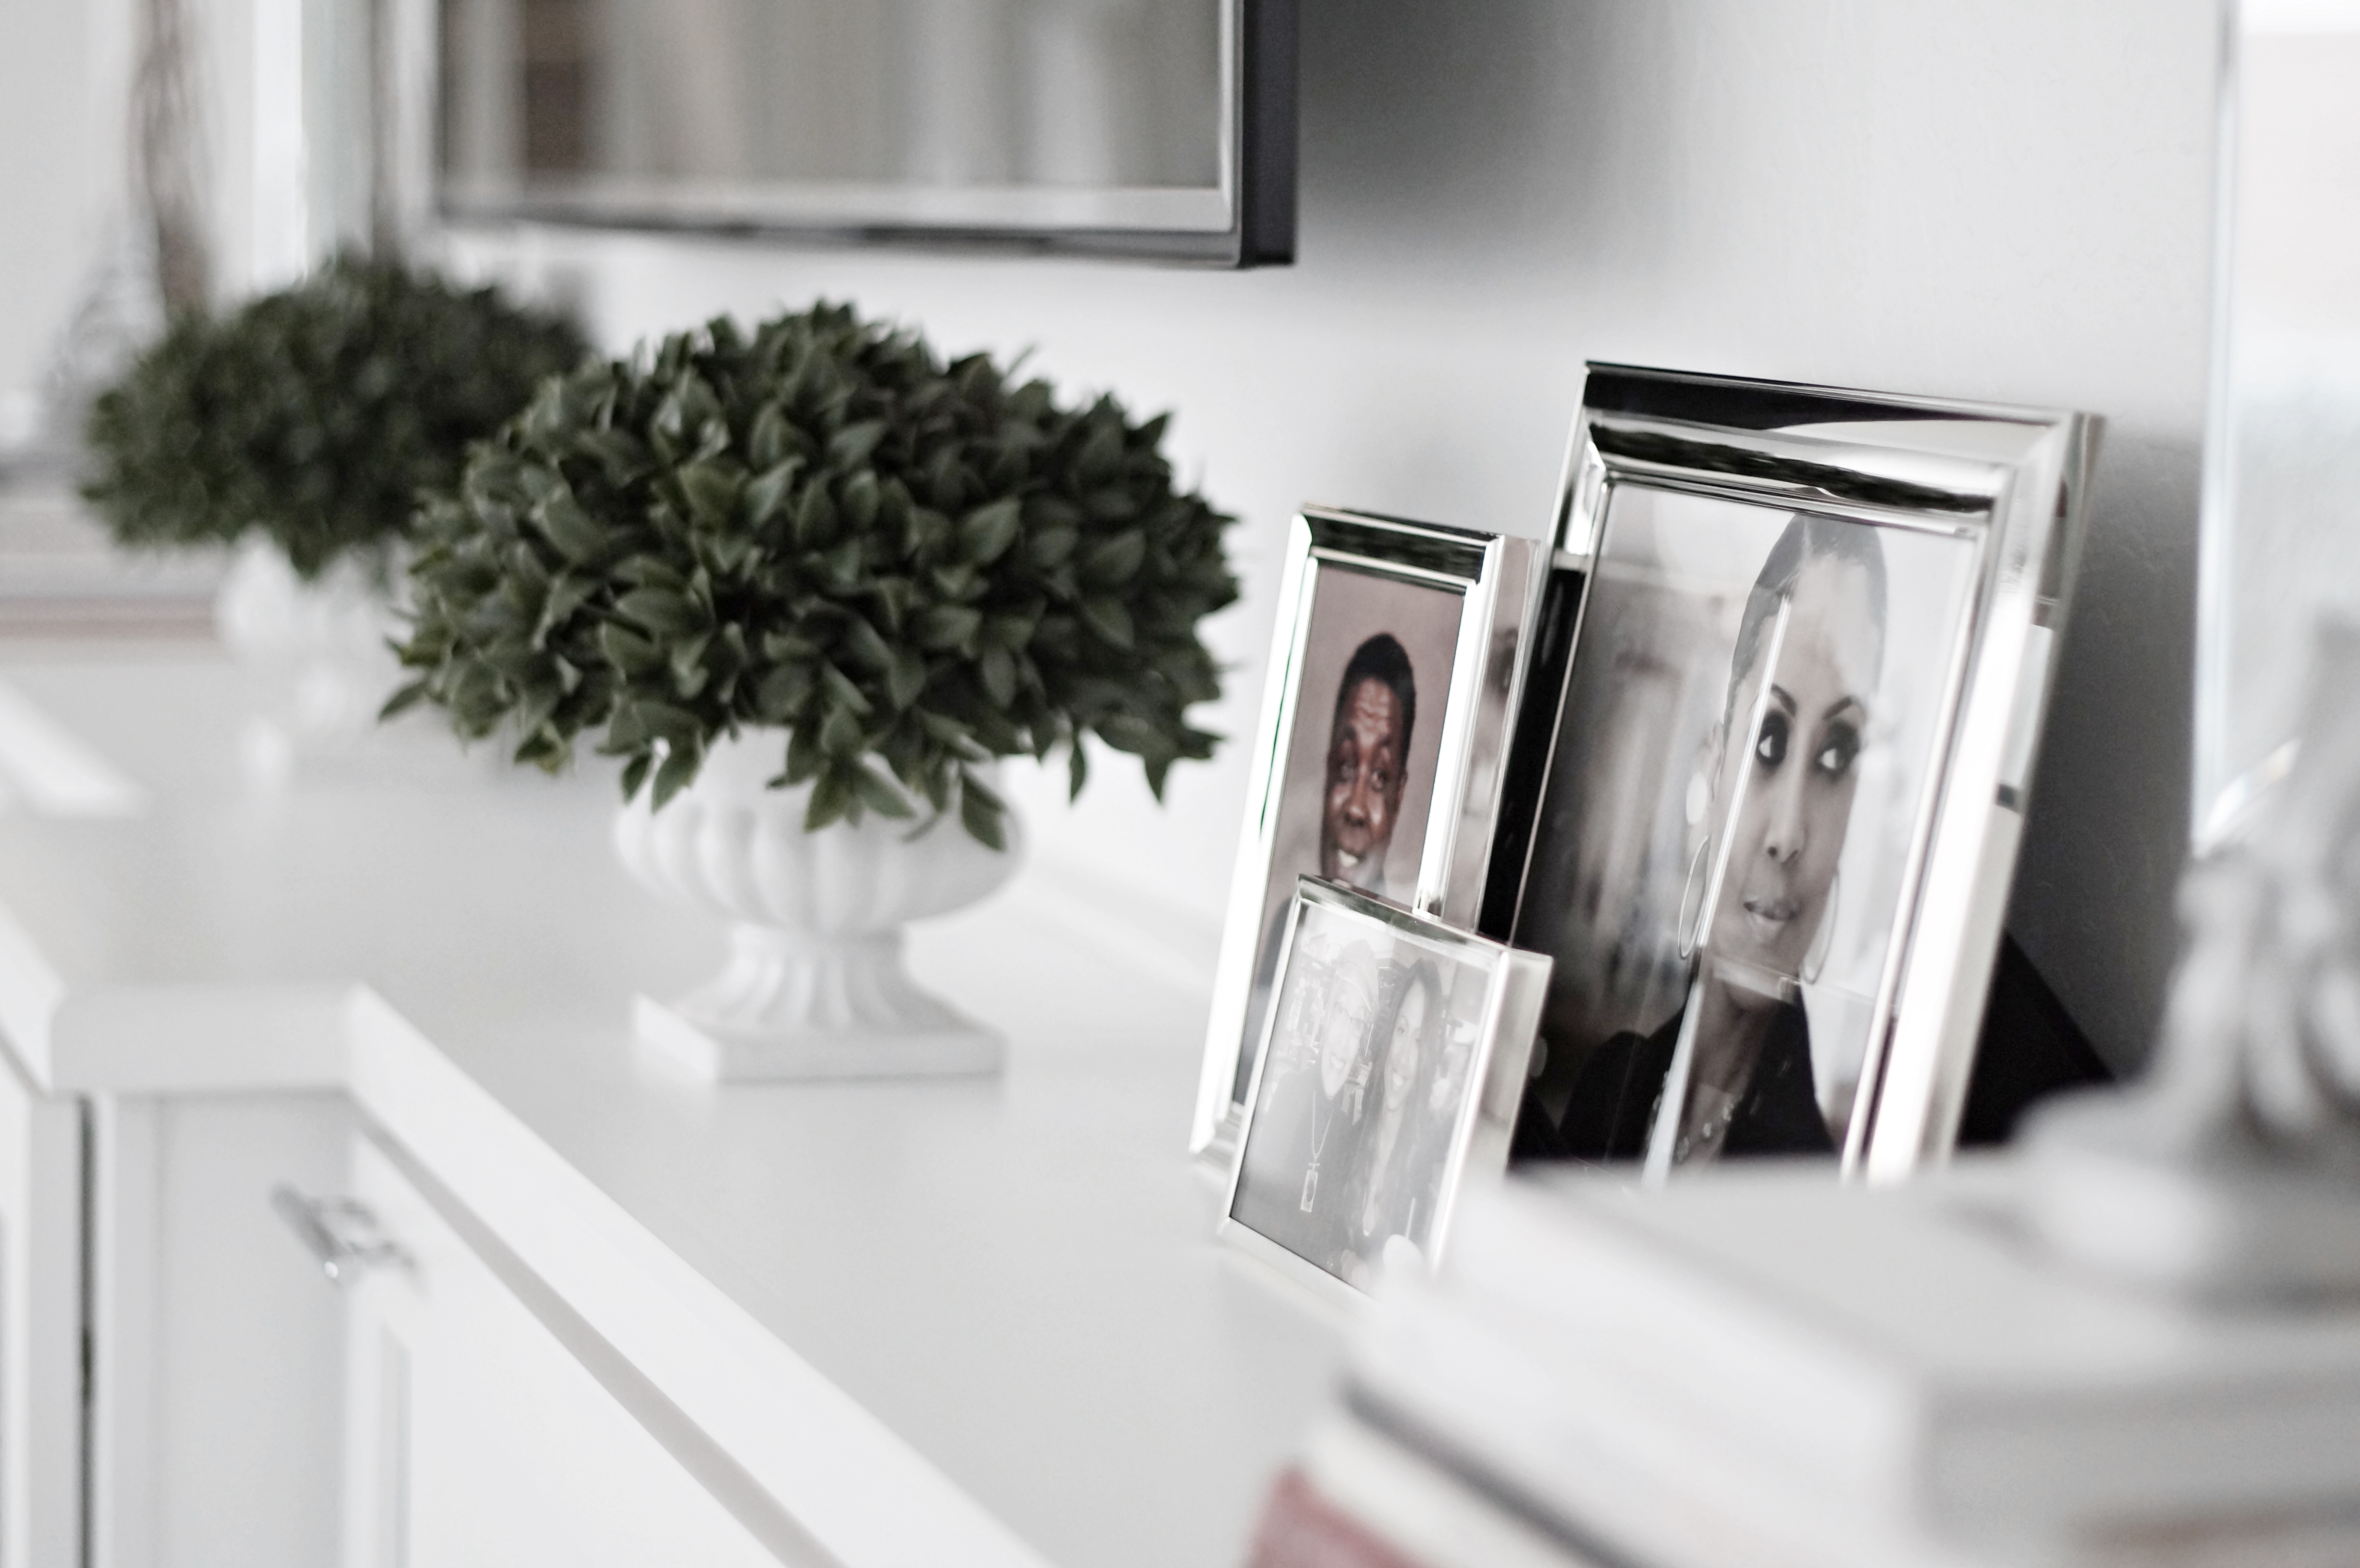
Again, I didn’t want that space to look cluttered or overly vignetted at all, just clean and simple. Funny footnote… When I got ready to pack up my last home for storage while the new one was being built, I had almost 100 pictures in frames around the house. I decided I wasn’t going to have that in this house. Right now I have 2 in the guest room, 7 in the office, 5 in the hallway area, 14 between a gallery wall and the night stands in the master bedroom, and 9 on the first level, total. Ok so I still have a lot, haha!!! But no where near what it was.
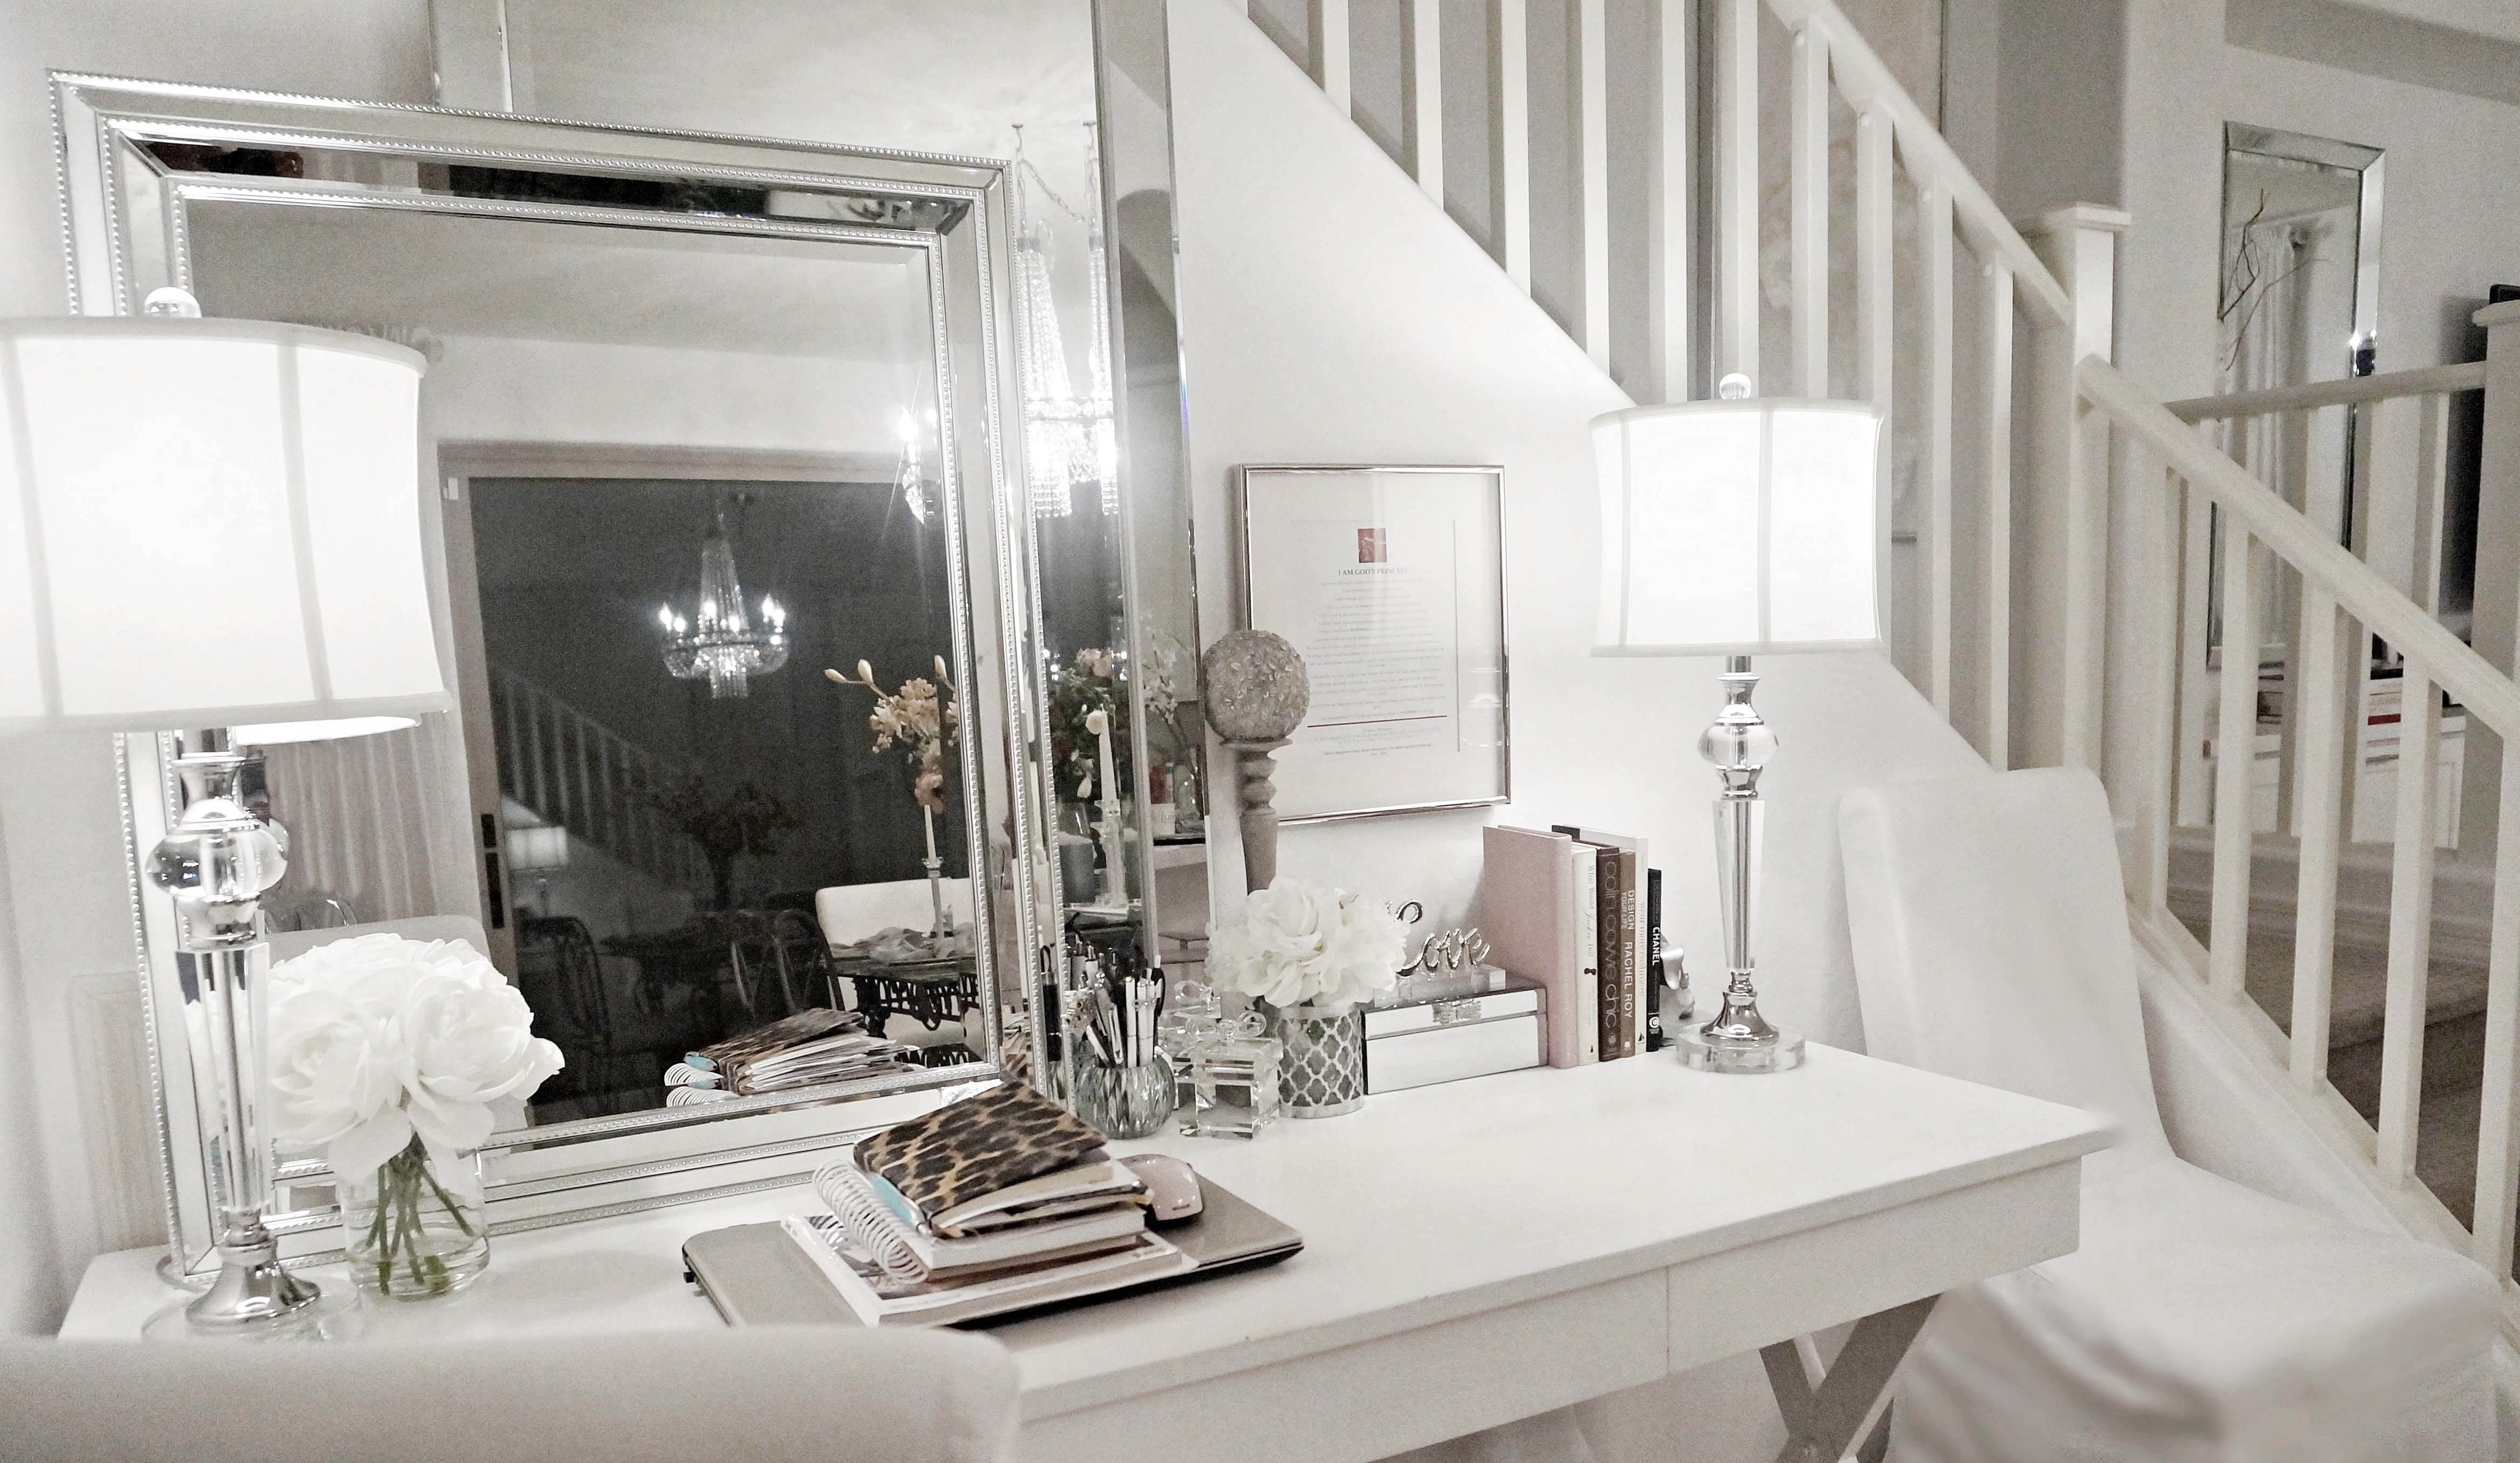
Another area I was concerned about was the area just beneath the stairwell that includes a short door to below-the-stairs storage. Although one of the rooms upstairs had been designated for my home office, I still wanted somewhere downstairs where I could sit and enjoy the indoor-outdoor vibe of the house. The desk from my last home office fit perfectly. After painting it and adding some other decor features, I loved the space so much, that I’m turning the home office upstairs into a sitting/second guest bedroom (which I’ll reveal in a couple months… maybe), and I’m making the downstairs “office” area my permanent work space. I have to work out where I’m going to put all my “office-y” things but first things first. You can see my office reveal post here. Here’s what that little space looks like now…
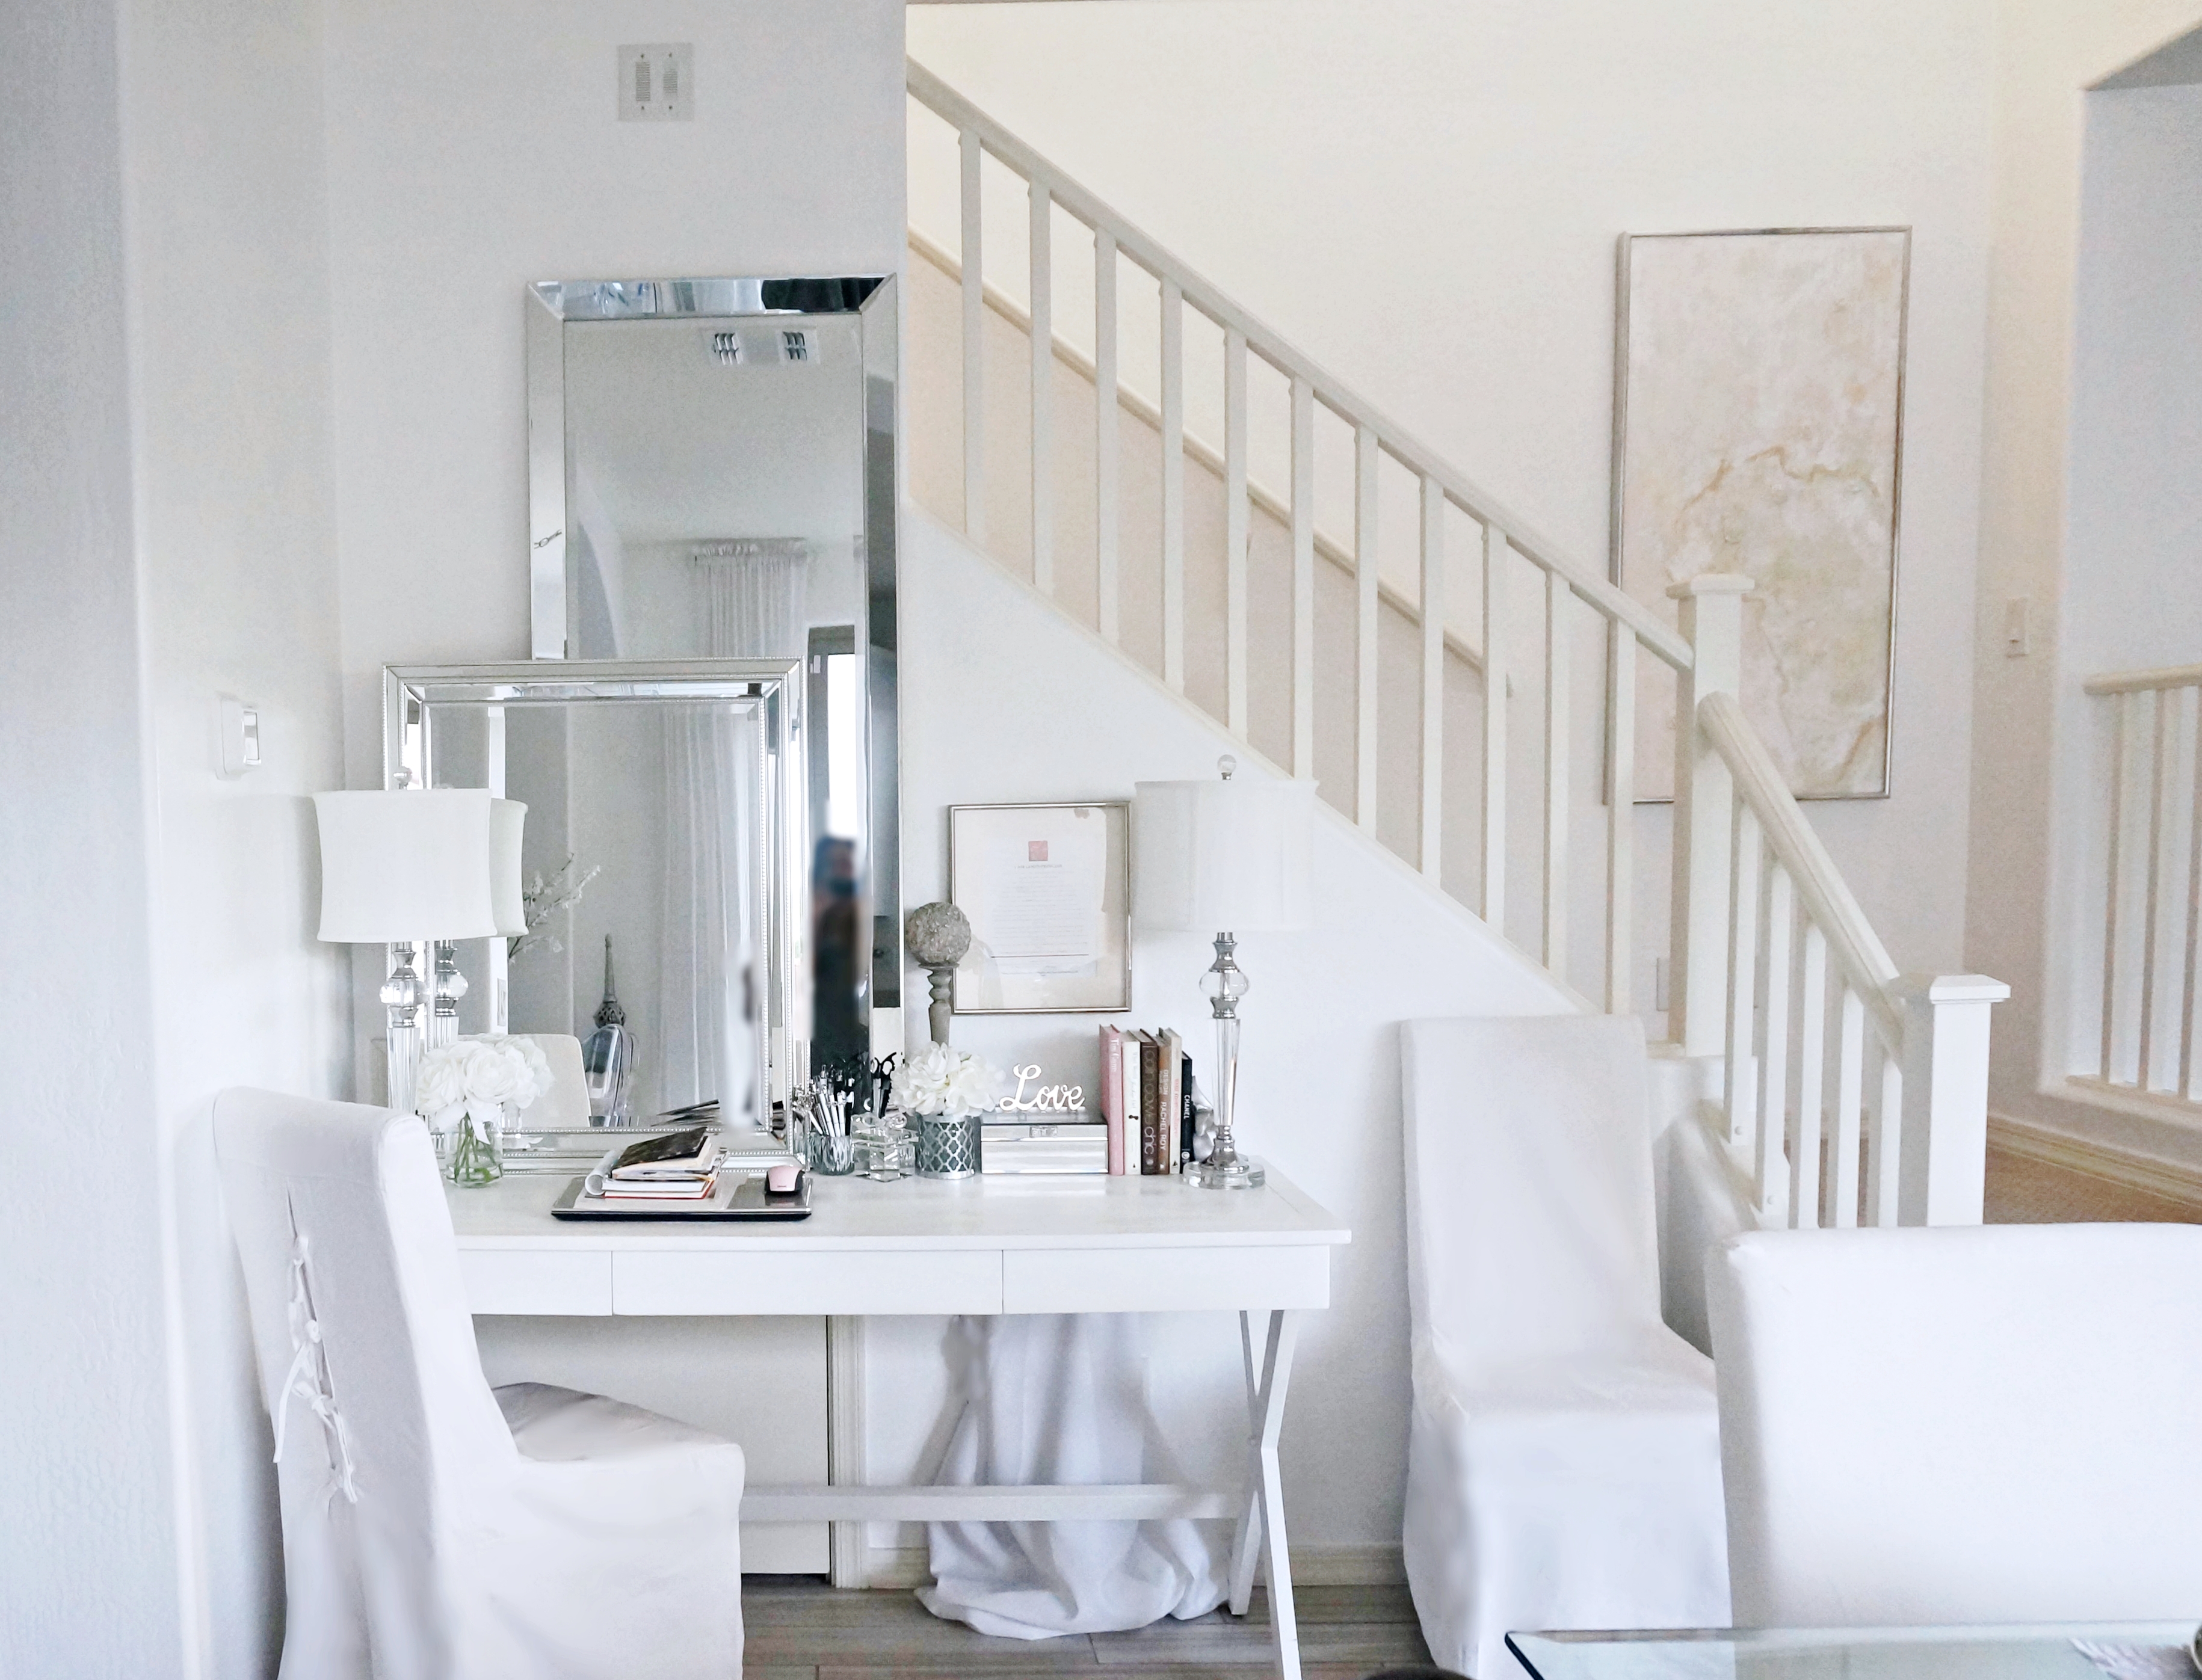
First off, the picture on the landing wall is also by Pabell Studios, aka, my Mom. I must explain a few things… The two white chairs at the desk were originally purchased for my dining table, but I decided I didn’t like them so they were banished to the office area, haha! They will work there for the moment. You can see the bottom of the storage door there under the desk. I don’t like to see “stuff” so I added the mirrors on top to cover the top part of the door and wound up really liking it. Speaking of mirrors, and I’m sure I’ve said this before, but I love mirrors. Nor for any pretentious reason, but for decorating. They can do wonders for a space. Maybe I’ll do a blog post about it one day. Then there are cords, which I don’t like to see much of either. The fabric underneath the desk is covering all the cords coming from the desk. Eventually I think I’m going to add some fabric to that wall some kind of way so you don’t see any of that. Then when I need to get into the closet, which isn’t often, I can remove the mirrors, pull back the desk, tie back the fabric and go on in. It sounds like a lot but it isn’t, I promise 🙂
You know I love my bows…


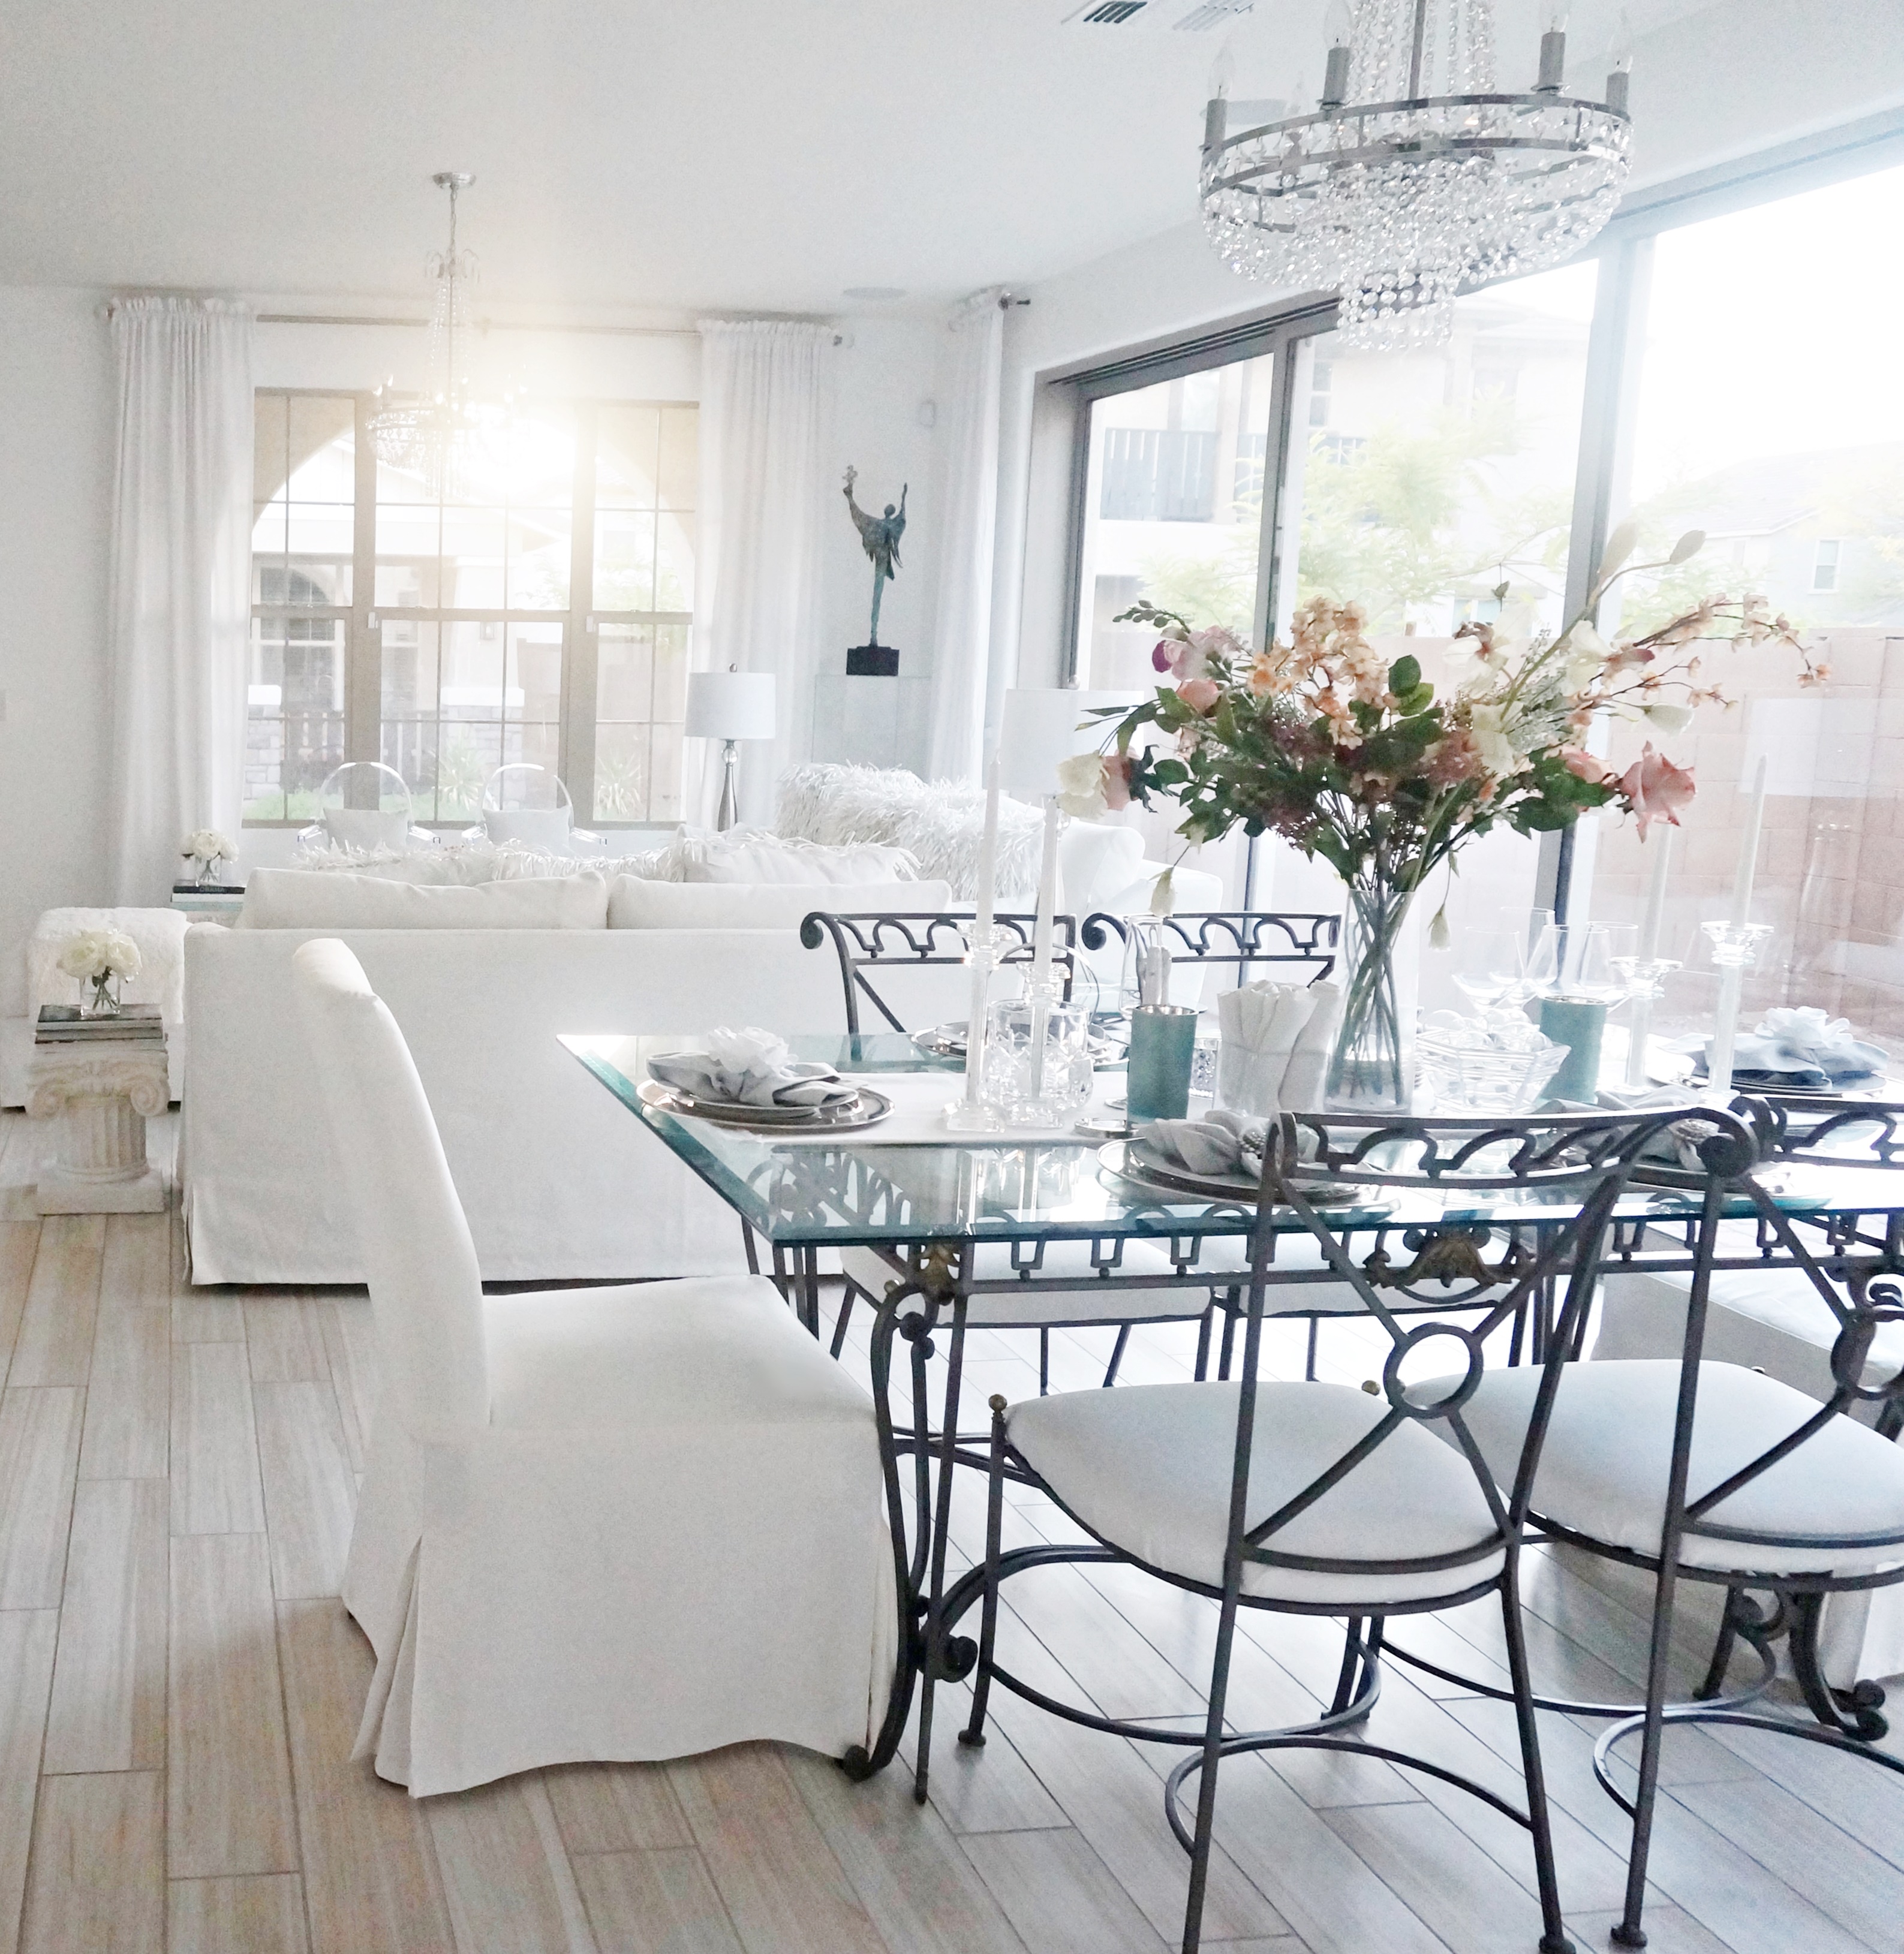
And then there’s the dining room, which you see from almost every angle of the space…

There are still things I need… want for this space, like a dining table area rug, and of course to have the side yard finished on the other side of that amazing sliding glass door. Let’s talk about that for a moment. It’s not that big of a yard, yet I’ve not received an estimate for basic ground cover less than $7k. Yikes!!! I am super-duper determined to get what I want for no more than $3500. I’ll keep you posted on how that turns out. And lastly, it took me a while to decide on bar/counter stools, but the best choice for that space in my opinion were these ghost stools.

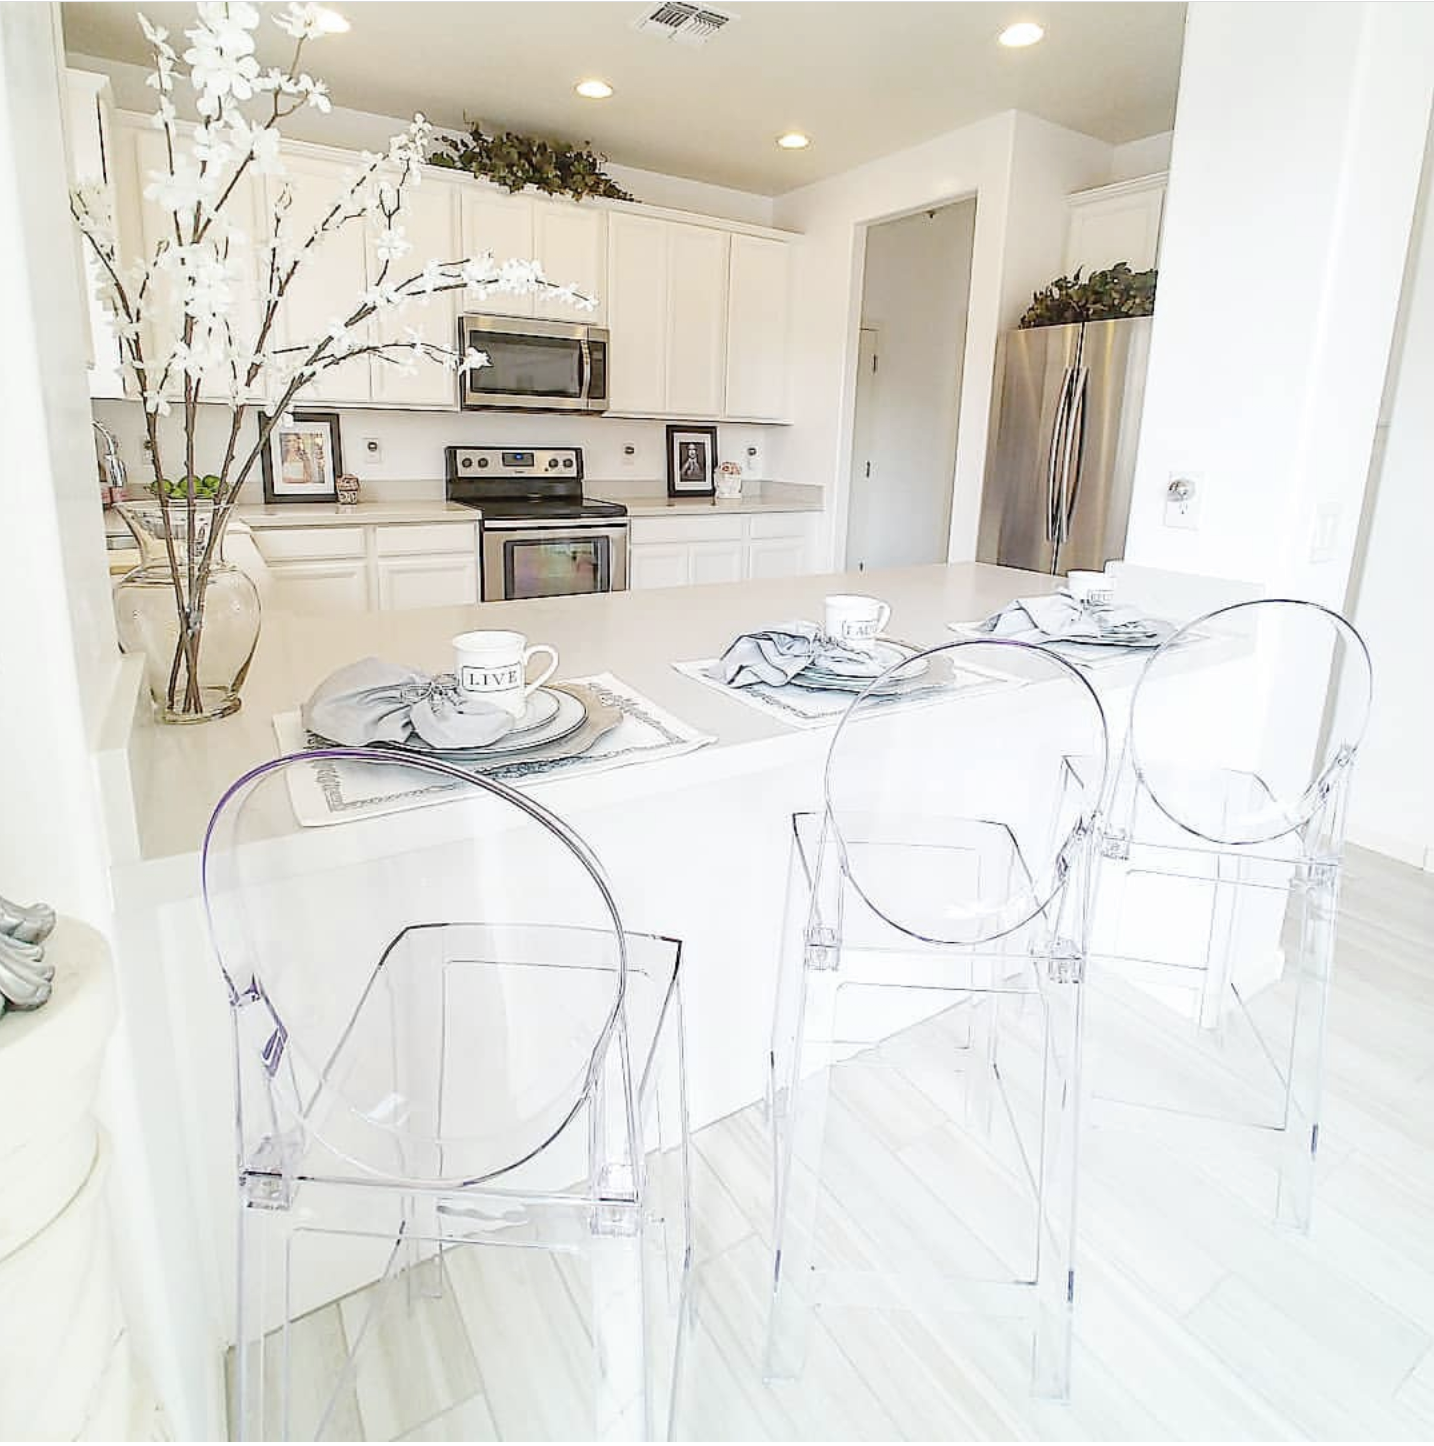
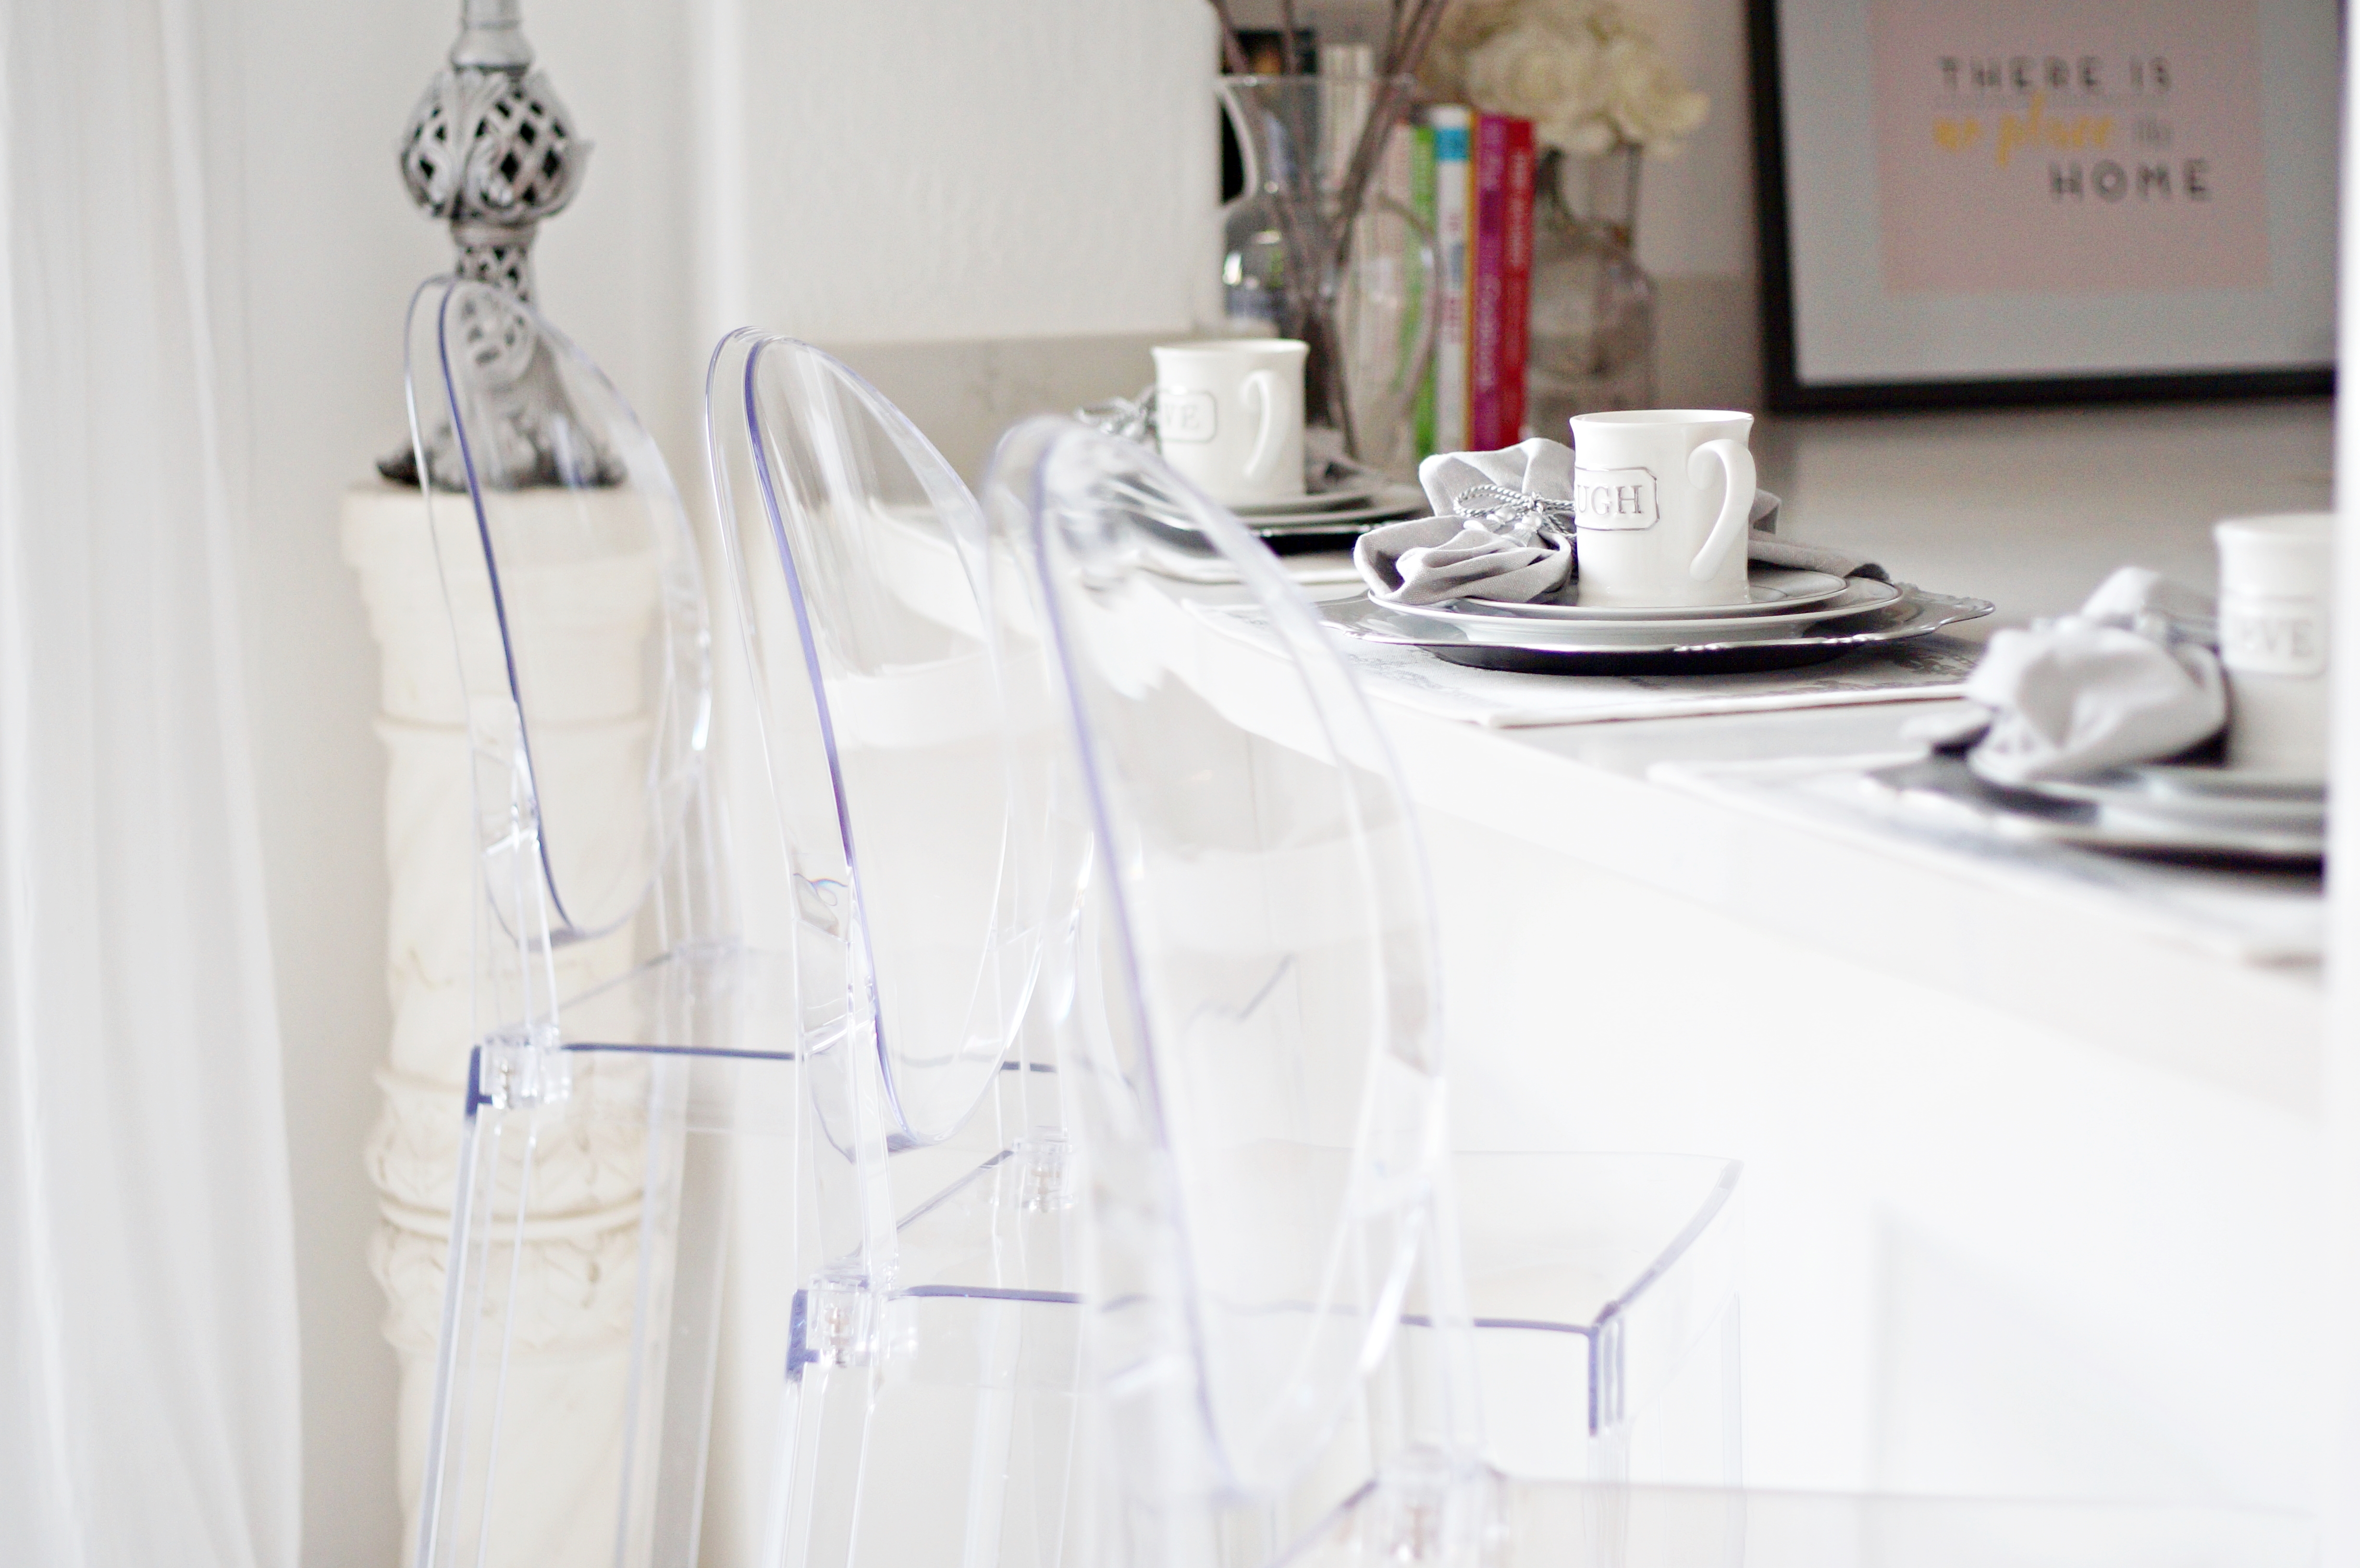
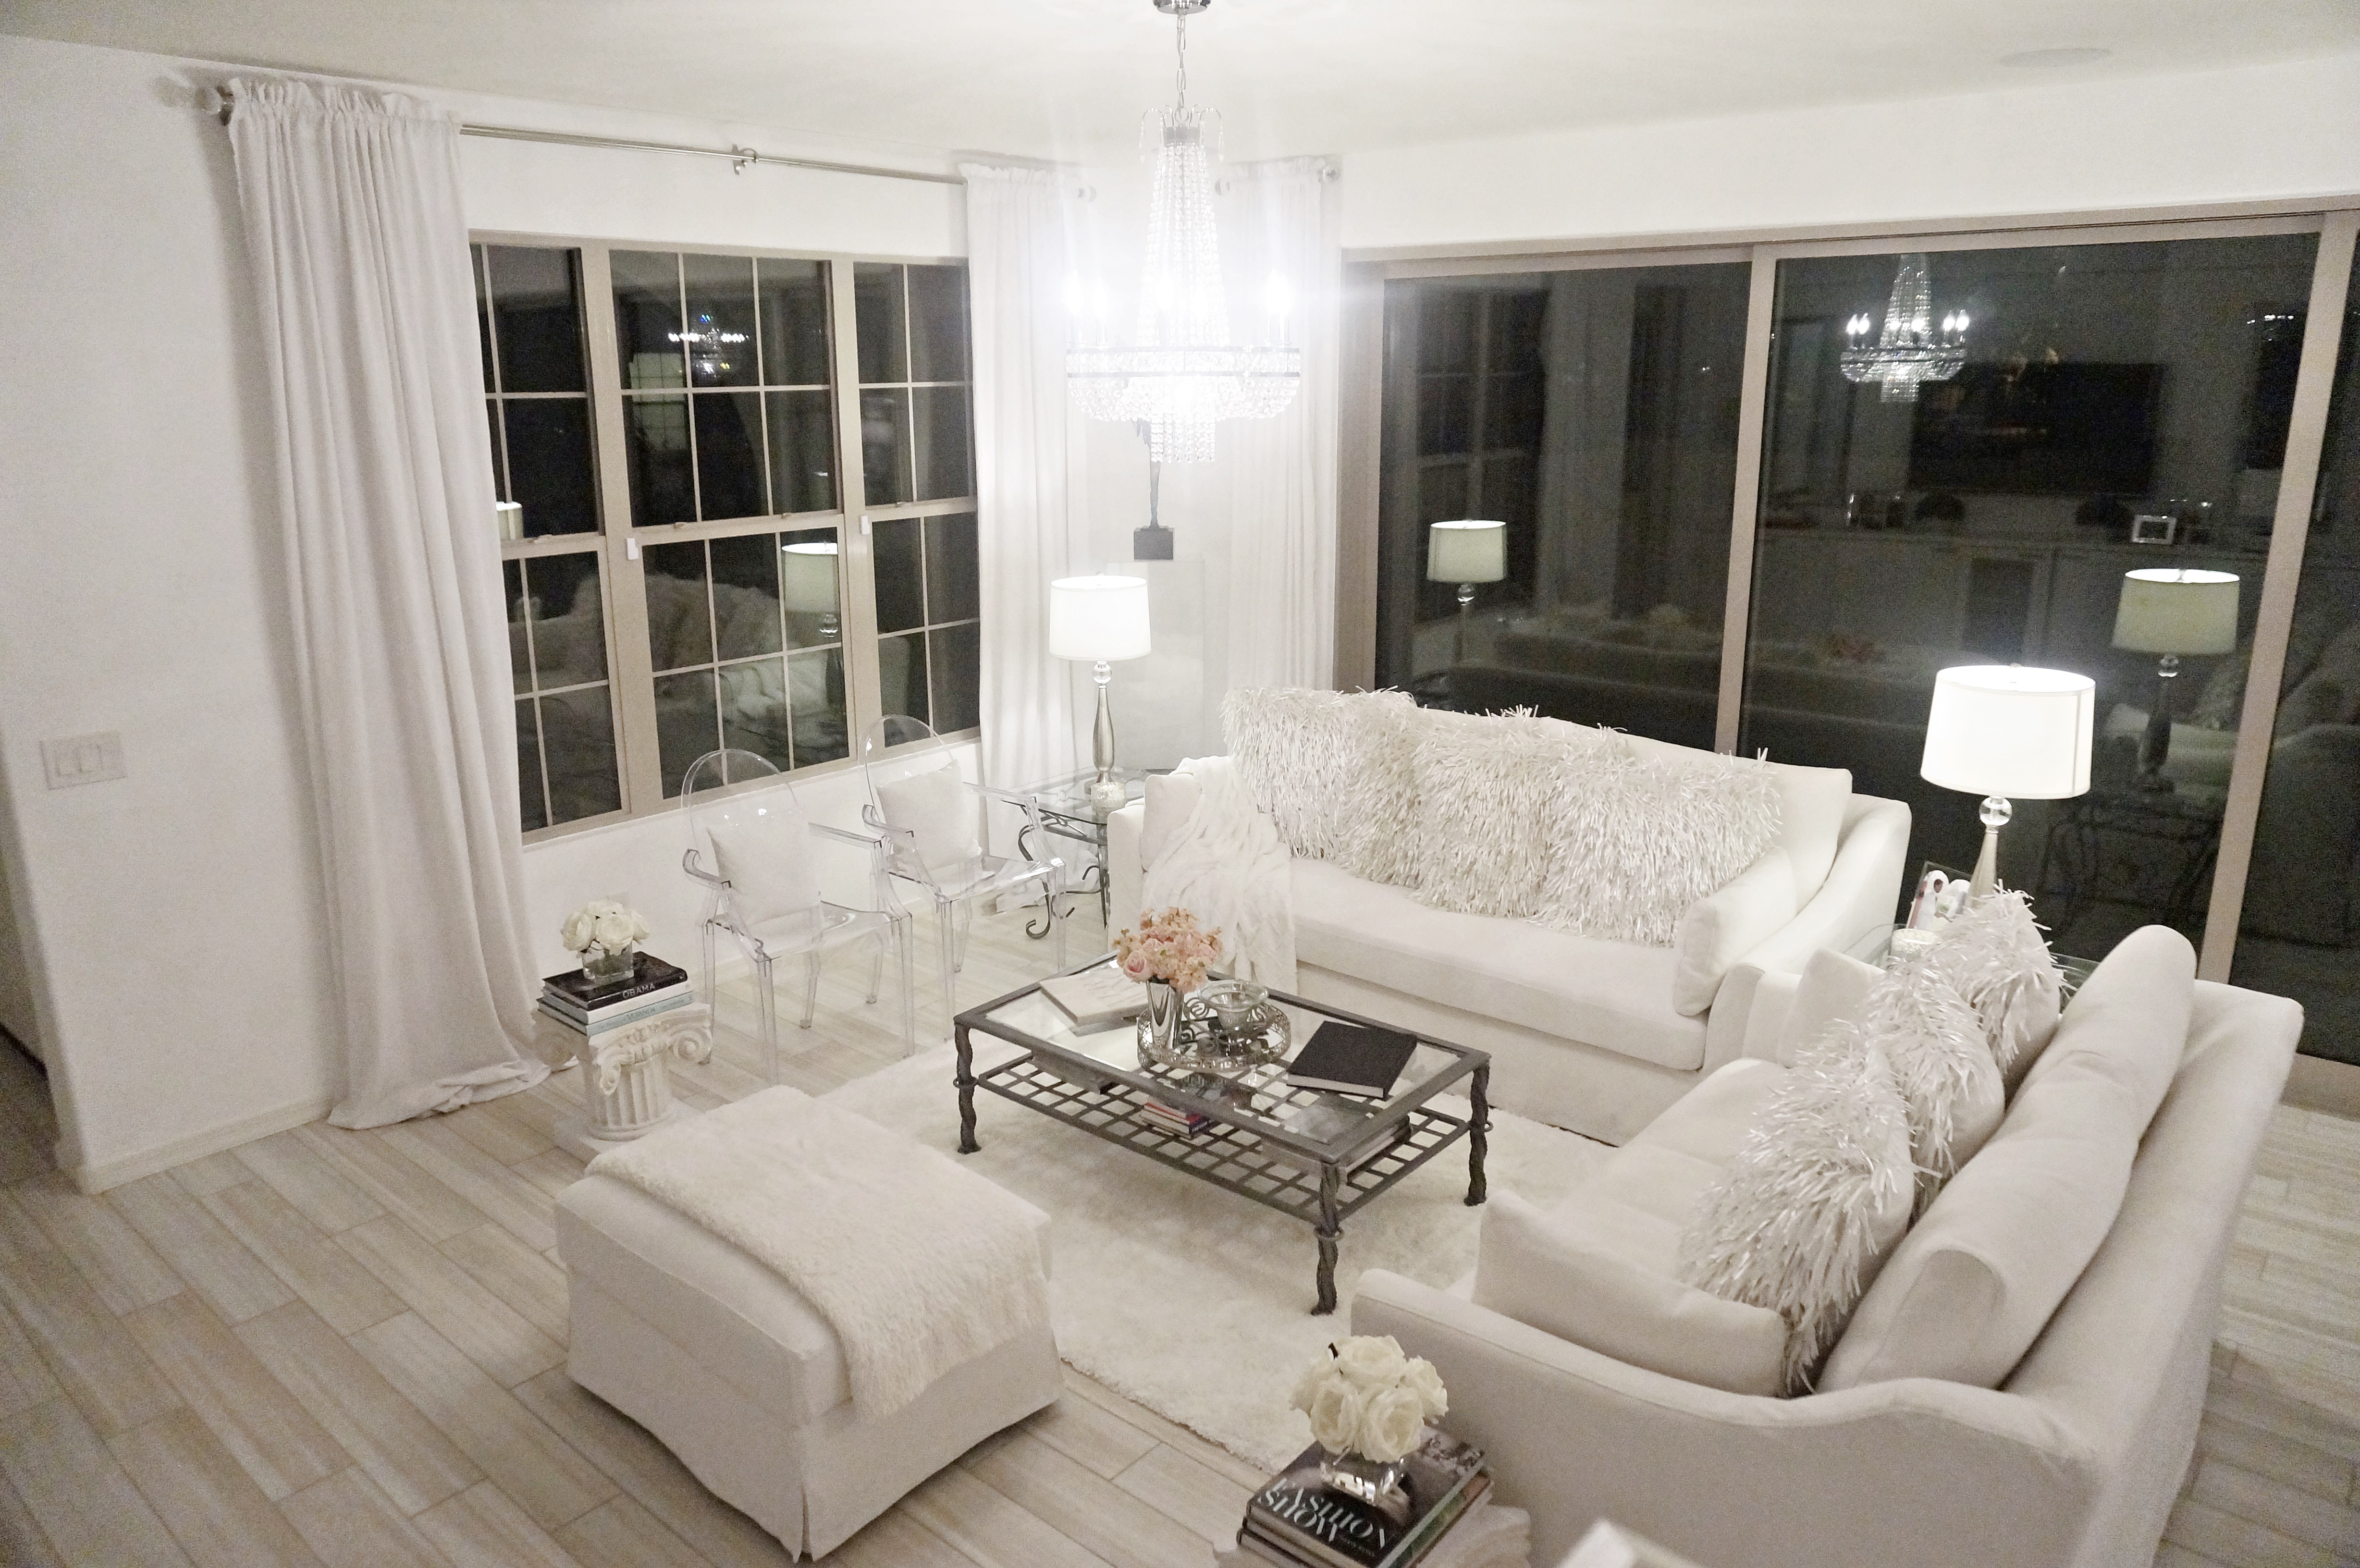
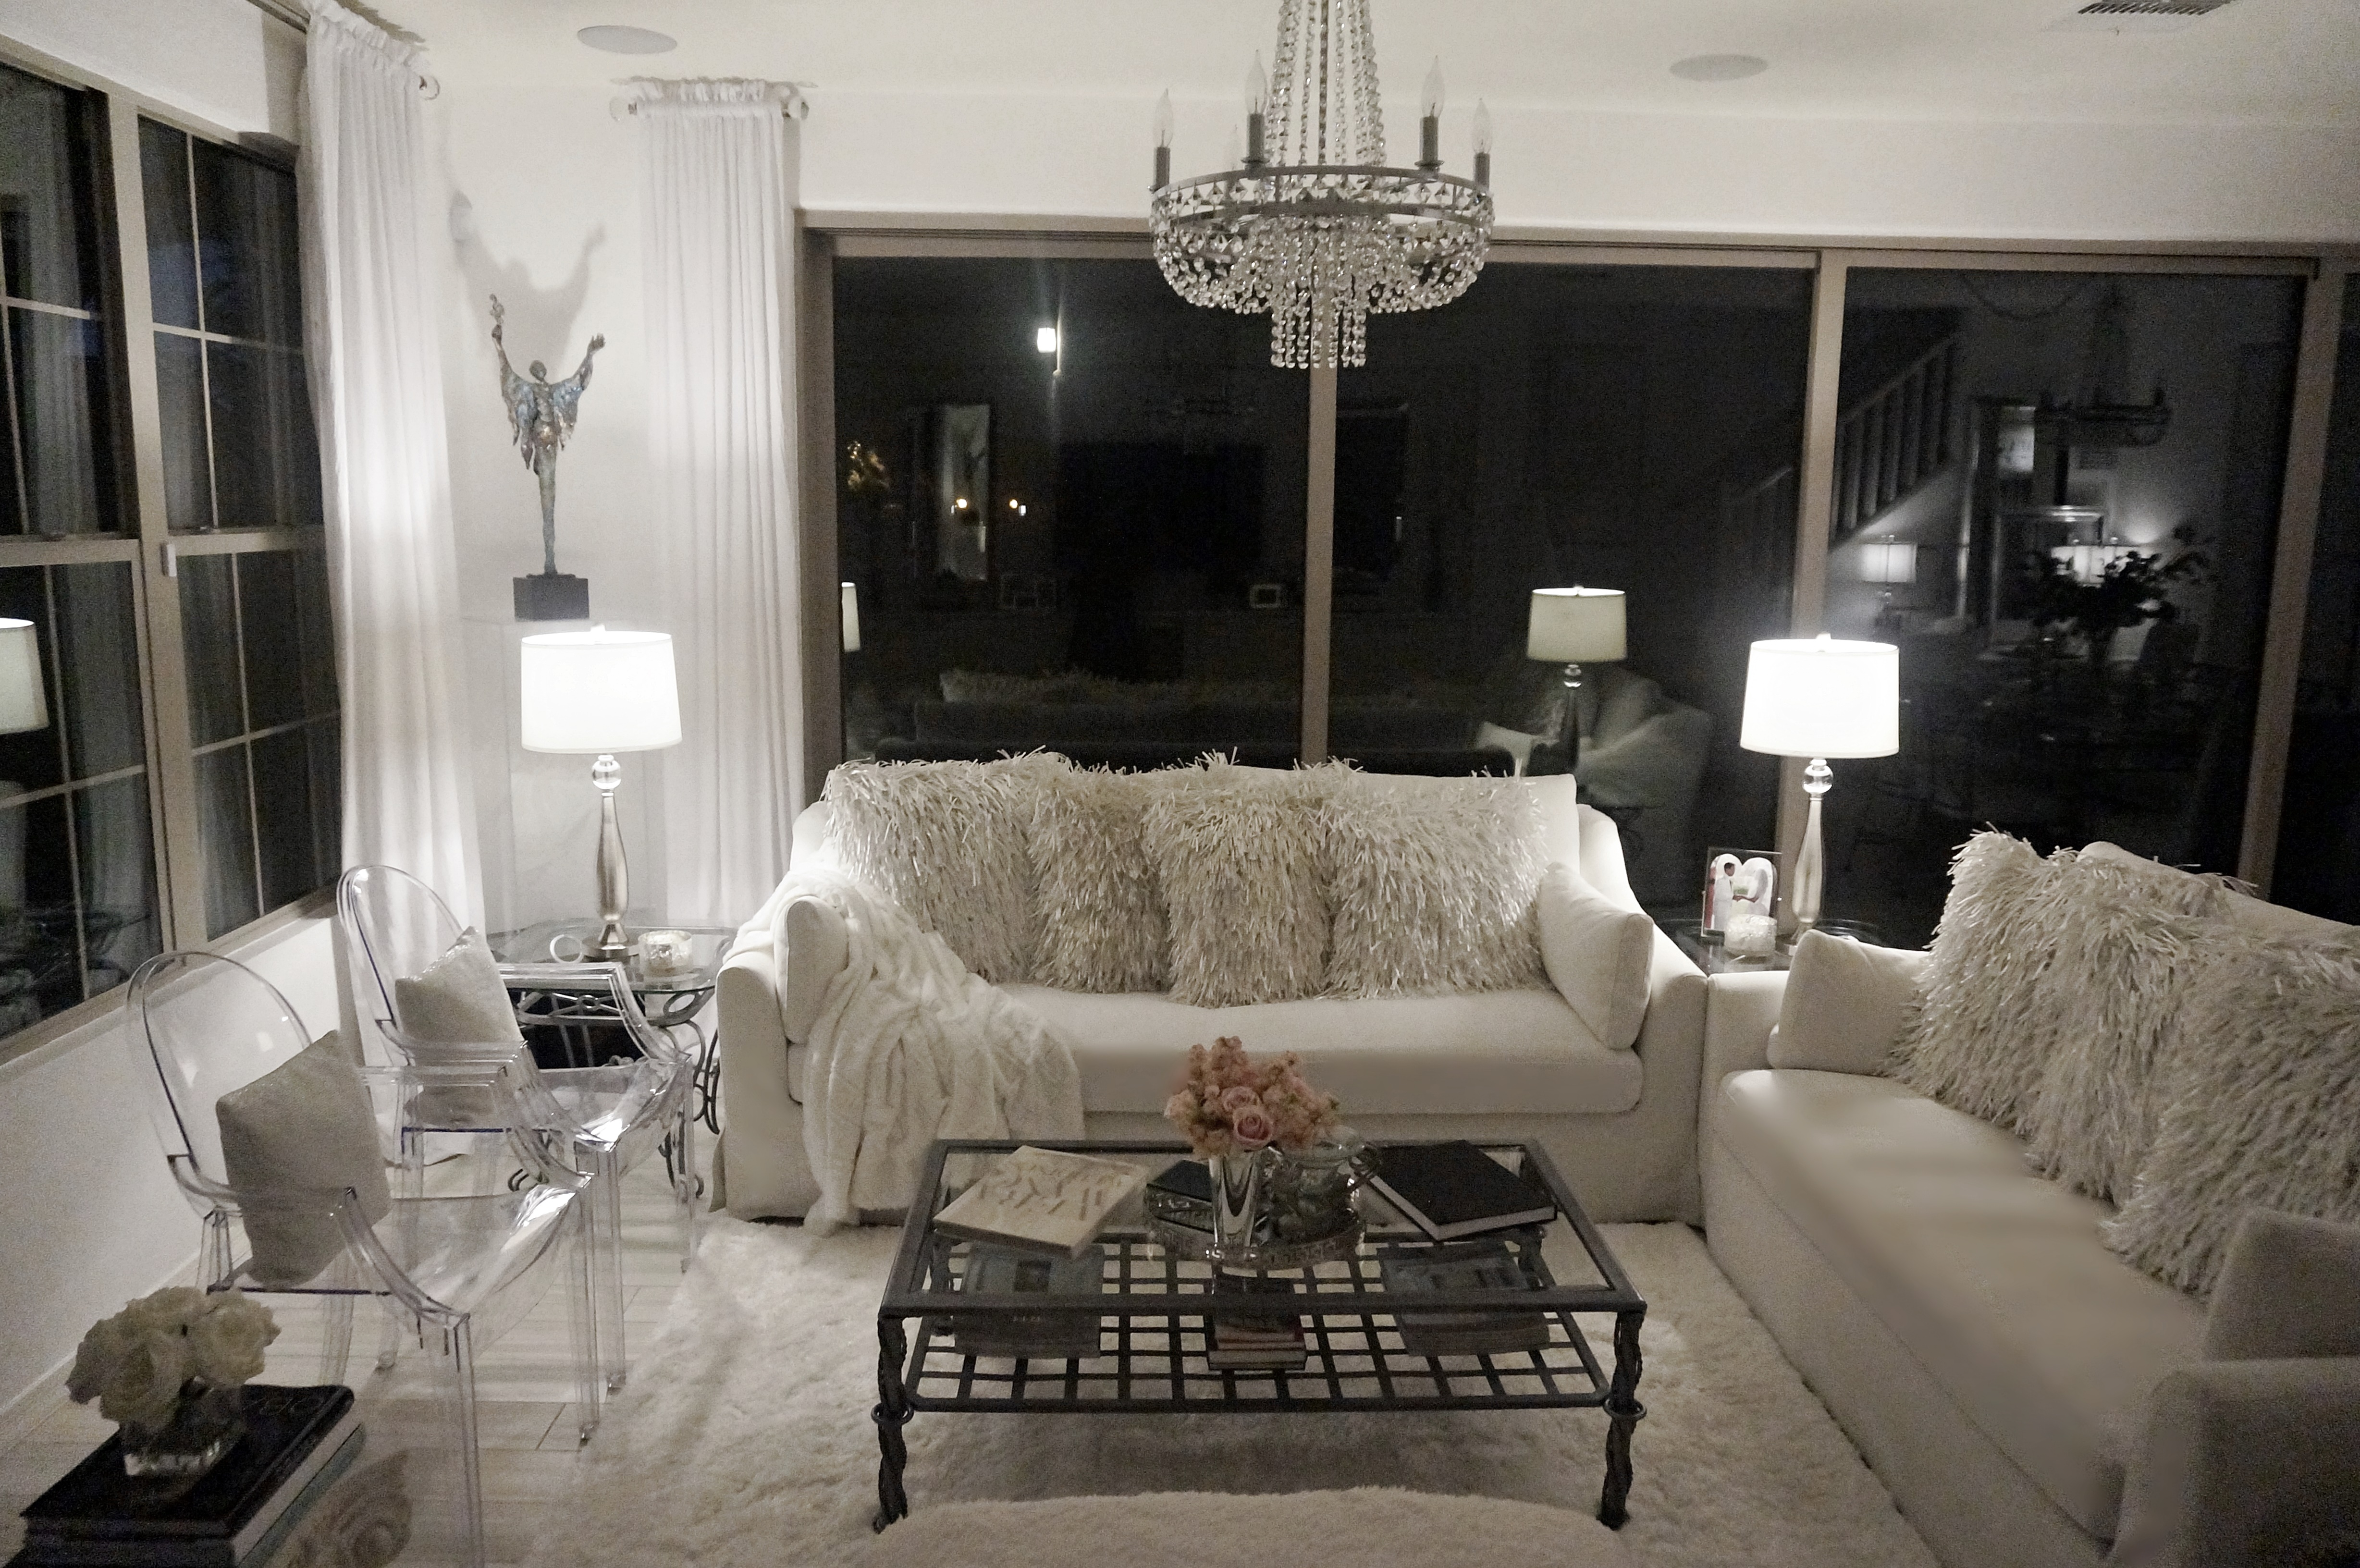
What I didn’t want, with the space being so small, was to look towards the kitchen and see all sorts of different chair legs in that area. The see-throughness of the ghost stools solved that dilemma for me. In closing, here are some photos of the living area at night…

I’ll change the front window drapes to something a little more “finished” and sheer one day, but the biggest project I’ll need to take on at some point, is shading or sheers for the sliding door. As I stated before, it doesn’t bother me that there’s nothing up, and sometimes I like it that way, however, during the day when the sun is super bright, the glare on the television is extreme, which makes watching a movie difficult. I’ve priced some shading options, and oh boy, those are some big girl numbers!

I feel so very blessed to be able to call this my home. I know I somewhat complain on my decor posts about a lot of the decor features and appointments and the expenses, but every, single, day when I come home from work, and walk through my door, it brings me to near tears. I thank God for His provision, His grace and His mercy upon me. I thank Him for the gift of vision I have, and definitely for the gift of being able to turn almost anything into something usable and of value. This gift has been developed over many years. Being someone who has very expensive taste, I sharpened my resourcefulness to put things together on a budget to achieve a comparable look, at least in my estimation, and that goes for my home or my person. I can say with all certainty that this space will change one day, because when you’re a decorator or decorating enthusiast, you’re never completely done. But for now, I am content, and happy with The Dollhouse Living Room. Now on to the next thing…

Hi Ingrid; so happy to share in your journey, even from a distance I can see the life and creativity exude from your endeavors towards excellence. May our God continue to be with you, touch and keep you to be the jewell you have blossomed to be. Please give my regards to my most special and beautiful Aunt Pat. Grace and Peace. P.S.: I’d still like to know how to send for your “C” book( I’ve seen Mom’s) ; I was wanting to add to our youth ministry the strength of your message. My address : 1185 Village Ct., Crown Pt. In. 46307( Lawrence T. Lowe)
Thank you Cousin Lawrence for your never-ending support, and for always cheering me on. I’ll email you with the purchase link for my book. Take care, and much love to you!
Ingrid
This is Beautiful and Sophisticated. Good Reading, helpful hints, and ideas.
Thanks for sharing 🙂
Hi Tracy,
Thank you so much for your time on the blog and for the lovely compliment. I hope you’ll continue to “stop by” and share :)xo
Ingrid