The Laundry Room is Open at The Queen's Quarters!
I posted on Instagram this past Saturday that I was in the middle of doing my HGTV-like laundry room makeover, determined to have it completed in a day… well, some time before midnight. I watch all those decor shows on that network, and they stage rooms and whole houses in a day. I figured if I planned properly and had all the items and tools I needed that I could probably, maybe do this too, kind of ???? This was only a small laundry room with nothing really major to be done, so how hard could it be to execute in that time frame with everything already budgeted and collected that I would need to implement my vision. Now I’m not an illustrator, so don’t judge me, haha! But here’s a sketch of what I wanted the main wall to look like.

So here’s the backstory… When I purchased my home and I planned for what I’d add to it at the design center, I opted not to spend the money on laundry room cabinets, sink or counter top. You have to know what you can and can’t live with when you don’t have an endless well of money to spend in upgrades. I feel like nowadays, literally, for the base price of the house, you get a concrete slab, some walls, a roof and a door. The rest is on you to fork up the money to add to that to make it the home you want. You can read about my previous new home build experiences and lessons learned from the design center selection process HERE. Money allowing, I would’ve loved to have had the cabinets and a built-in counter top, but for what it would’ve cost me through the builder added up to half of what my flooring was going to cost, which for me, was totally a “can’t live without” item. I’ve never had a custom laundry room. But I don’t fret about it because I’m not in there that much. With no husband or kids, and mostly “dry-clean only” garments, I probably only wash about two loads every two weeks. I know, I can hear the thoughts of moms everywhere, haha!
Unfortunately, I don’t have a picture of my first and second laundry room, but here’s a picture of my last one…
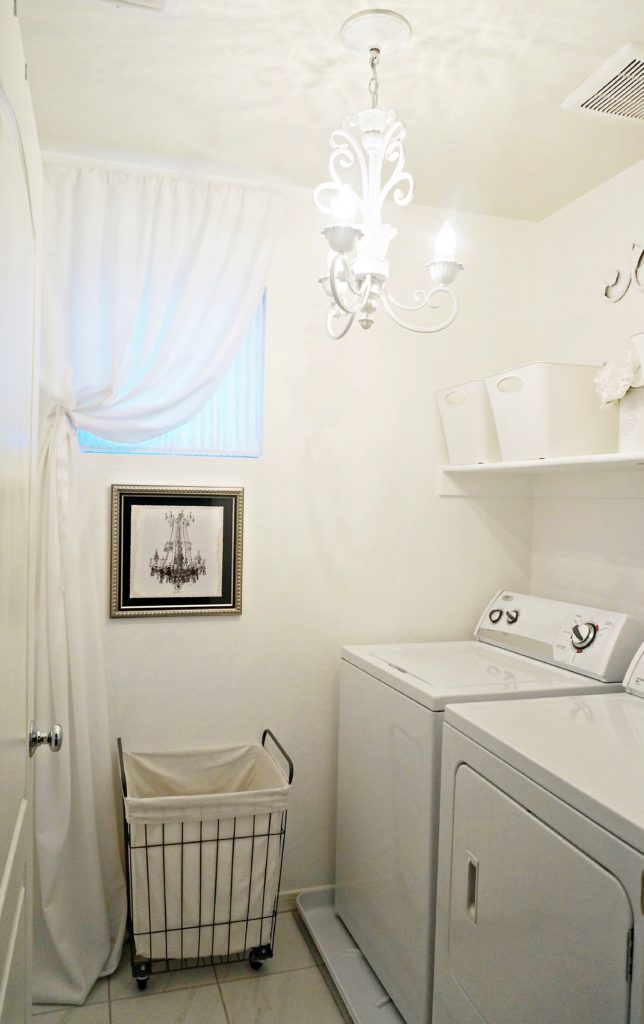
You can see the complete reveal of my last laundry room HERE. I’d had the same washer and dryer since my first home in 2007, which was a spec home. I had a small amount of money to spend at the design center and since I needed a washer and dryer and blinds, that’s what I got. The washer/dryer served me well through the years and I would’ve kept them except they wound up being a condition of the sale of my last home. So in my current home, I ended up with the base model washer and dryer as a little consolation for all my trouble with the builder. What was that trouble you ask? Well, you can read all about that HERE. The Whirlpool base models were fine because, again, one, it’s what I had prior and they did just fine through the years; two, I don’t do laundry that often; and three, Lord, the prices for those things are tremendous! Since I have a knack for “glamorizing” anything basic, I knew I’d come up with a vision for my basic laundry room that I would love. Even though I don’t spend a lot of time in there, I still want it to be pretty and have a little bit of drama. Here’s what the laundry room looked like on day one, moving in…
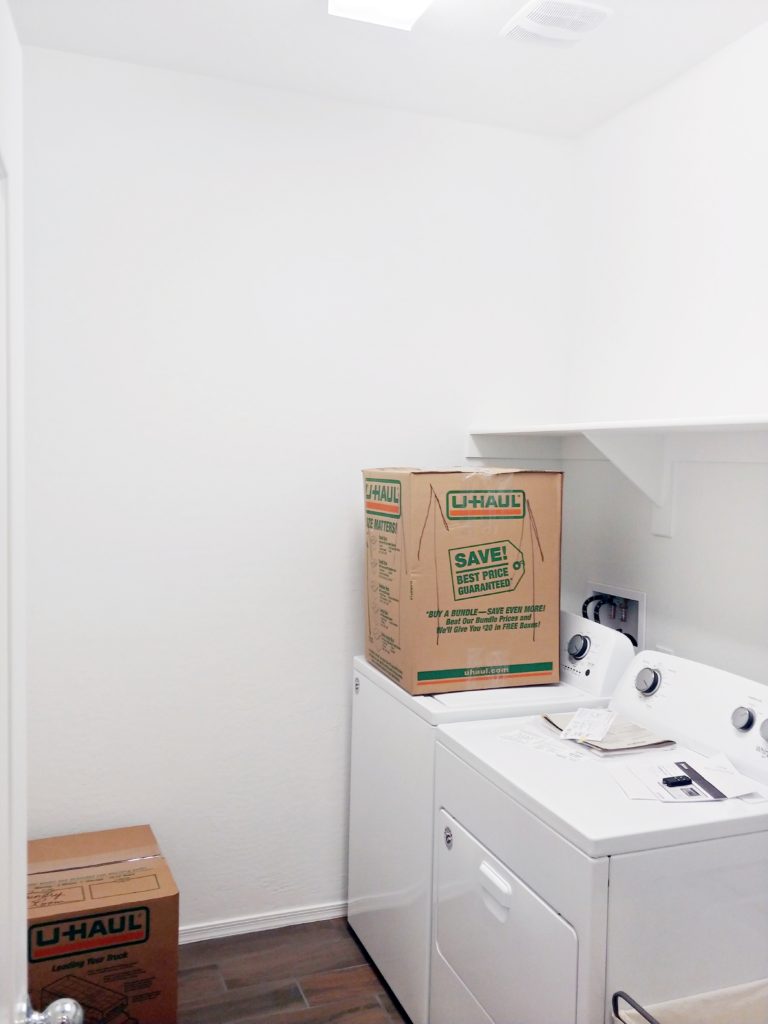
Just a small room with a florescent light and builder-grade shelving. While I challenged myself to have my entire home all set up and decorated in 30 days after moving in, (you can read about that HERE), for some reason, I just threw some things up in the laundry room. Here’s what my “temporary” decor looked like up until a couple weeks ago…
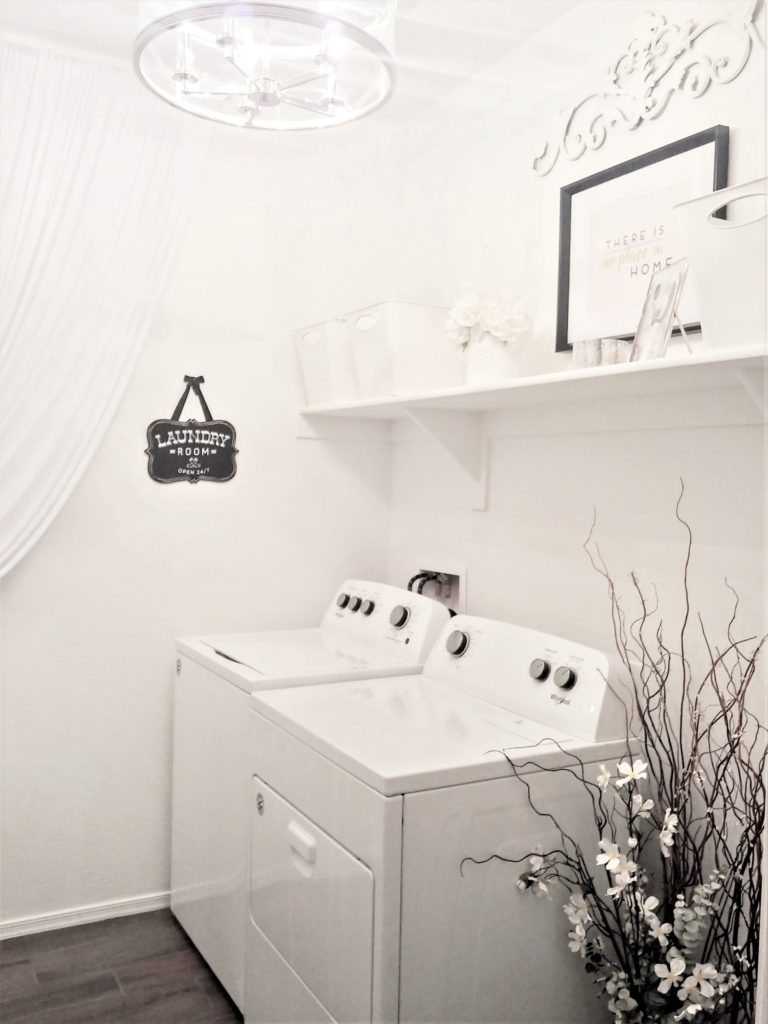
I added the chandelier along with the rest of the lighting in my house, the week I moved in. Before any decor planning for this space took place, I always knew I wanted that chandelier in the this room. It’s re-purposed from the entrance way of my last home. If you’ve been reading my posts for any period of time you know that I love a chandelier. This one was gifted to me by a dear friend and I always think of her when I look up at it.
I realized I didn’t like my laundry room at all about a month ago, and I just needed to make a few changes to “pretty” it up. So first things first… the room needed a coat of paint. Yes, it was already white, but unlike most builders, my janky builder didn’t believe all “wet areas” needed to be painted in semi-gloss, so my laundry room had a flat finish paint, ugghh! Believe me, I tried to leave it “as is” because I did not want the hassle of a painting project, but I couldn’t stand it. And I already had a gallon of white semi gloss paint, so it was just the time I was fretting over. That was the first indicator that I wouldn’t finish in a day. It only took me a couple hours, but it still set me back in my goal. But I’m so glad I did it. The semi gloss finish made a huge difference. Just so you know, the overall goal was to shop my home for everything I needed, or spend the least amount possible to achieve the look I had in my head. Since my entire house is all-white with color splashes here and there, I wanted the same theme continued in my laundry room; crisp, all-white, modern glam. So here’s how it turned out…
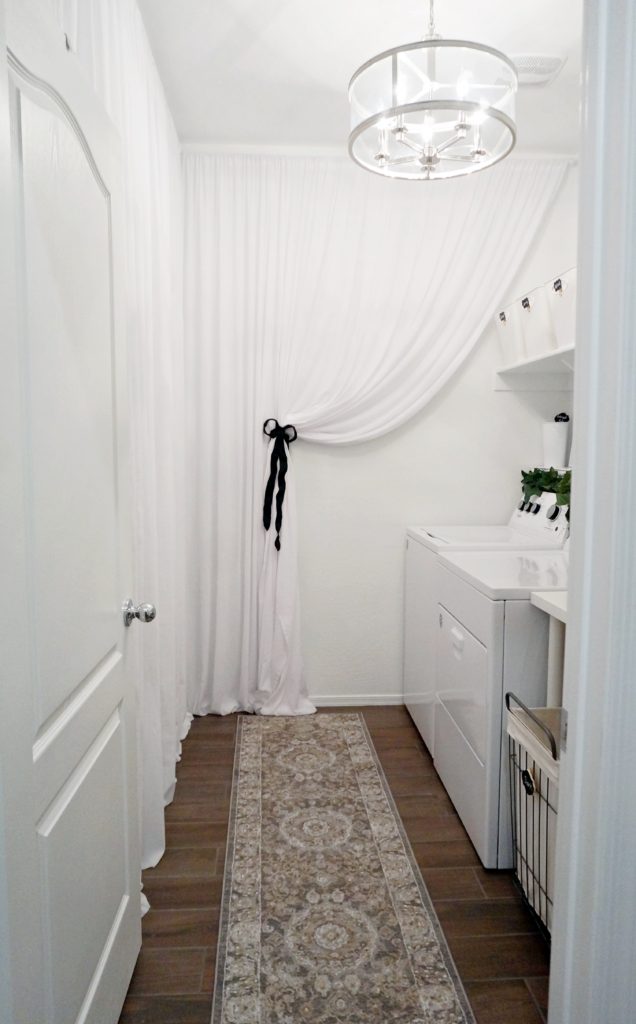


I added two floating shelves below the builder-grade top shelf, but just above the top of the washer / dryer, and then styled it with pieces of greenery, because I don’t like to see the hoses from any angle of the room.
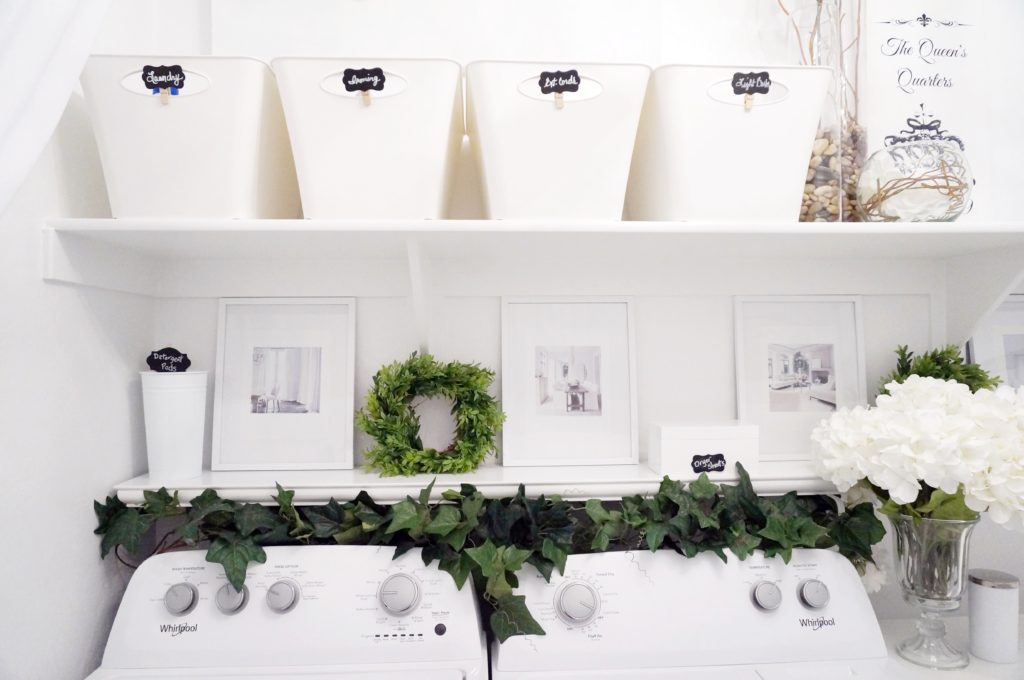
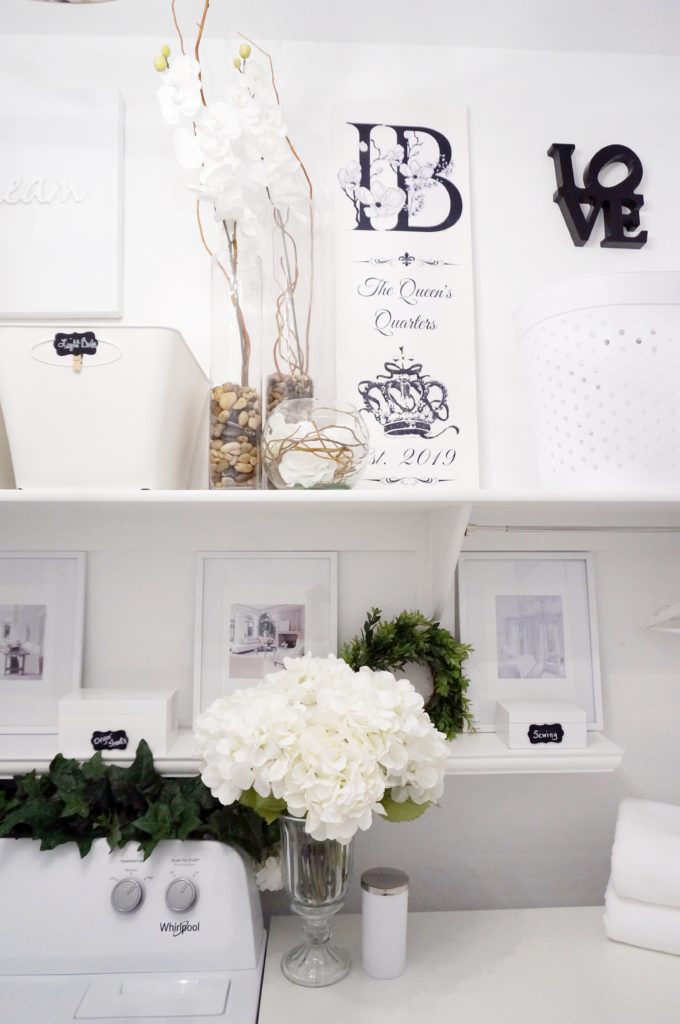
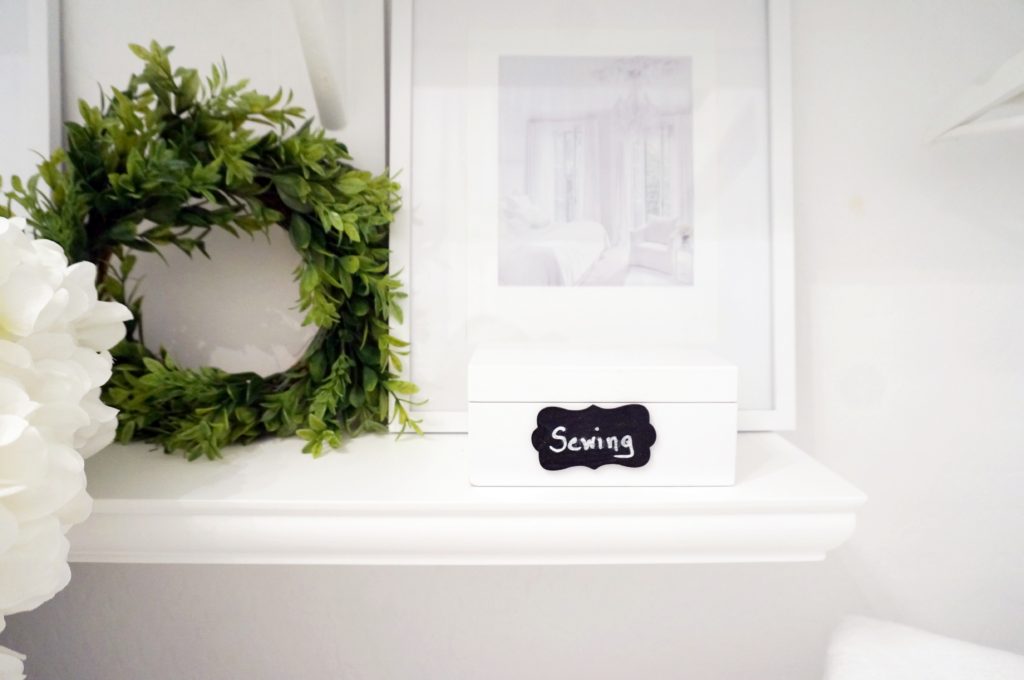
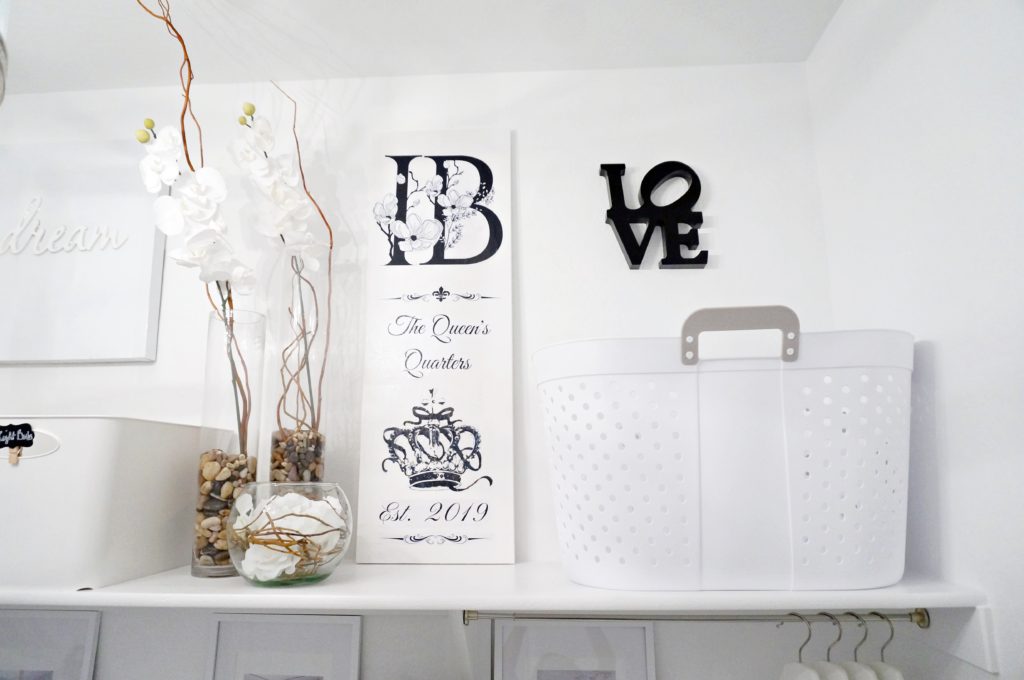
So Let’s get into it… The shelving just above the washer/dryer is from Home Depot. The white picture frames and laundry basket are from Walmart. The green wreaths, chalk labels and florals came from Michaels. The “LOVE” sign is from Dollar Tree. I already had a stash of loose greenery that I used to hide all the wall inputs. I also had the glass vases, rocks, twigs and one of the white boxes (the one marked “Sewing”). I just added a fresh coat of spray paint to spruce it up.

The tension rod over the table for hanging pieces was from Home Depot and had been marked down. There was a decent amount of space on the side of the dryer, and I really wanted a table for folding. So I added an IKEA tabletop, and legs. I needed it to be a specific height for continuity so it was perfect that the legs were adjustable.
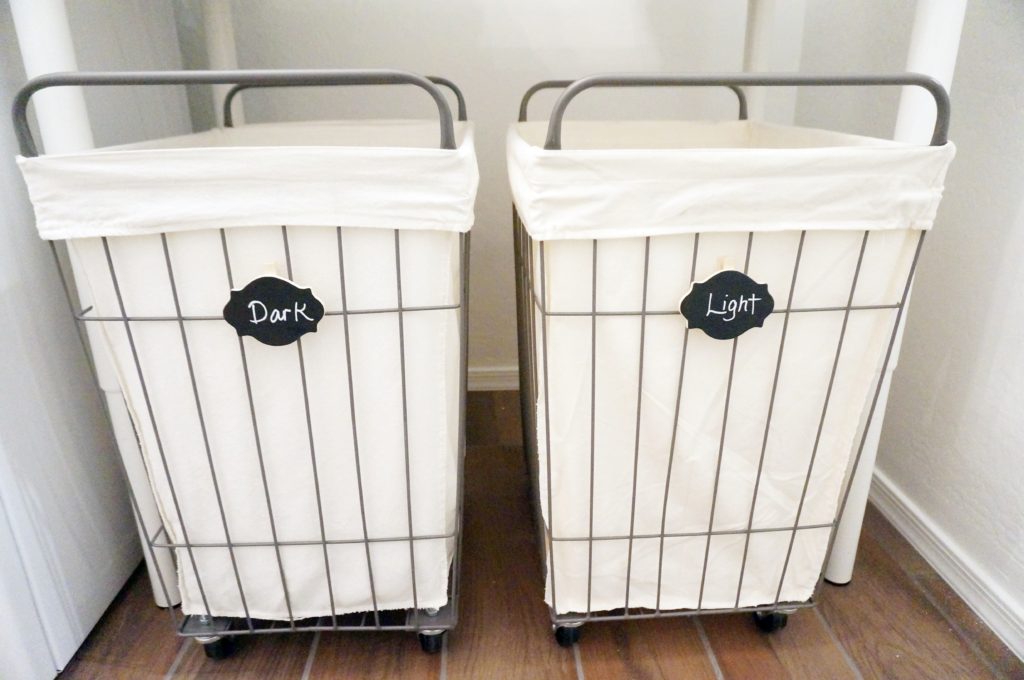
I already had one rolling laundry basket that I got from Ross a few years back, and I just recently lucked up on an identical one, again at Ross. they were both only $19.99, woohoo! Here’s a link to a similar one at Crate and Barrel, though a bit more expensive.
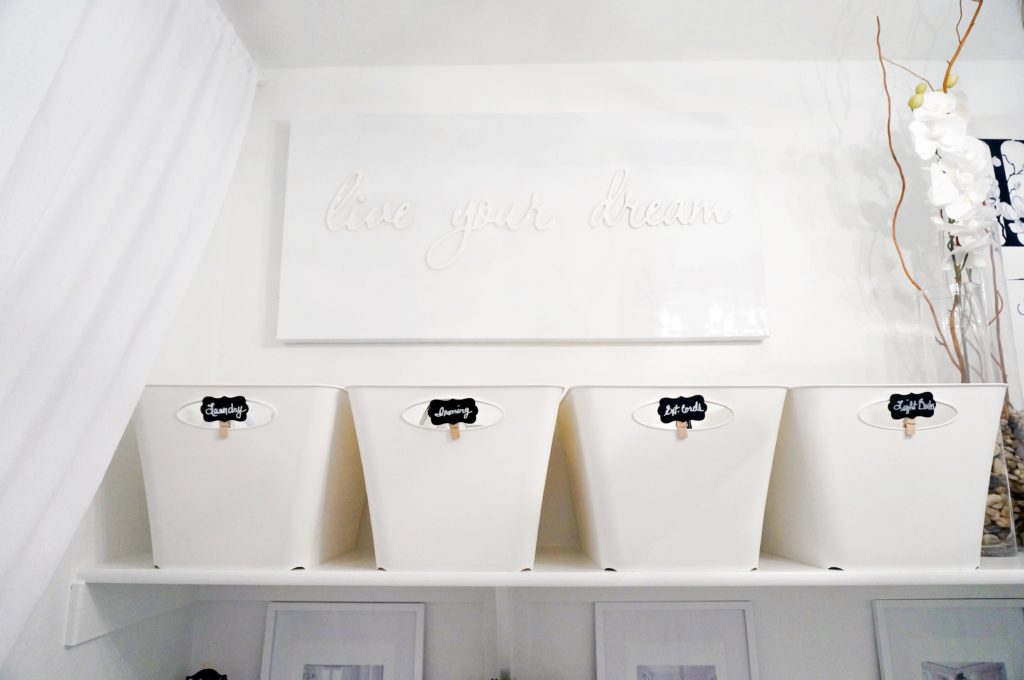
The “live your dream” lacquered picture is from At Home Decor Superstore.
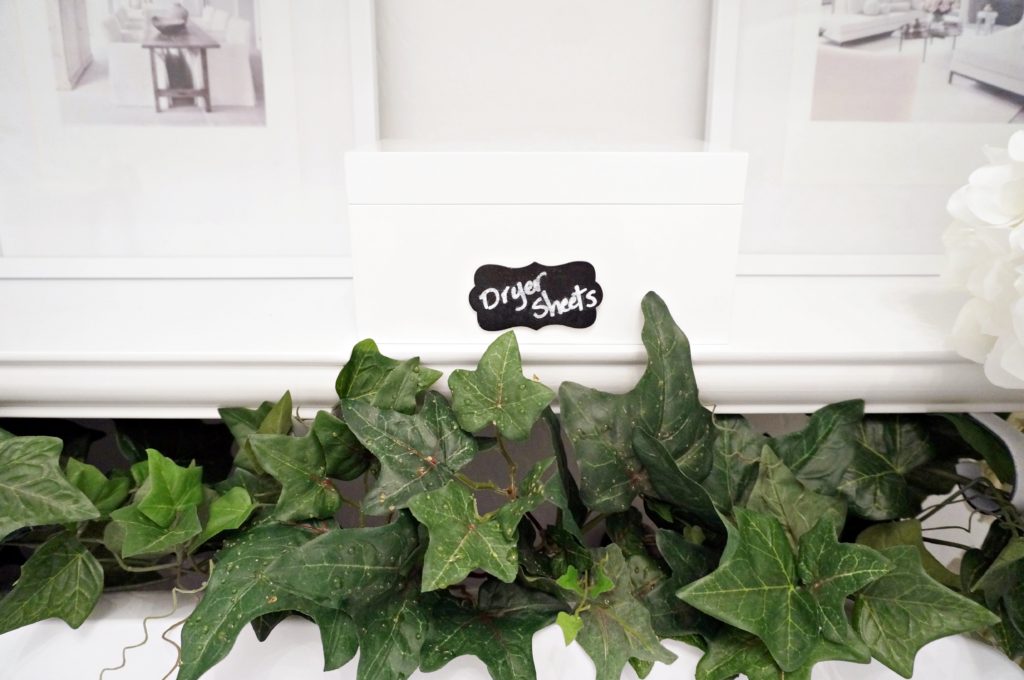
I already had the four white plastic baskets on the top shelf. They’re from The Container Store, as was the medium-sized white lacquer box (labeled Dryer Sheets).
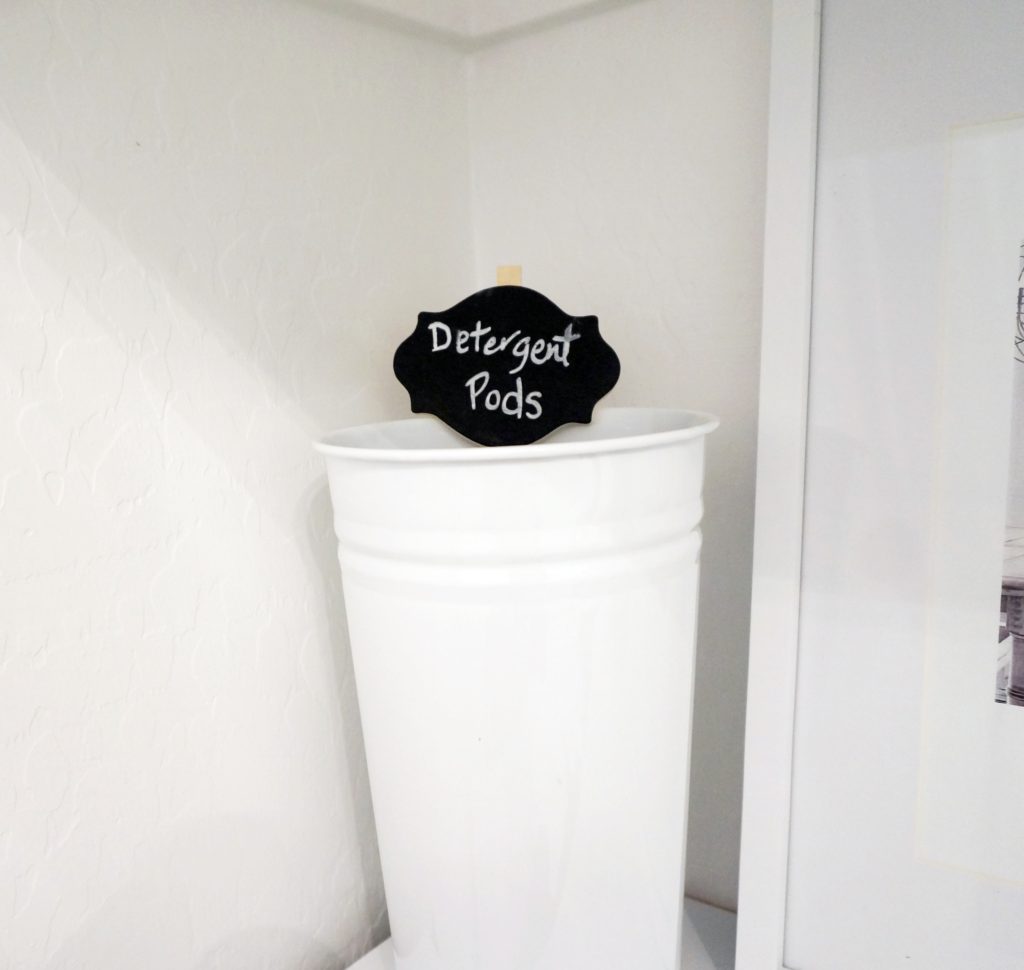
This tin container was perfect to house my detergent pods and was found for a couple bucks after using my coupon at Hobby Lobby. Another one of my favorite “go-to” home decor DIY resources.
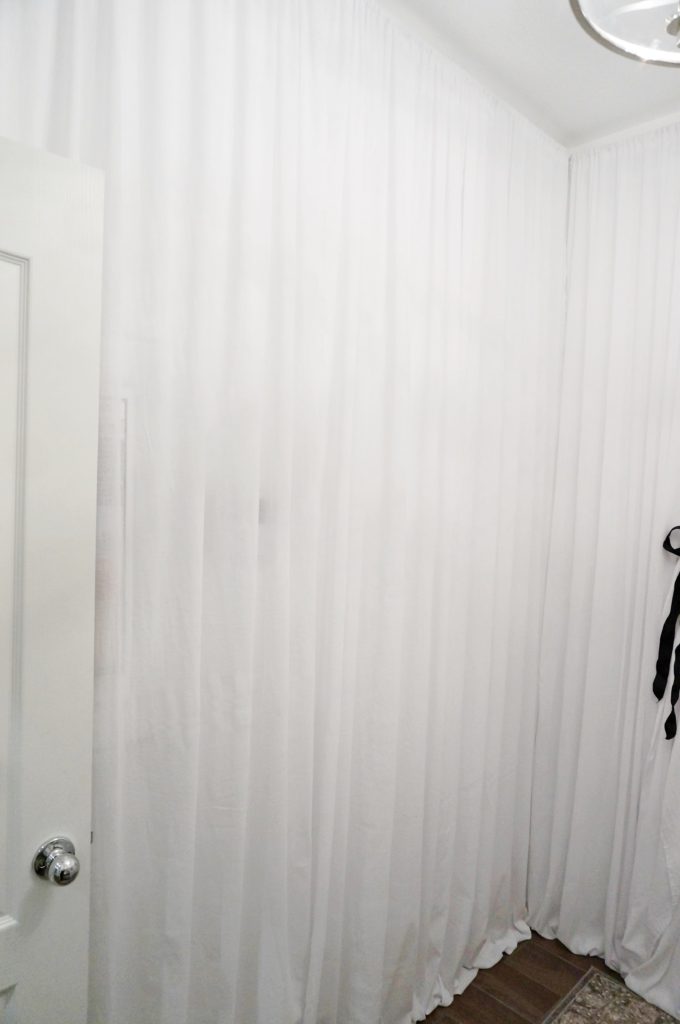
The fabric lining the walls is my go-to window treatment fabric that I have at almost every window in my house, from SAS Fabrics, at $2.99 a yard. The runner was only $29.99 from Ross, but I’m not crazy about it so it may be going back. Oh well…
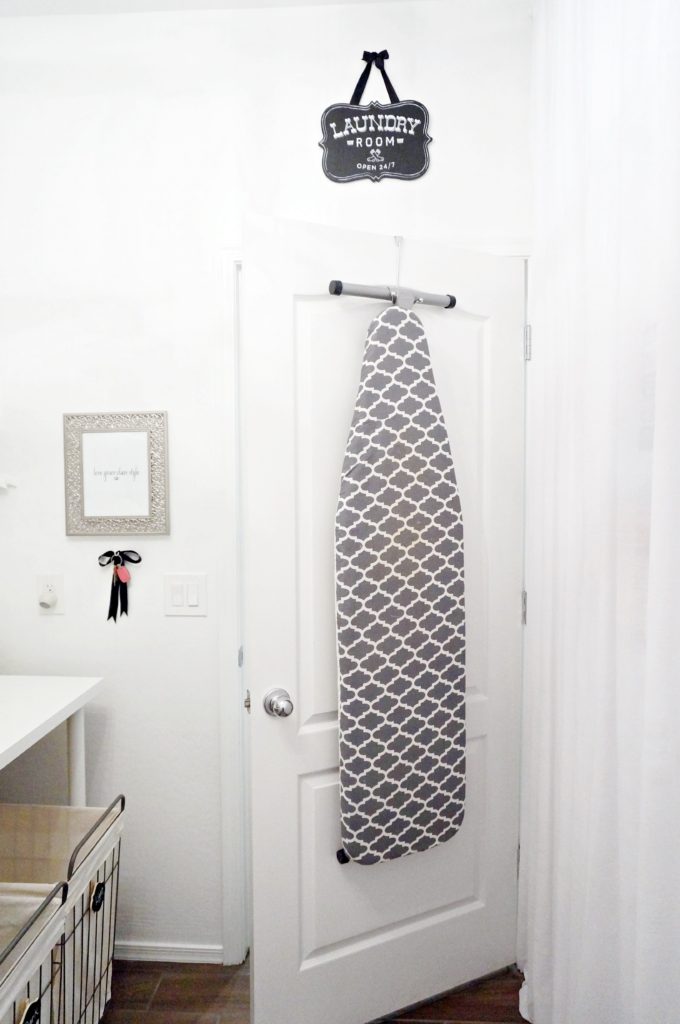
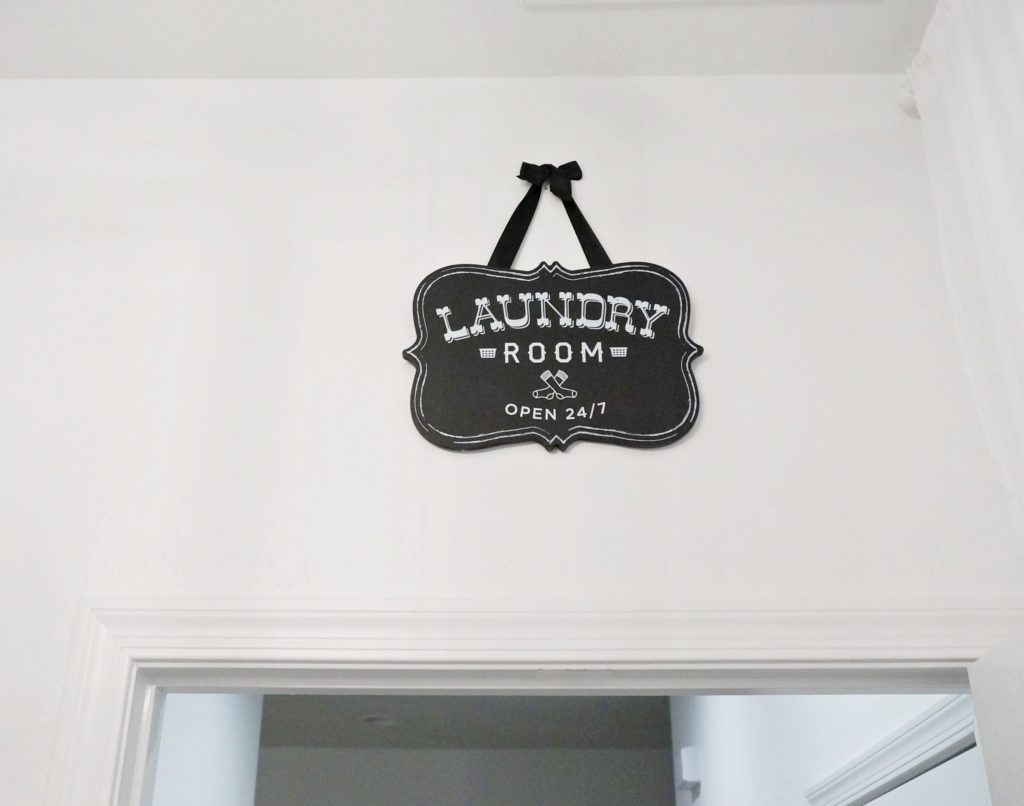
The ironing board rests on a door hook I purchased from Bed Bath Beyond. And over the door is a cute little sign I got from Home Goods to cover the fresh air ventilation switch they tell you not to touch when you’re doing your final walk-through. Of course, that too, I didn’t want to see, so this was perfect!
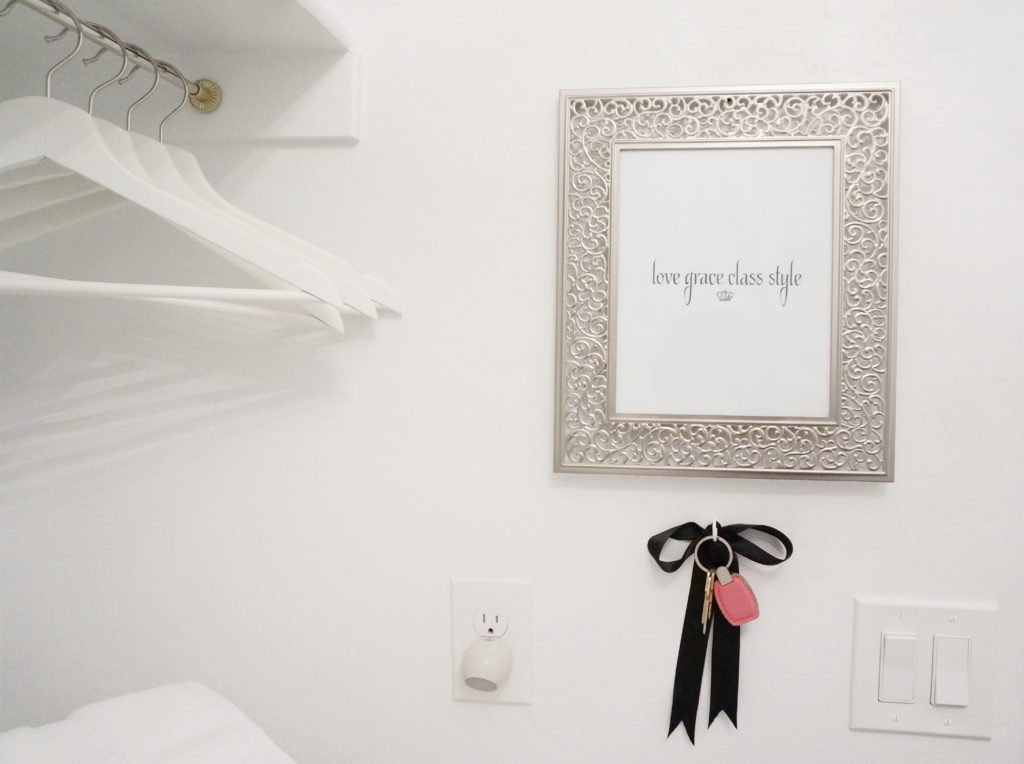
My signature bows are everywhere, even on the hook where I sometimes leave my keys since I have to come and go through this area every day, although, I’m not sure that’s the safest thing to do. Hmmm, I may be changing that!
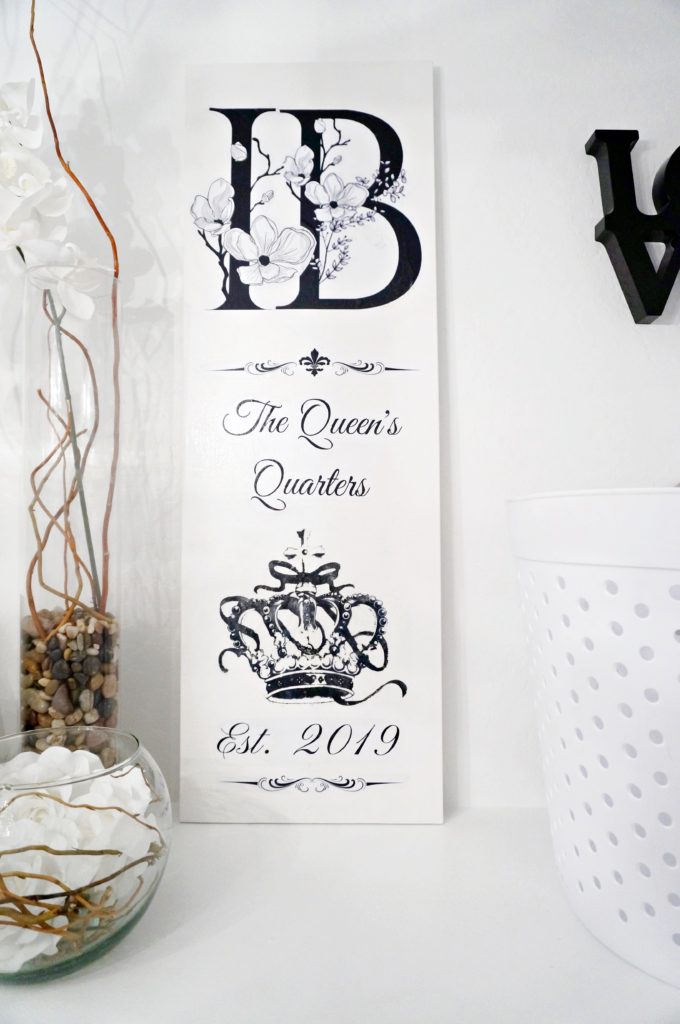
I’ve said many times, that I’m not very artistic. My mom’s the artist but I can’t paint a picture to save my life. I’m even terrible at those “paint and wine” venue projects! But I wanted a sign with “The Queen’s Quarters” on it so I just got a little creative with paper, and transferred a couple images onto the canvas, which was really quite simple. I YouTube-d the process and found a couple videos that gave me ideas. The other parts of it were just a bit of a hack on my part, and then I added a couple coats of varnish. I think it turned out nice… well, nice enough to be on a top shelf in my laundry room 🙂
Now did I get all this done on that Saturday? The weekend? Three days? Nope. I finished it on the Saturday that just passed. So it took me an entire week. There were a couple snafoos with the shelving, then the table, which added unexpected store runs, and then of course, my changes once everything I envisioned was placed, and oh yeah, I had to go to work too, so there was that. Whew! I’ve decided that even with a team of people assisting, there is absolutely no way, those folks on HGTV are styling rooms and entire homes in a day, and I’m really hard-pressed now to find out exactly how they do it… I’m jus’ sayin’.

In the end, I’m simply thrilled with how it all turned out, and the time and effort was well-worth it. Of course I say that on the back side of it all. This was the final room in the house to tackle and now I’m ready to move on… to the patio, yay! Warmer weather is just around the corner and I’ve never decorated a backyard or patio, so this will be a first. I’m so looking forward to diving into that. But for right now… The Laundry Room at The Queen’s Quarters is open!


It looks fantastic!!
Oh wow, thank you so much Martha :)xo
Your artistic gift of sight is so amazing! Gosh, how I wish I could see through those beautiful eyes, my love!! 😉 #KeepItComing
Latonya, you can always use my eyes my dear! Thank you so much for your kind words, and for visiting the blog :)xo
I love ❤ it!!!
Thank you so much Pamela! And thanks for your support :)xo
Tremendous gift to detail. Sooo!!! when did you say the Ingrid Bohannon Beauty & Home Systems show will be launched. 🙂
HaHa!!! Trust me, I’m working on a few things! Thank you so much Pierre for your kind comment and for your support :)xo
Gorgeous !
Thank you Shonia, and thank you for always supporting :)xo
You have such a talent!!! I love this laundry room 👏🏾👏🏾
Thank you so much Monique! And thank you for “stopping by” and leaving a comment :)xo